Icarus: A Wavefront Pathtracer

I found a paper from the early 2010s, Megakernels Considered Harmful, which suggested that you can see significant performance improvements by simplifying the structure of the work done by a pathtracer. By breaking up the large iterative process into something that operates on structs representing the state of rays in batches, you flatten the operation. These smaller work items are supposed to be much better suited for GPU architectures than doing multiple bounces in a loop in your shader code.
I'm still on my Vega II card right now, so I don't have the proper profiling tools to do in-depth characterization of bottlenecks, but I have some thoughts on it. Radeon GPU Profiler support starts with the first generation RDNA cards. I think the pipeline flushes associated with the barriers between compute dispatches are the limiting factor right now. Subjectively, I don't think the implementation is nearly as fast as it can be, yet - I've still been able to get some pretty neat outputs from it.
Architecture
The architecture of my implementation here is still a work in progress, but the general concept is fairly straightforward:
- Initial Ray Generation (Primary Rays)
- Bounce Loop:
- Ray Intersection Shaders
- SDF Intersection
- Ray-Triangle Intersection
- DDA Volume Intersection
- Material Evaluation/New Ray Generation
The first shader (1) that runs is generating primary rays, from the camera. On the CPU, I generate a set of pixel locations, and pass that into an SSBO. These pixels calculate the associated image UV, and do the math to get these primary rays. This gives us some initial values for ray origin and direction - some interesting extensions on this related to the FoV and transmission values, later. For now, we are just looking at the amount of state that would be present going into the first iteration of the loop in the iterative version - this is things like setting transmission to 1.0 and total accumulated energy to 0.0, as well as tracking the location of the associated pixel.
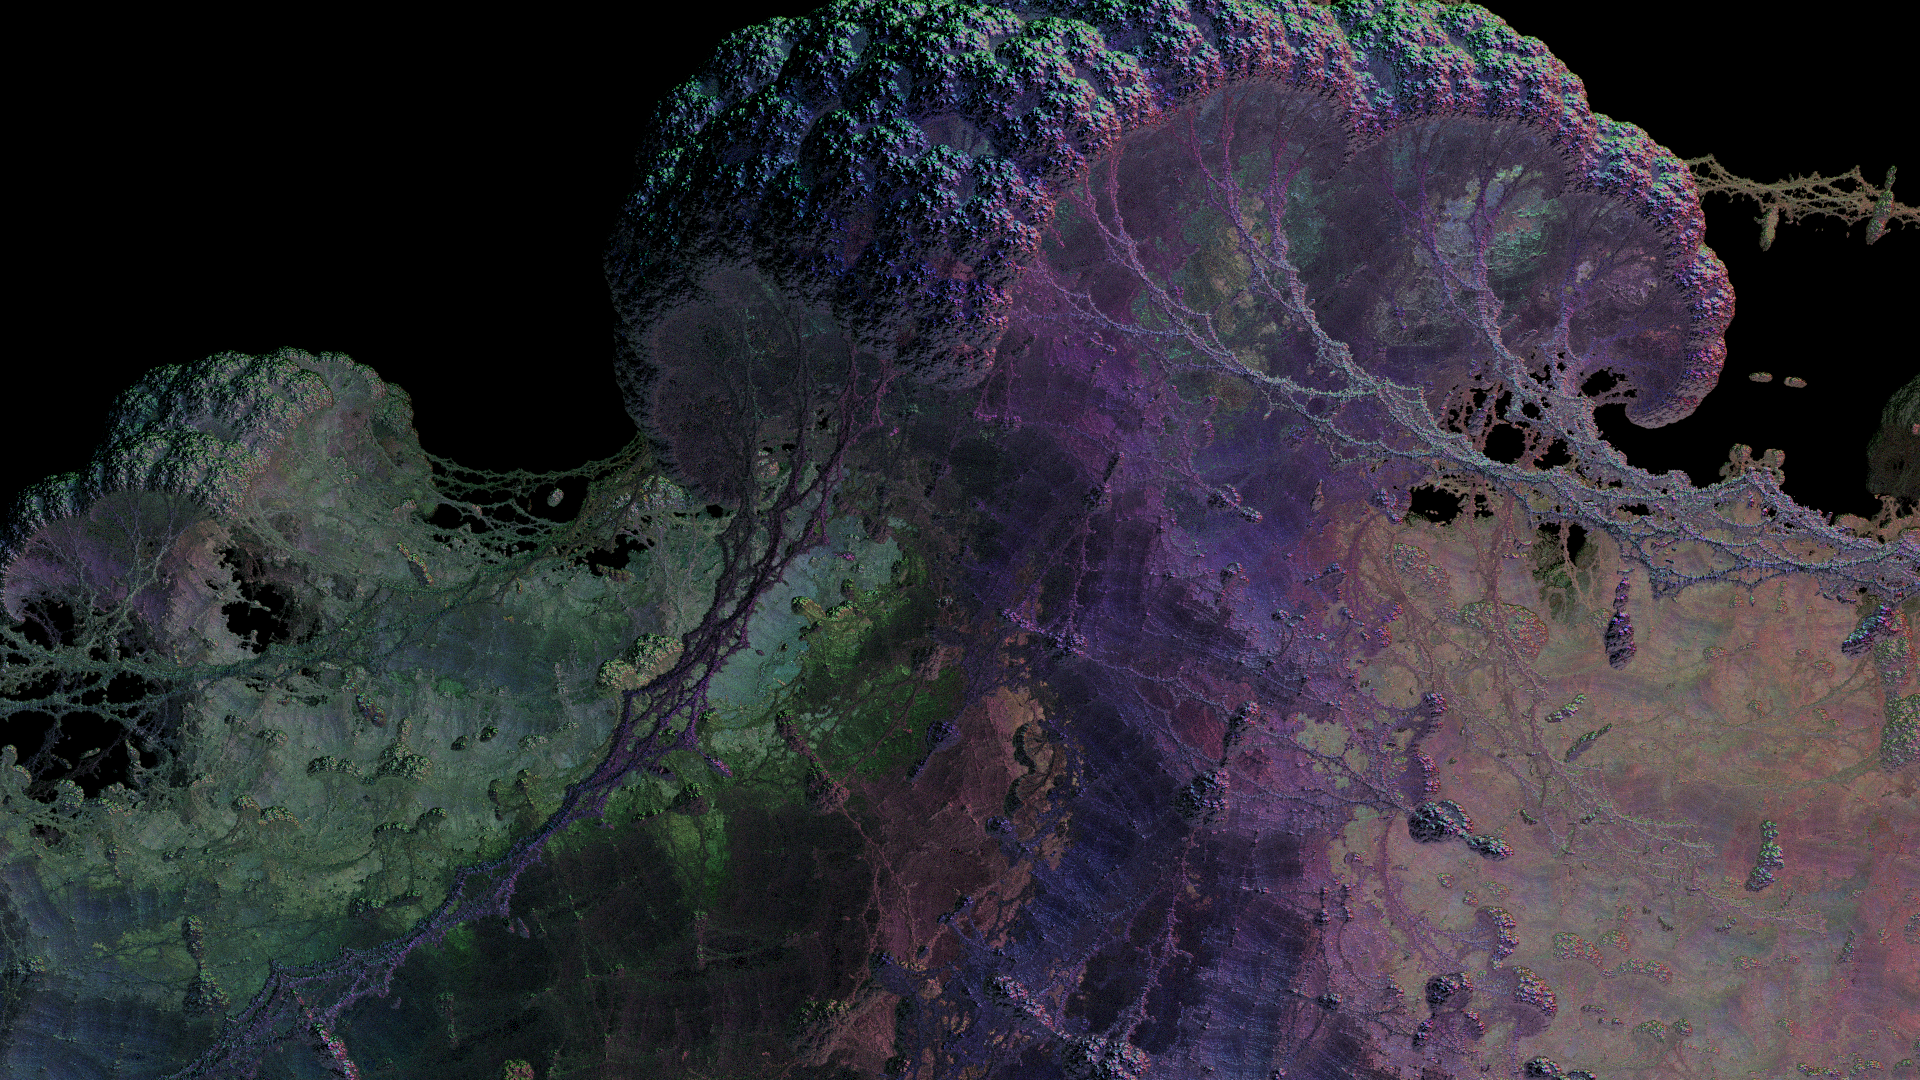
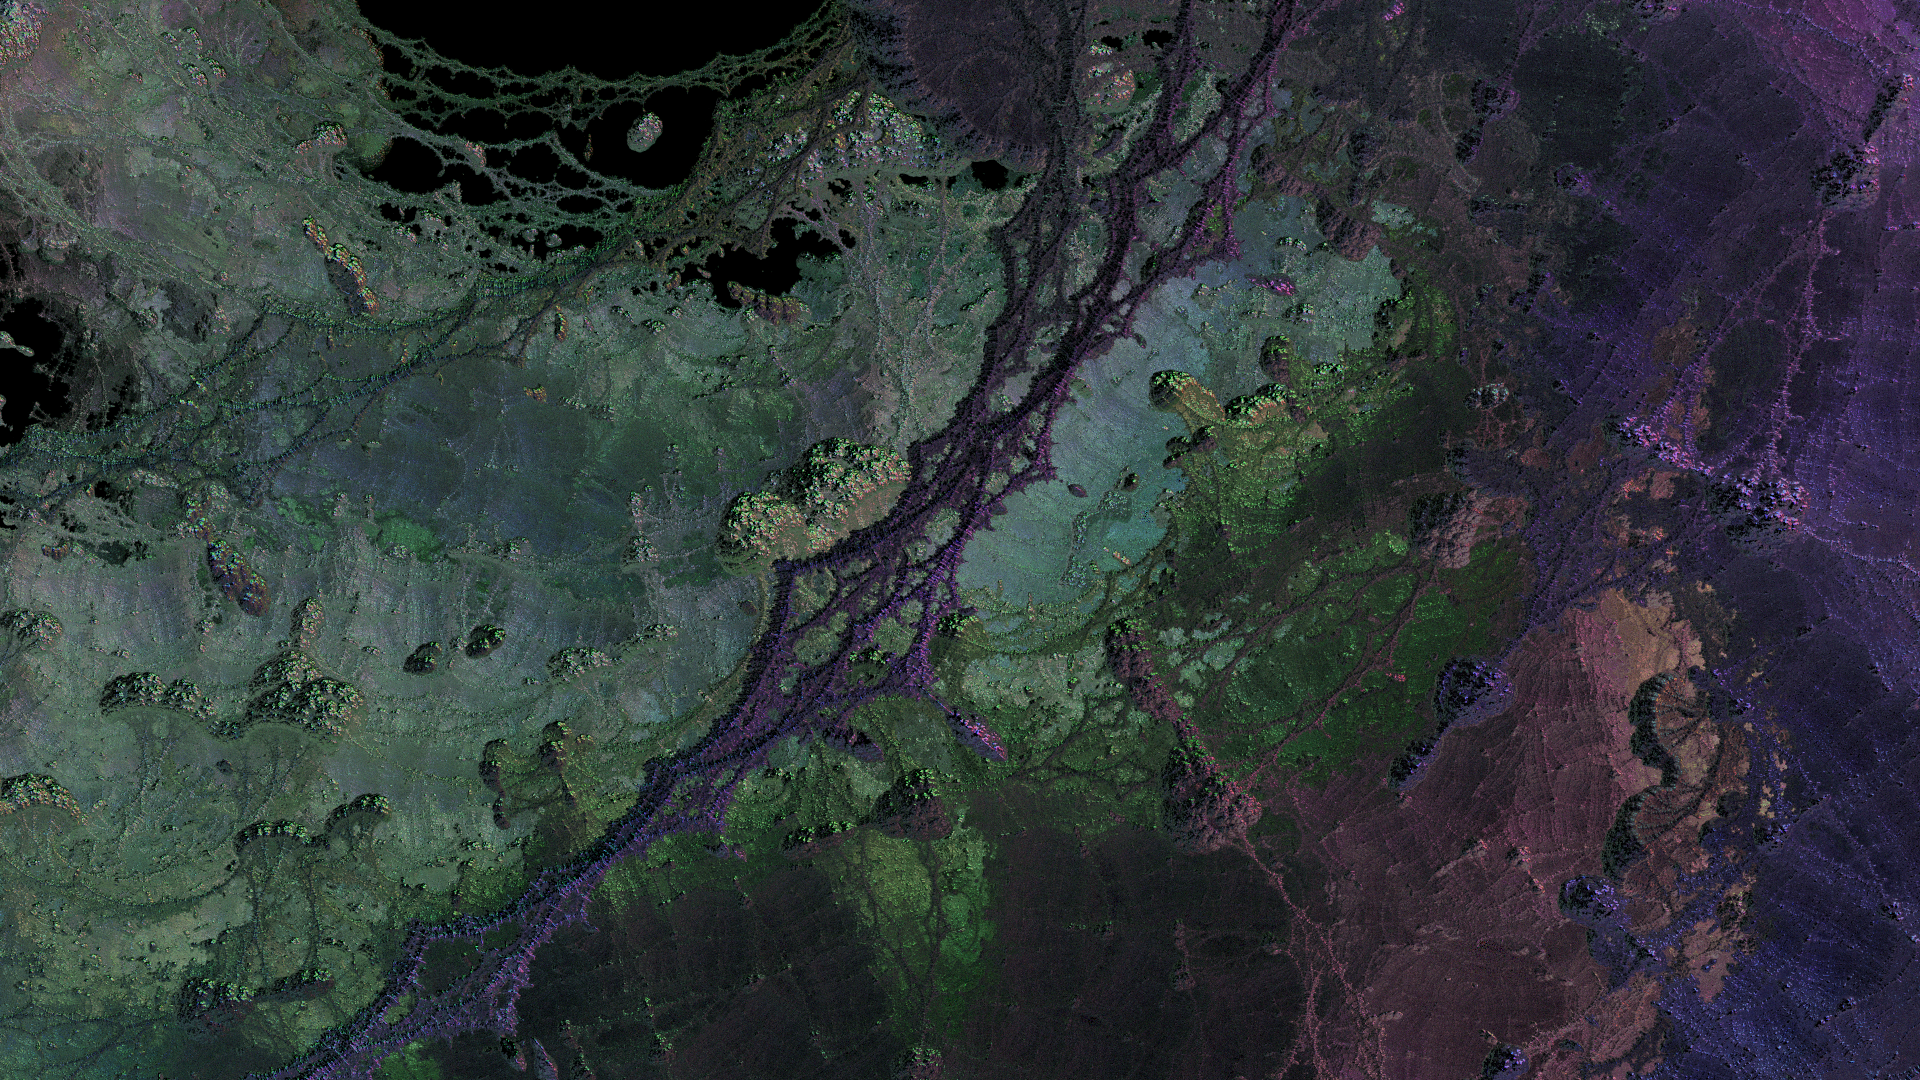
Once we have this information, the bounce loop (2) begins. The actual loop now lives on the CPU, which is running compute dispatches in sequence. These shader dispatches operate on a big buffer of these ray state structs generated by the first stage. Once a determination is made on whether the ray intersects the scene (2.1), or escapes, we move to the next stage, where materials and bounce behavior are evaluated.
This third stage (2.2) uses material information written by the second stage. For example, if a diffuse surface is encountered, we are going to do the math to generate a cosine weighted hemisphere sample... if we hit a mirror surface, we'll be generating a ray reflected about the normal. For volume hits, the logic is a little bit different, very similar to what I was doing for the volume pathtracing in my 3D physarum and the followup post.
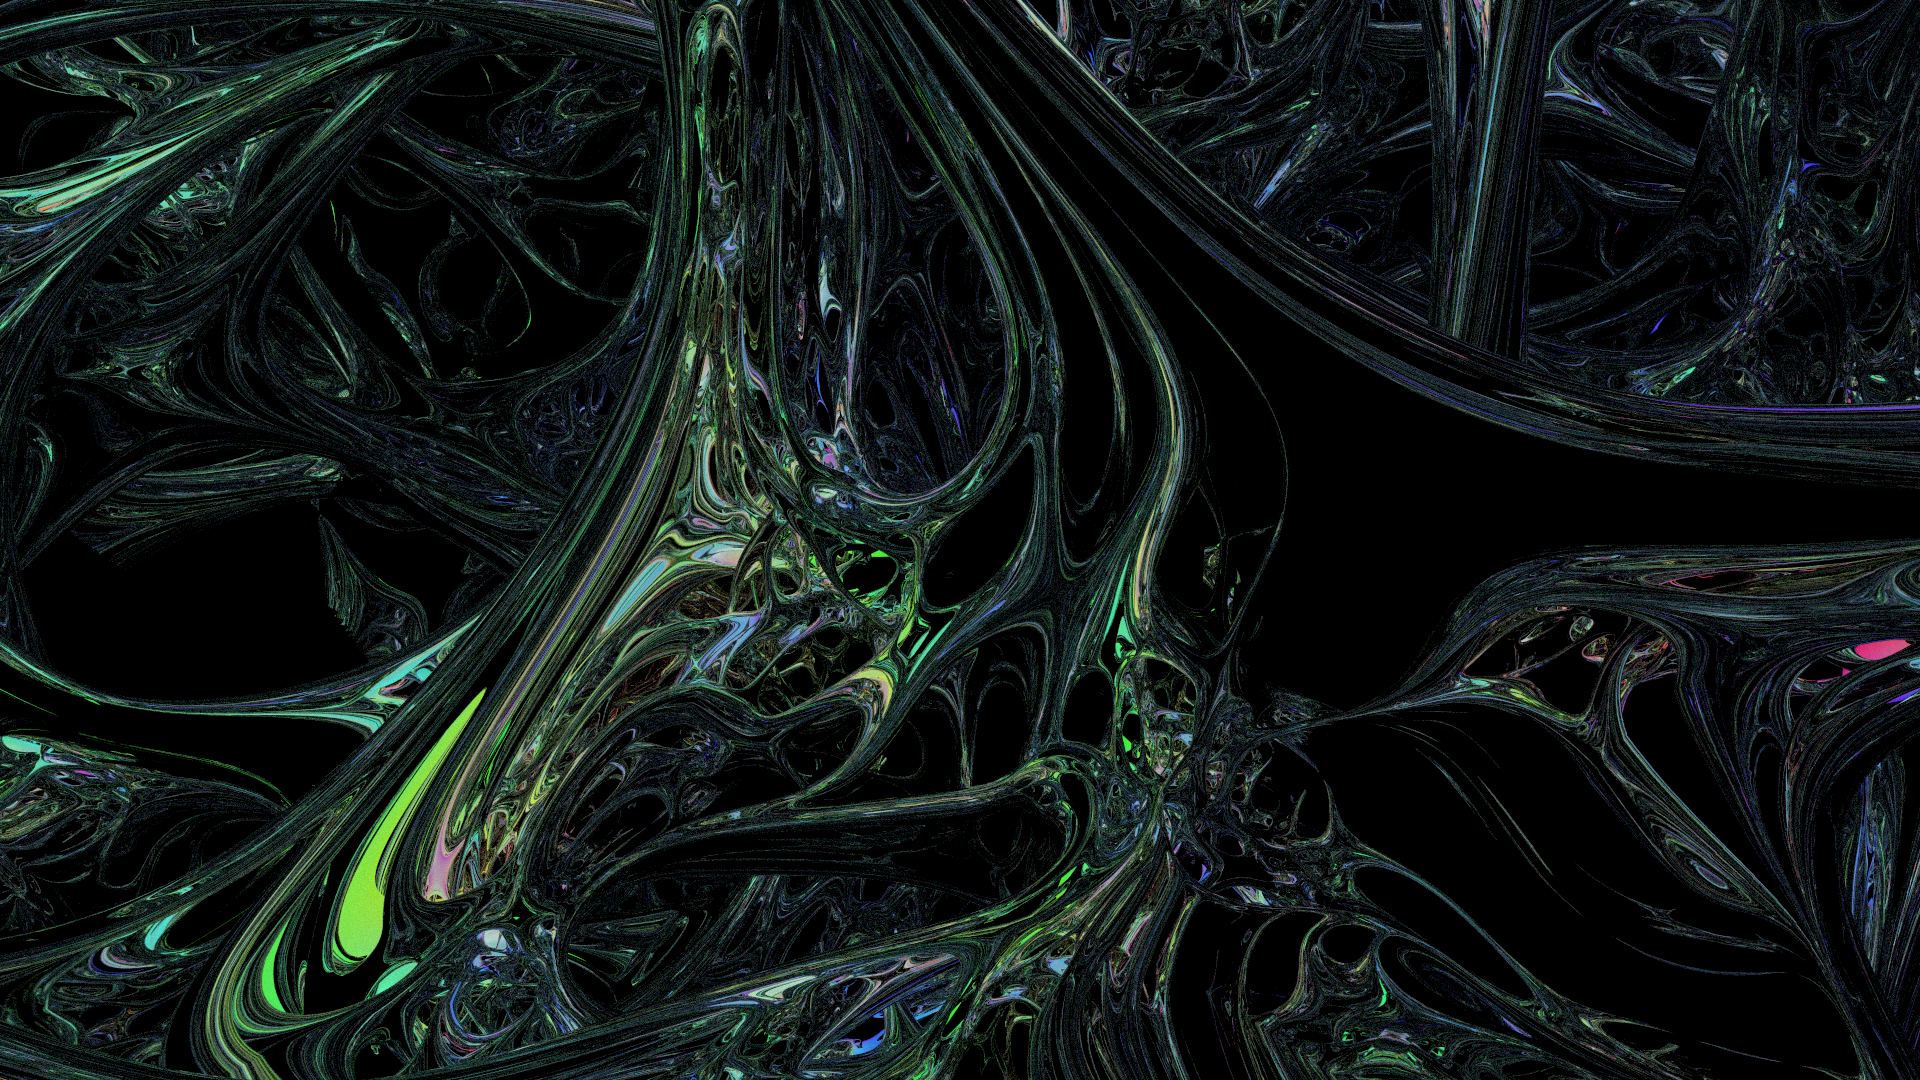
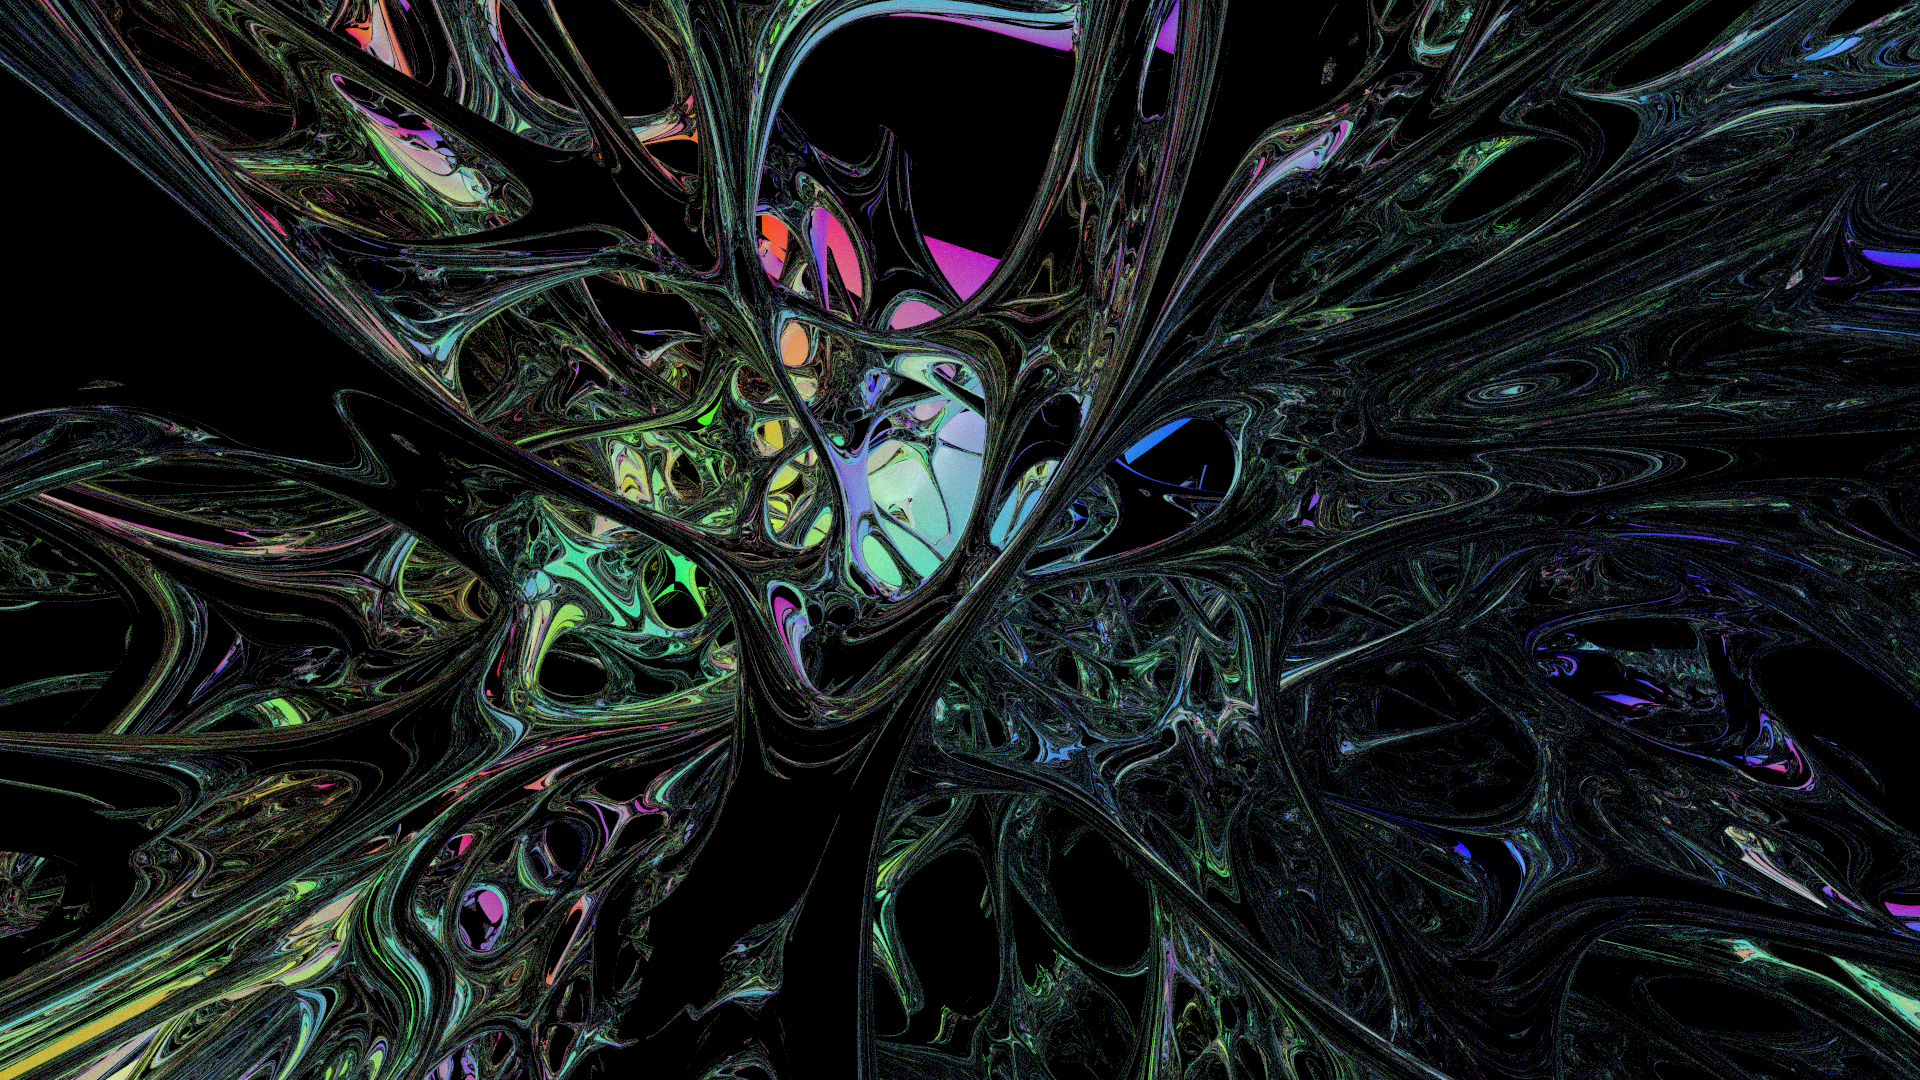
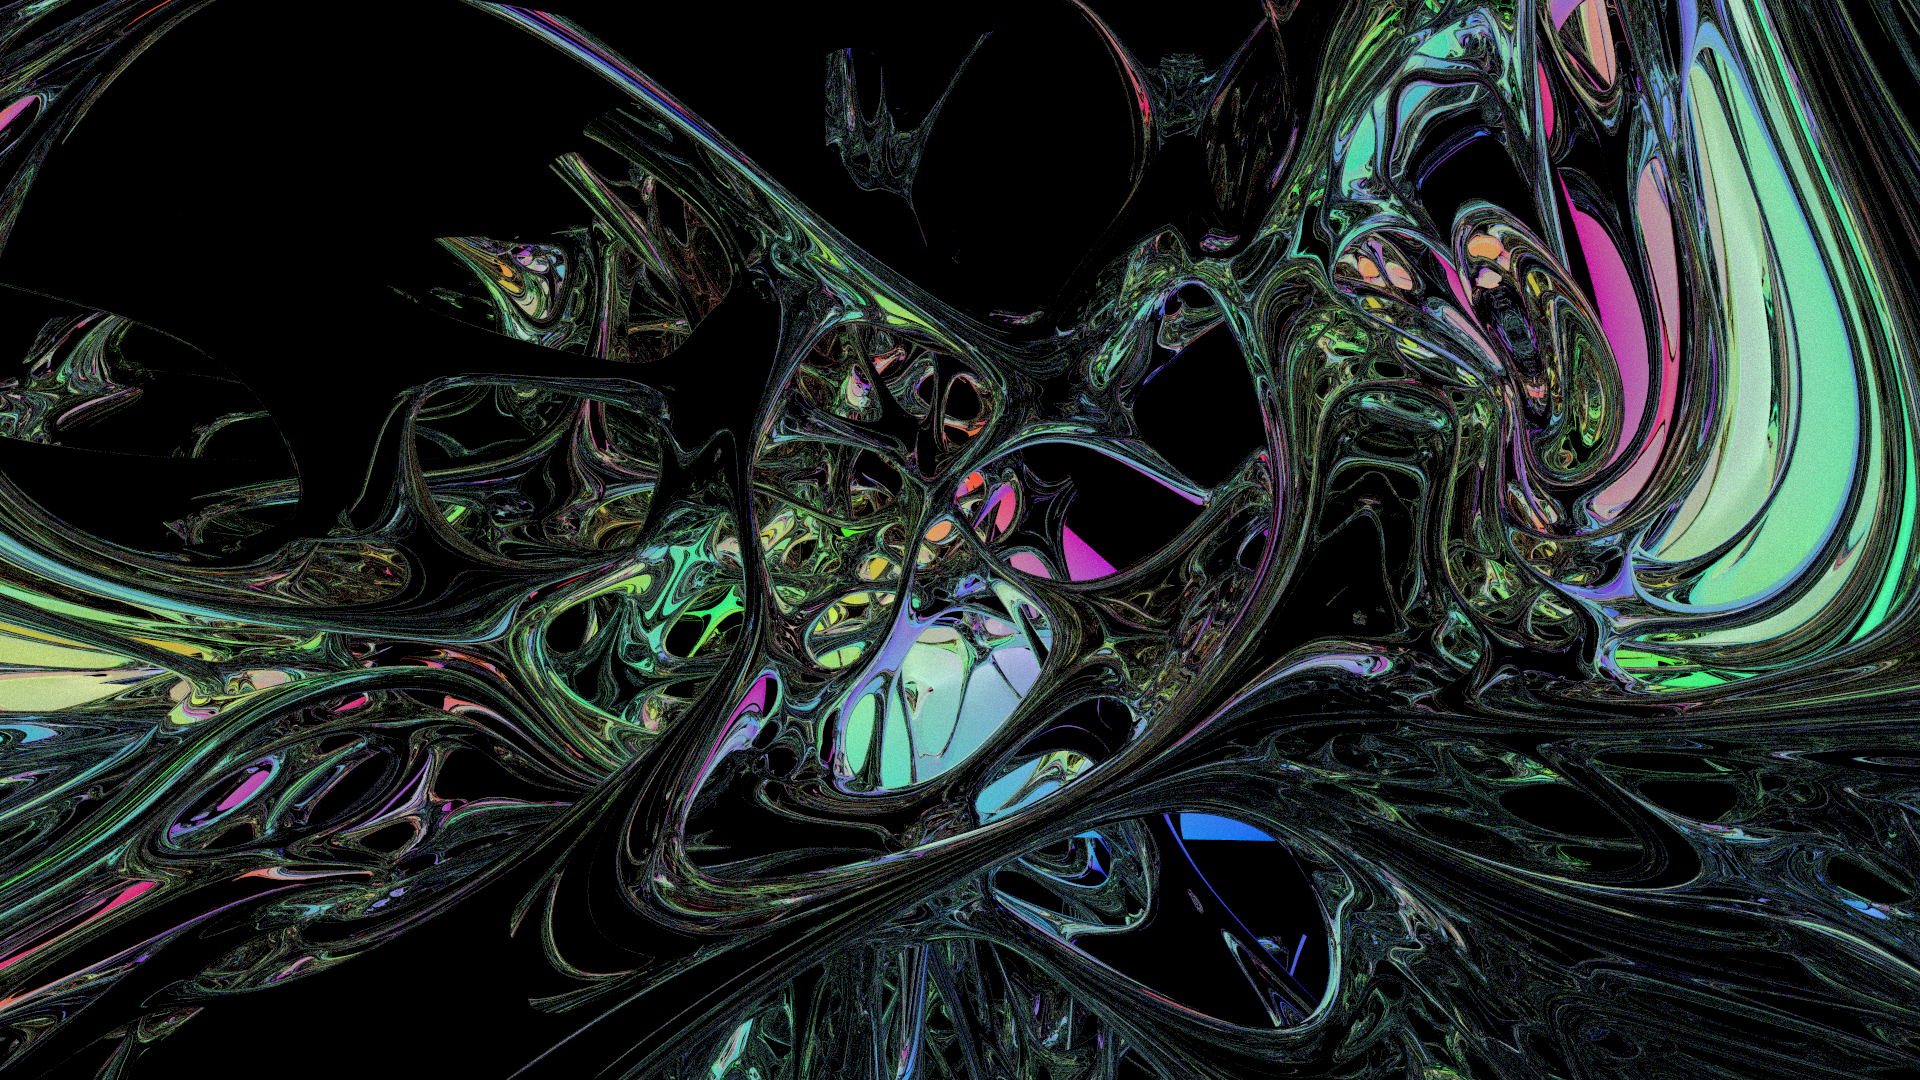
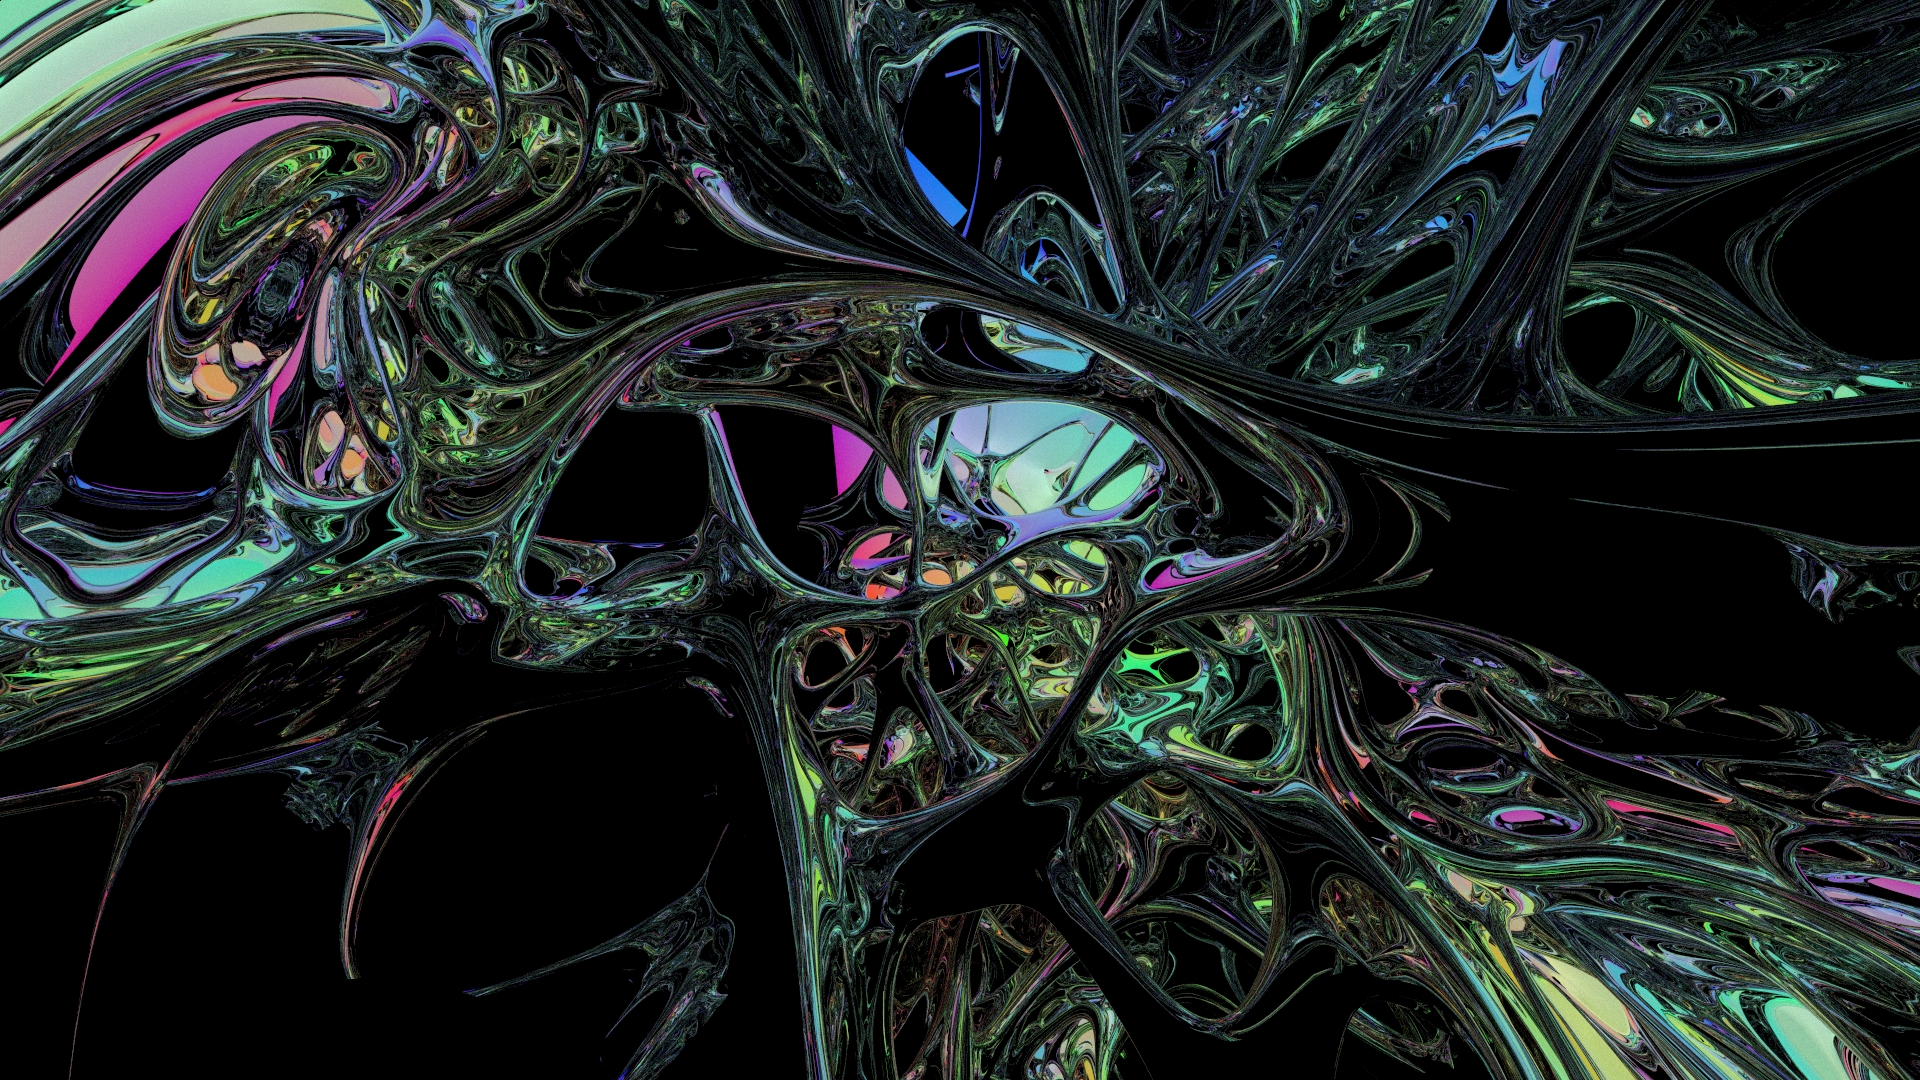
When this material evaluation step finishes, we have to determine if the ray terminates at this bounce or not. If the ray hits the skybox, or is flagged for termination via russian roulette, we know that it's time for it to write its data to the accumulator. Otherwise, we will be updating the ray state in the buffer, writing a new values for ray origin and direction, along with updated values for transmission and total energy. Once these values are known, the ray will continue to participate in the next iteration of the bounce loop.
If ray termination is indicated, we need to accumulate the energy this ray has gathered. Because I don't have float atomics on this machine, I'm adding 1024 times the floating point number to a 32-bit uint tally for each red, green, and blue, and another buffer tracking how many rays have touched this pixel in this way. This way I can just divide that factor back out, and divide by the sample count, to get sufficient precision for color averaging. The ray is then killed, so that it does not participate in later iterations of the loop (more on this, including the motivation for the use of atomics here, later).
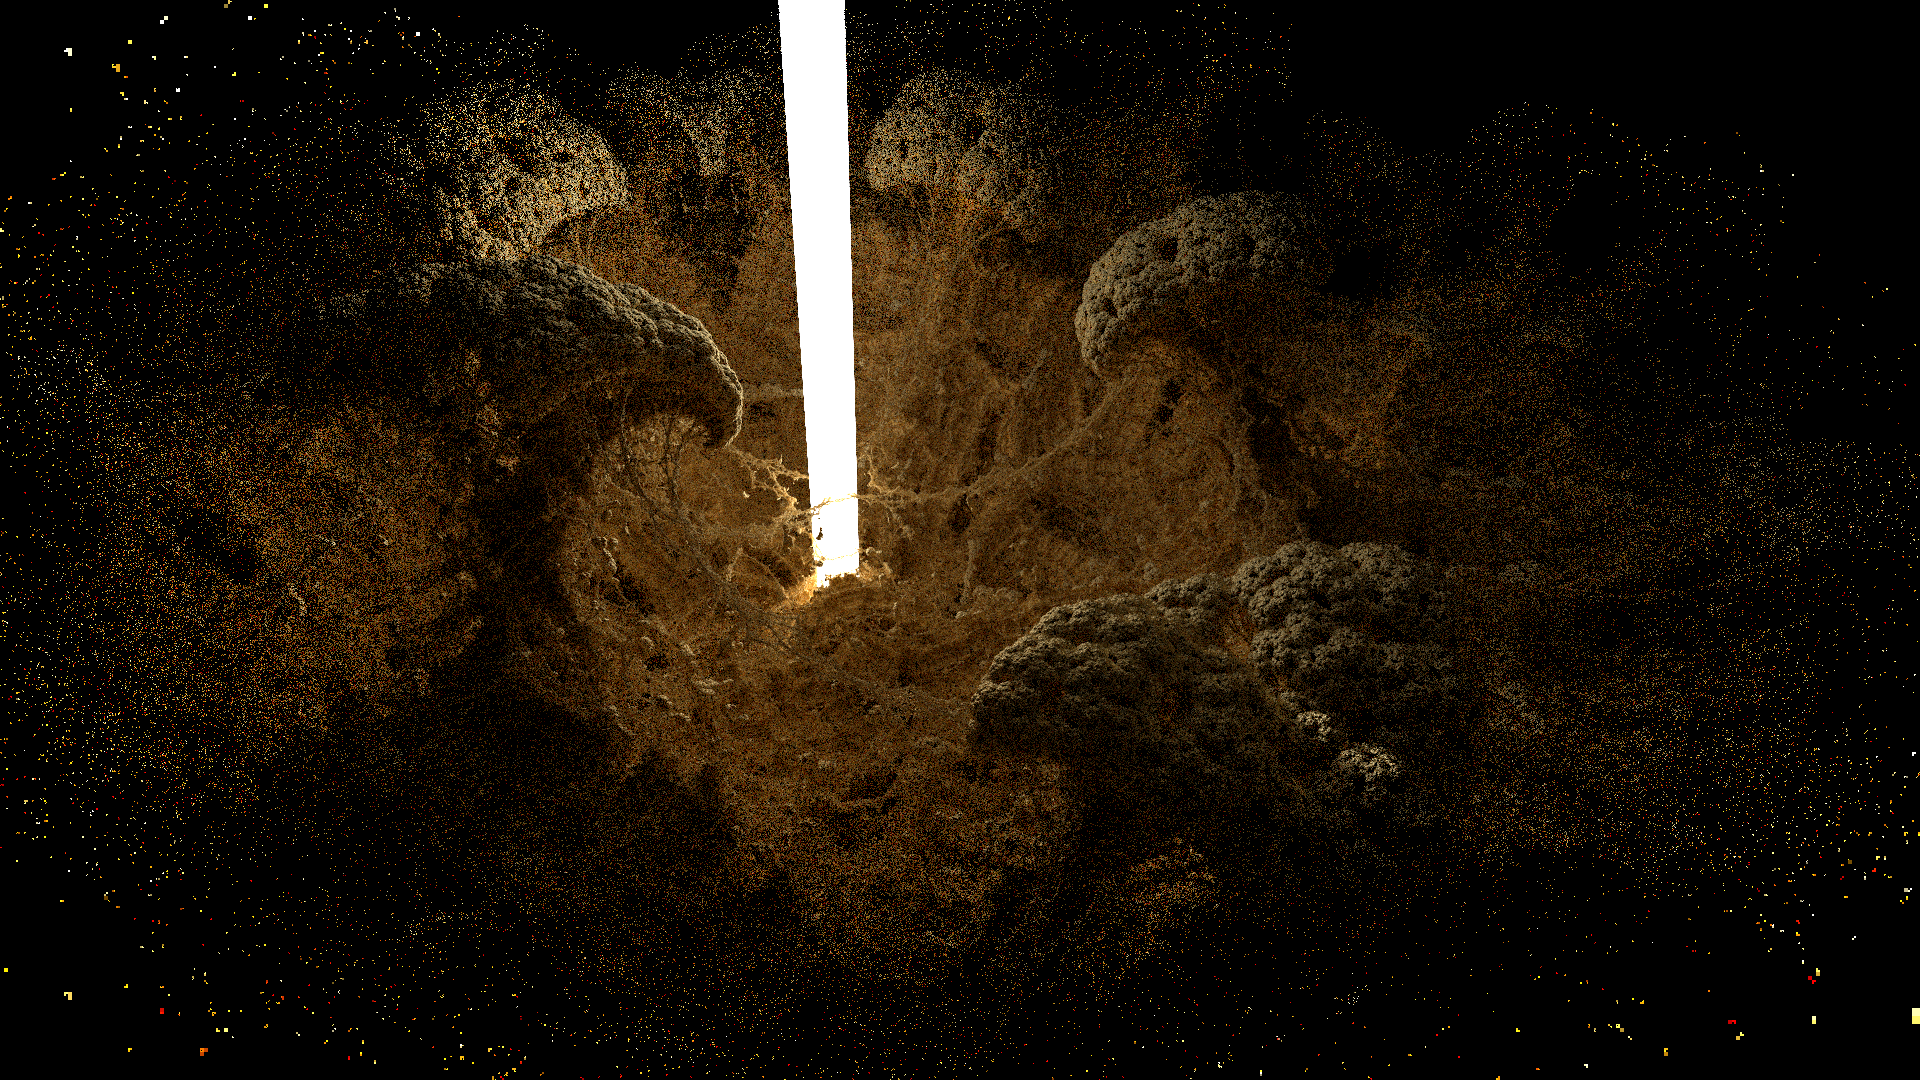
This averaged color value feeds into the interlacing scheme that I described in the post on Adam. This fills in the gaps in the sparsely populated buffer, where the CPU-provided pixel offsets that the ray carries with it indicate that it should write. There are a couple of approaches here: you can keep a shuffled list of all the pixels on the screen, so that you touch every pixel exhaustively... or another approach that I described at the end of that post. If you generate your offsets with a gaussian distribution - ignoring total coverage of the image - you can get that foveated effect with less detail towards the edges, like you can see here.

Intersectors
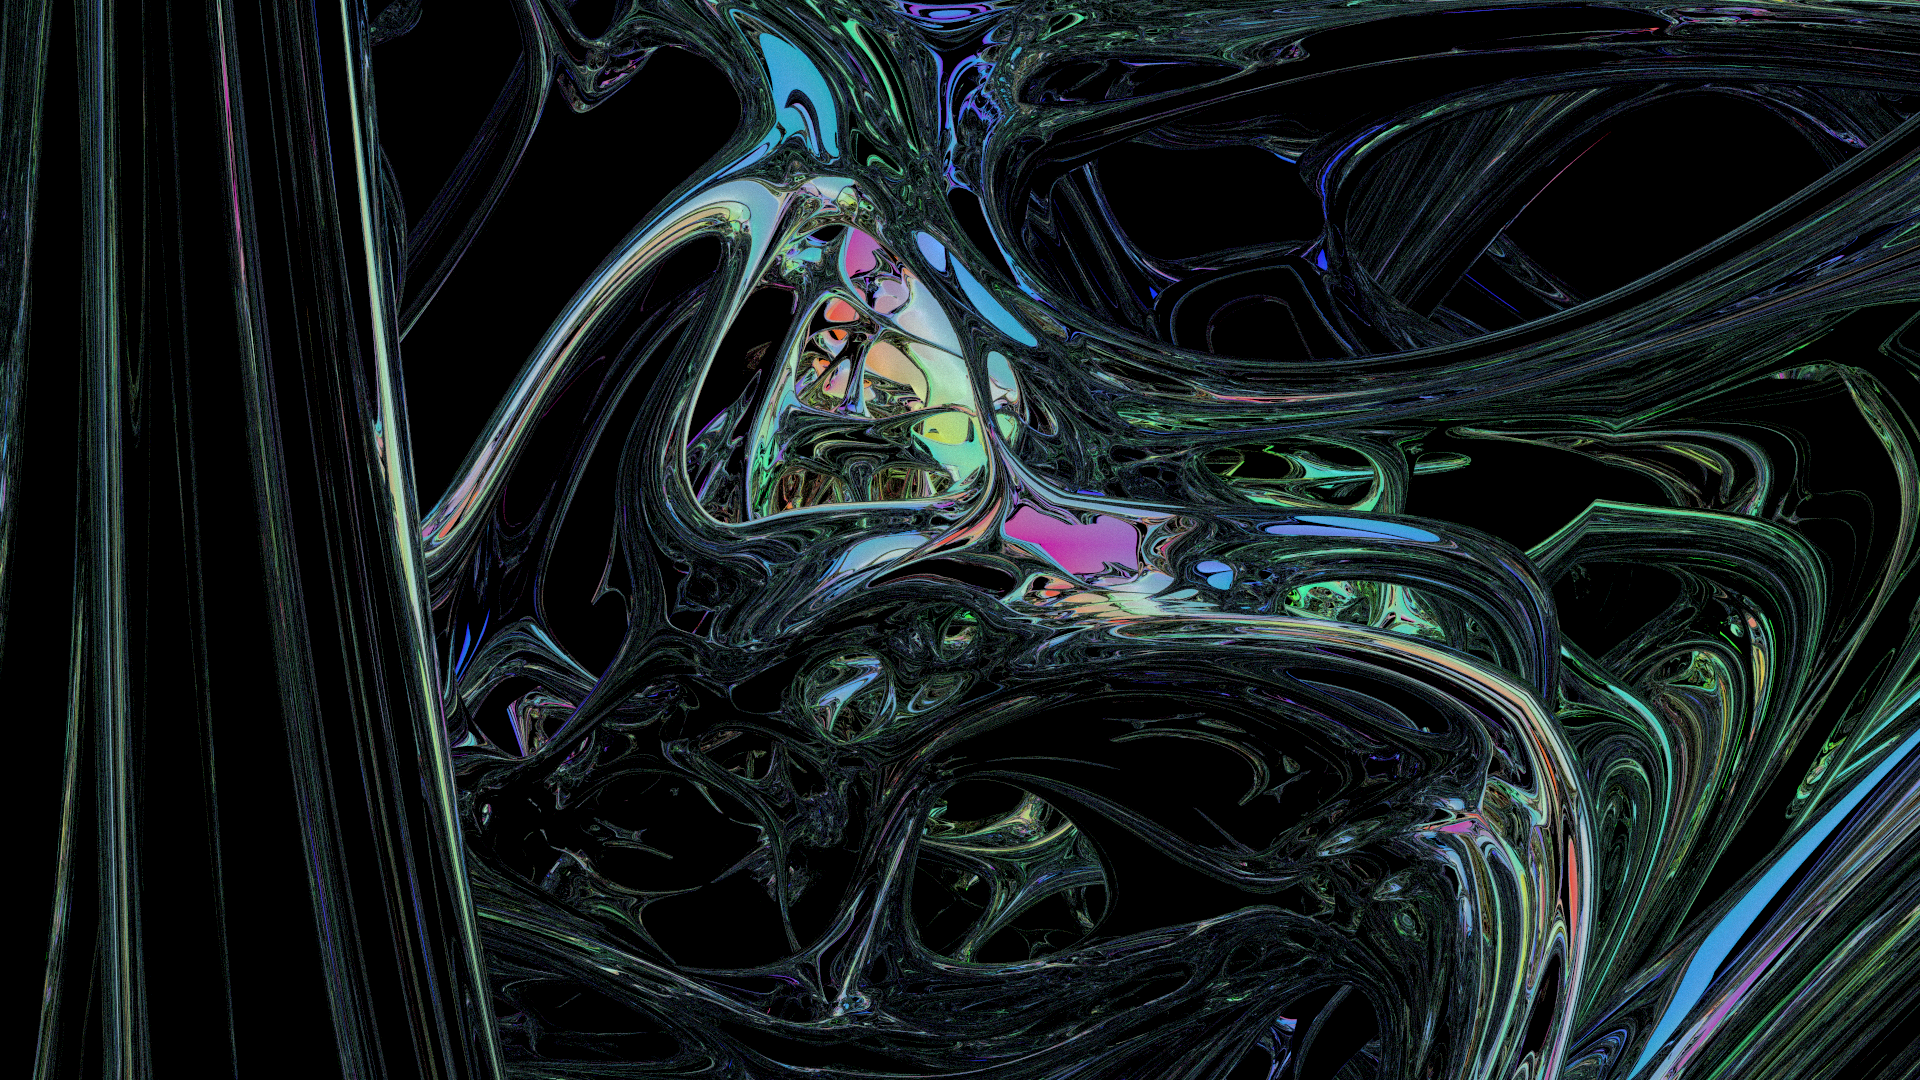
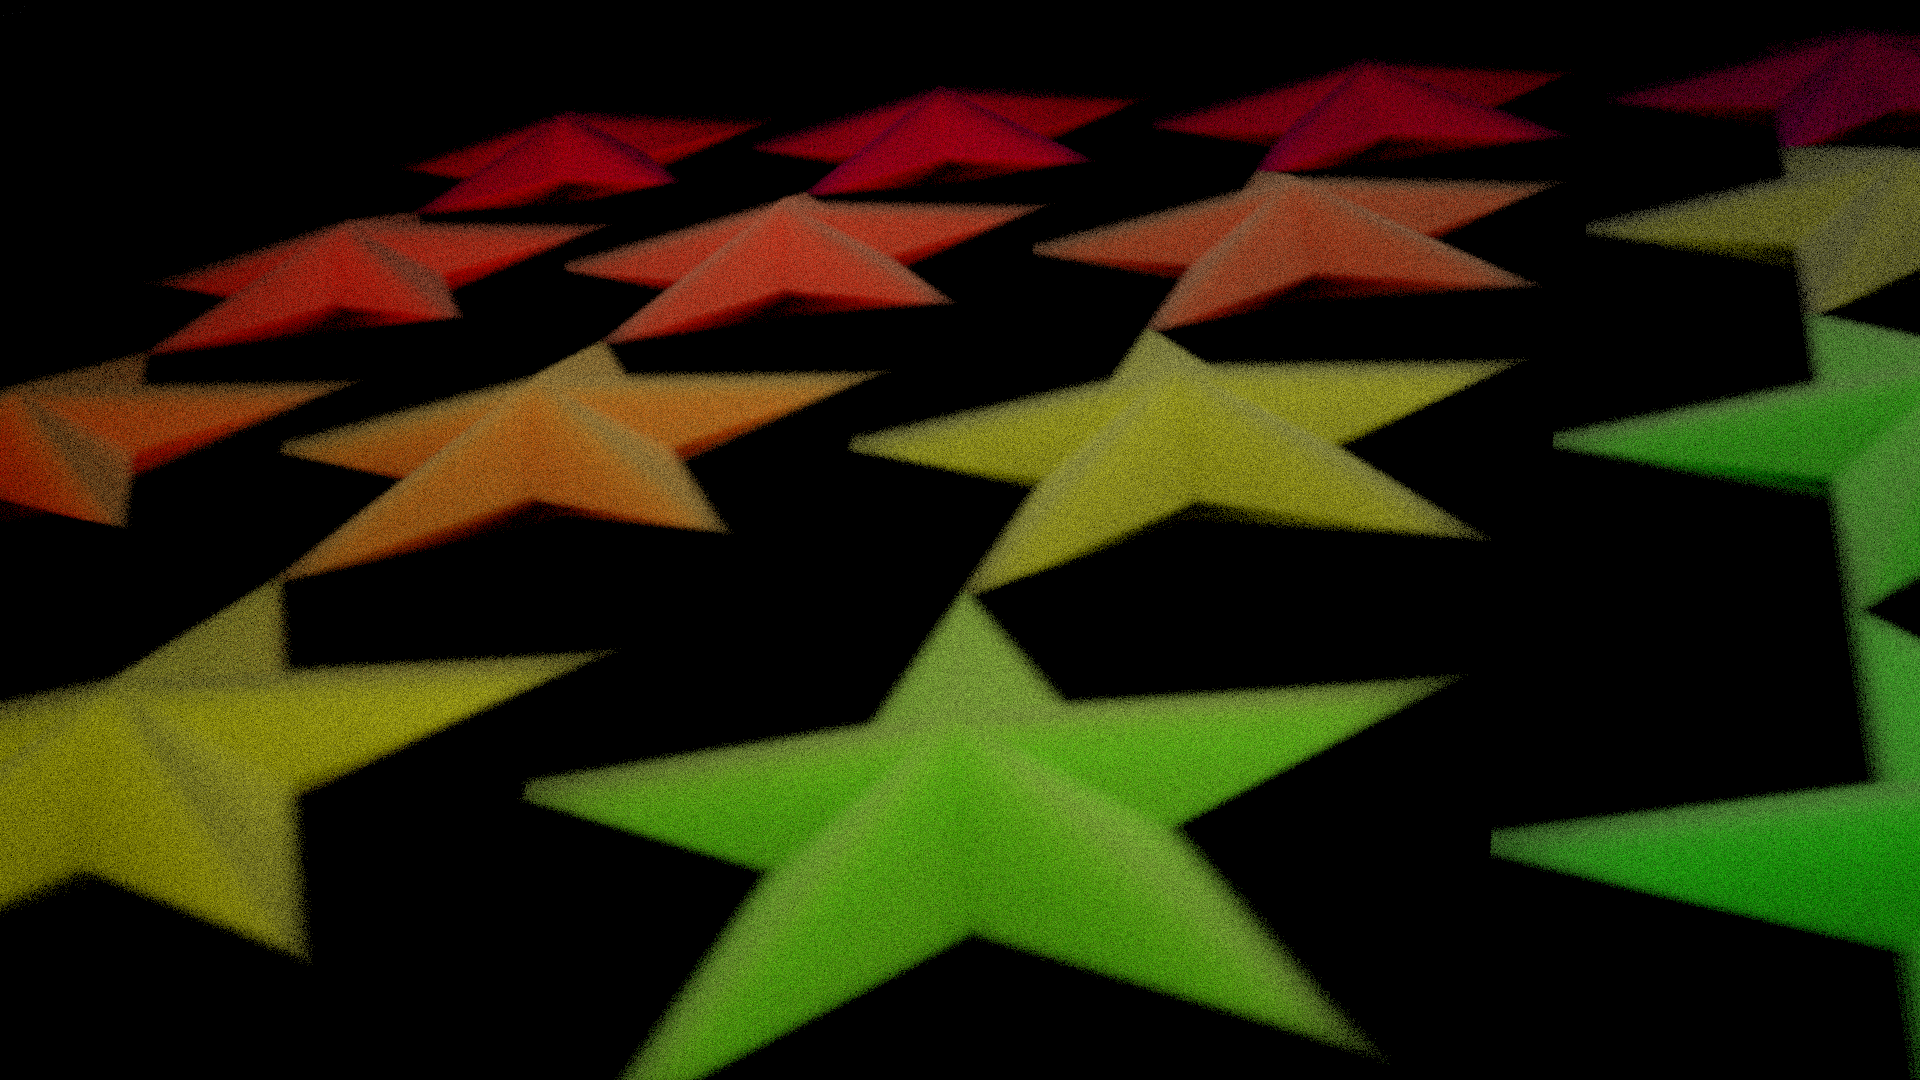
The SDF raymarch and ray-triangle stuff is pretty self explanatory. SDF intersection does the standard sphere tracing approach and gradient evaluation for normals, and I'm using Möller-Trumbore to intersect with the triangle. A lot of the lighting on the renders here is coming from the barycentric coords visualized with the red, green, and blue channels coming from an emissive triangle's surface.
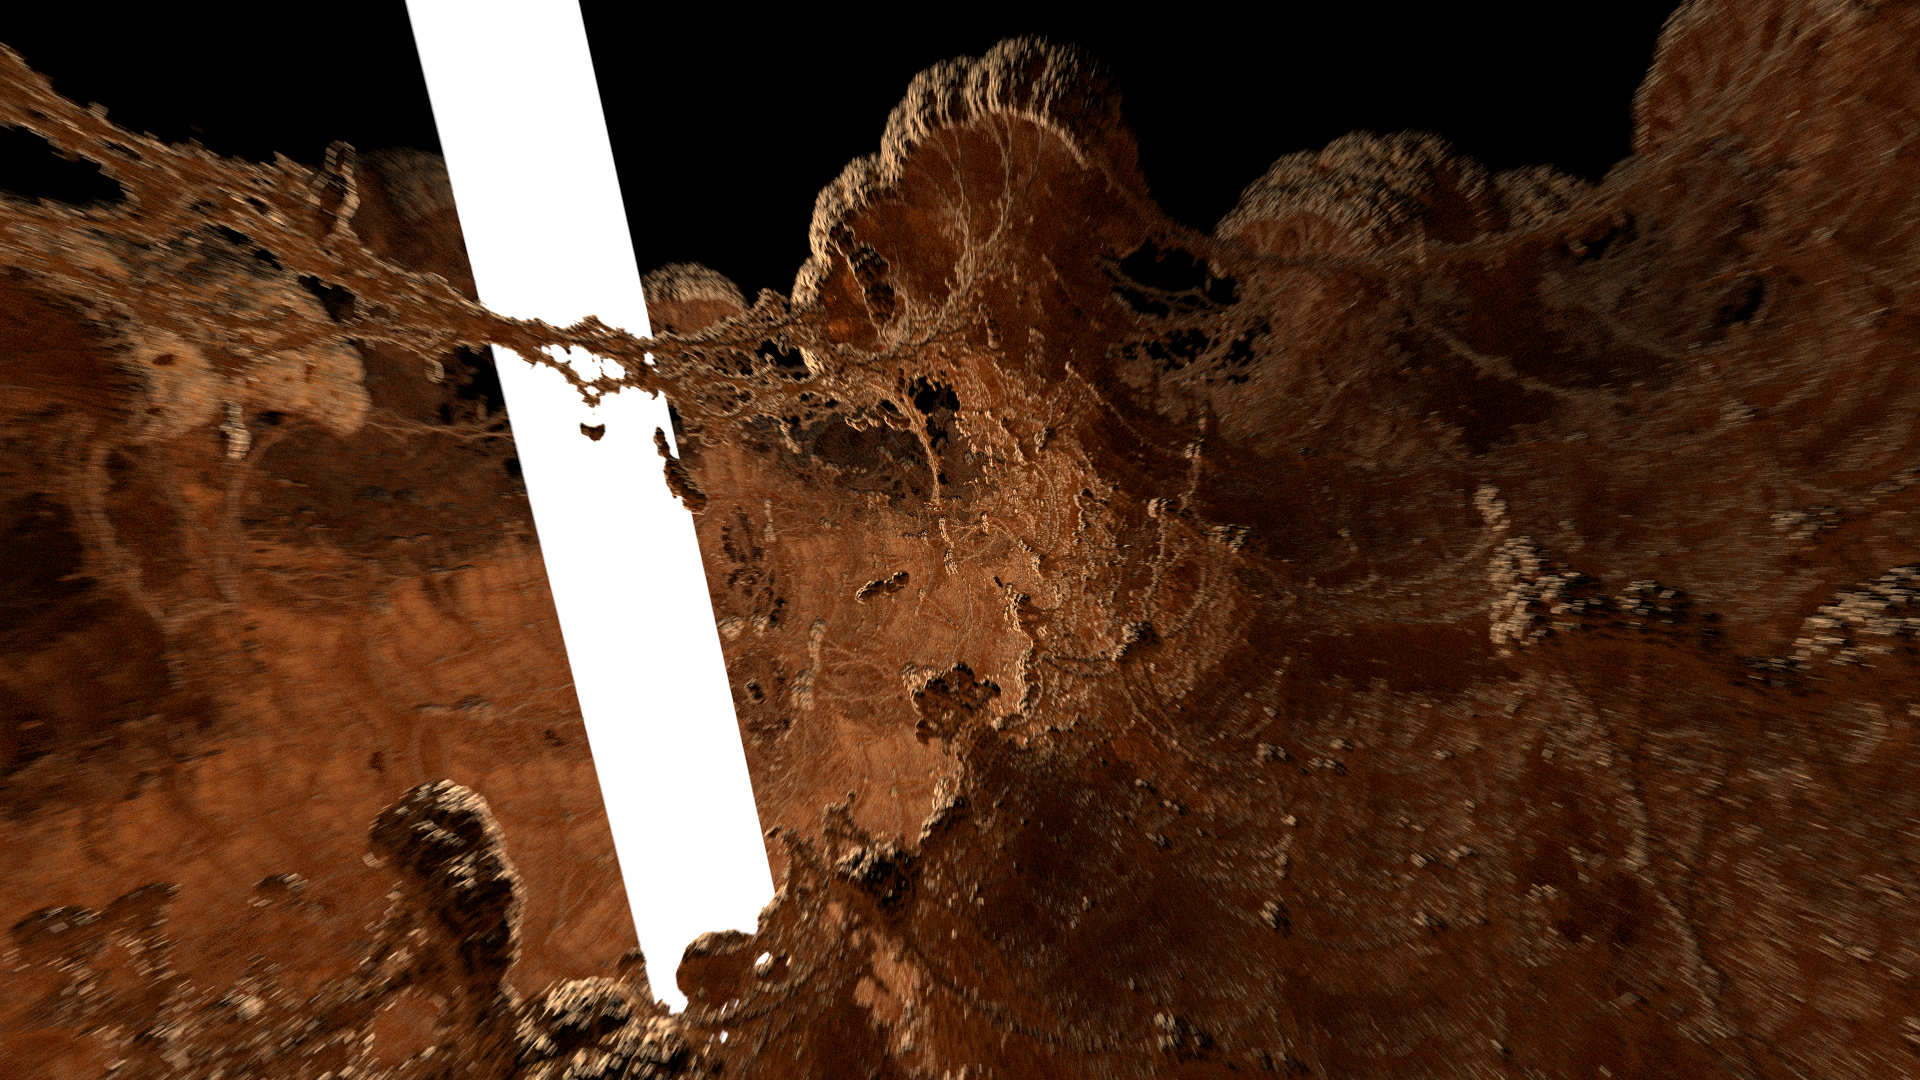
The volumetric stuff is a bit different, and I think it's very interesting. At the top of the page, you can see it with a soft falloff informed by the inverted distance value returned by an SDF. At each step during a DDA traversal through the space, the SDF is evaluated to get density and color values. What's cool about this, you can easily use this for atomospheric effects, where a very low density volume can exist. The one here with the green tendrils, has a much lower density light blue in the negative space. I think this contributes a lot to the look of the scene.
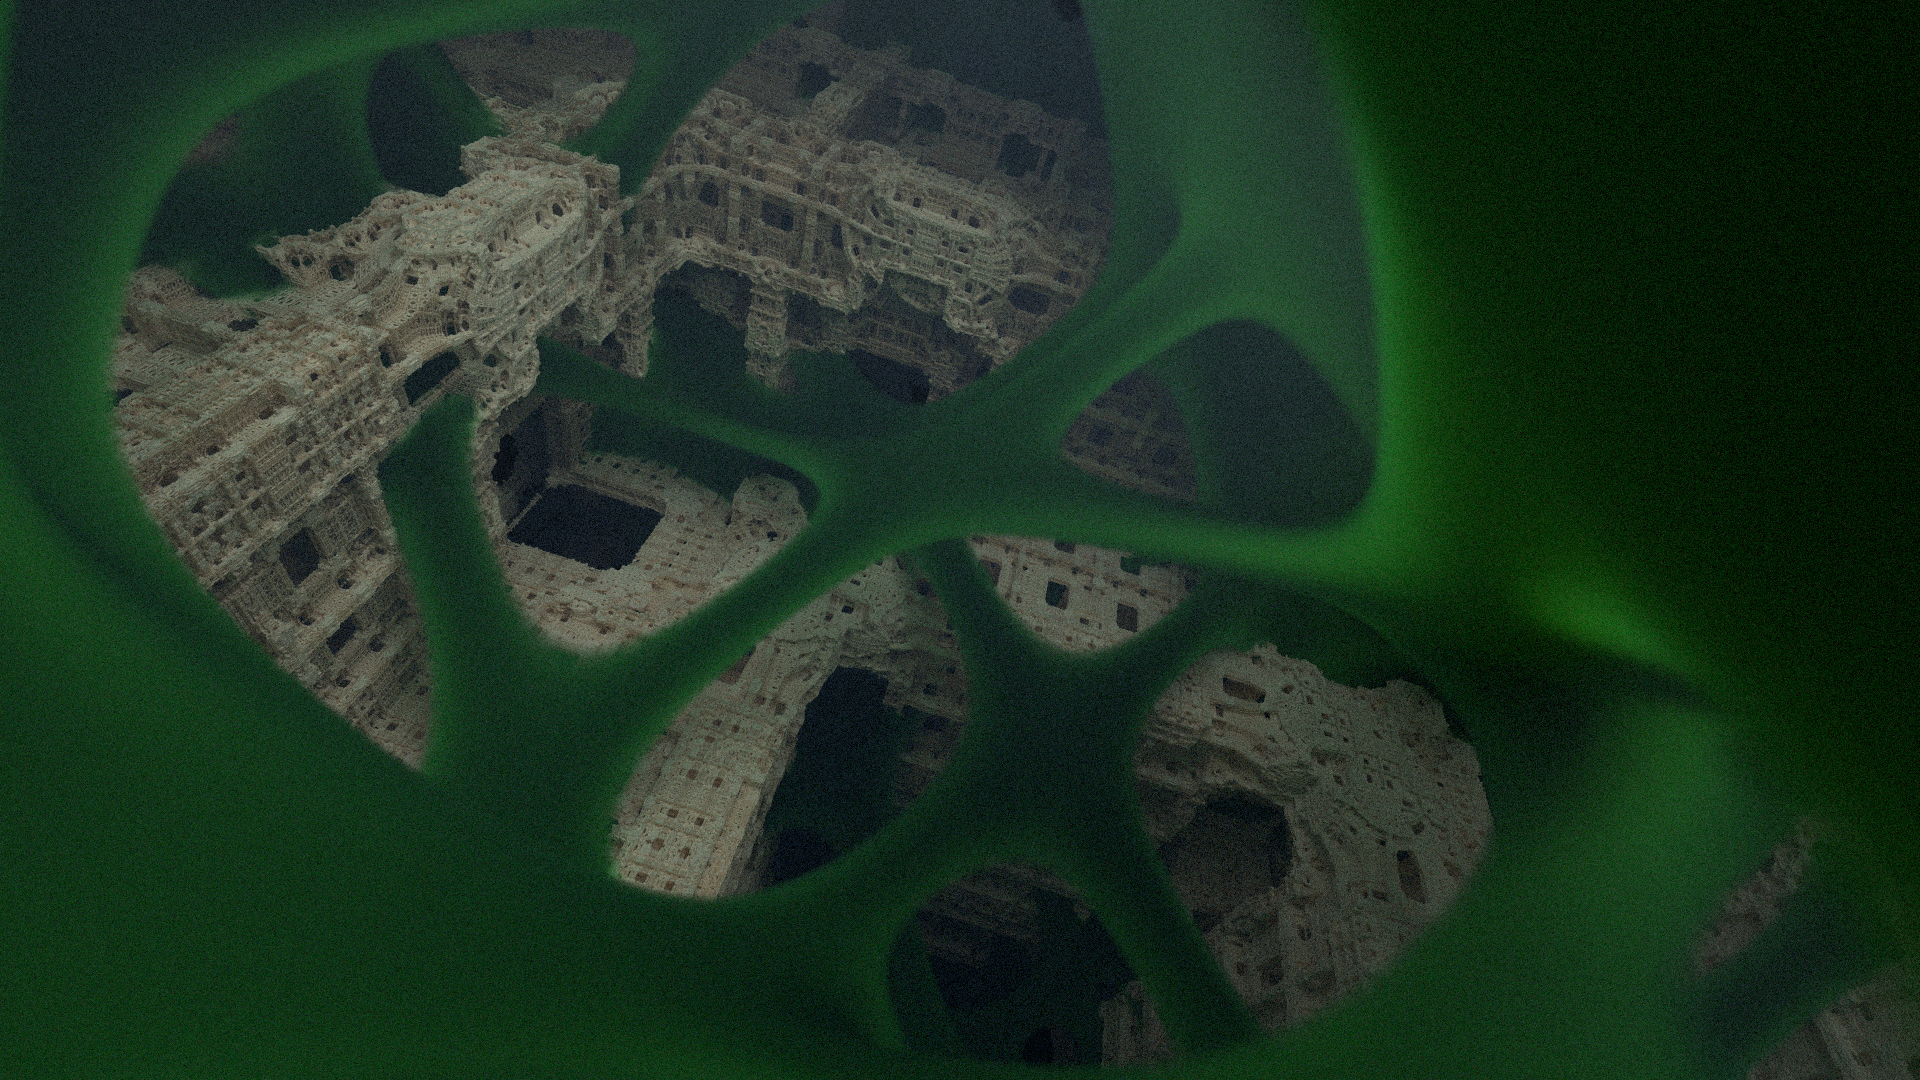
Especially in the "Hello, Triangle" render at the top of the page, this low density volume creates a very compelling bloom effect. I think it's really neat that it just shakes out like this, from the random scatter process. It takes a lot of samples - because the scattering events are so unlikely in these low density volumes, it takes a long time for it to converge to a smooth atmospheric effect like this. This is an extremely brute force approach, and I think there are smarter ways to come at it. I also need to play around more with phase functions here, because currently I'm just using a weighted sum of a random unit vector and the previous ray direction, as described in the physarum posts. This can be a material property that varies throughout the volume, just like density and color.
FoV Jitter and Chromatic Aberration
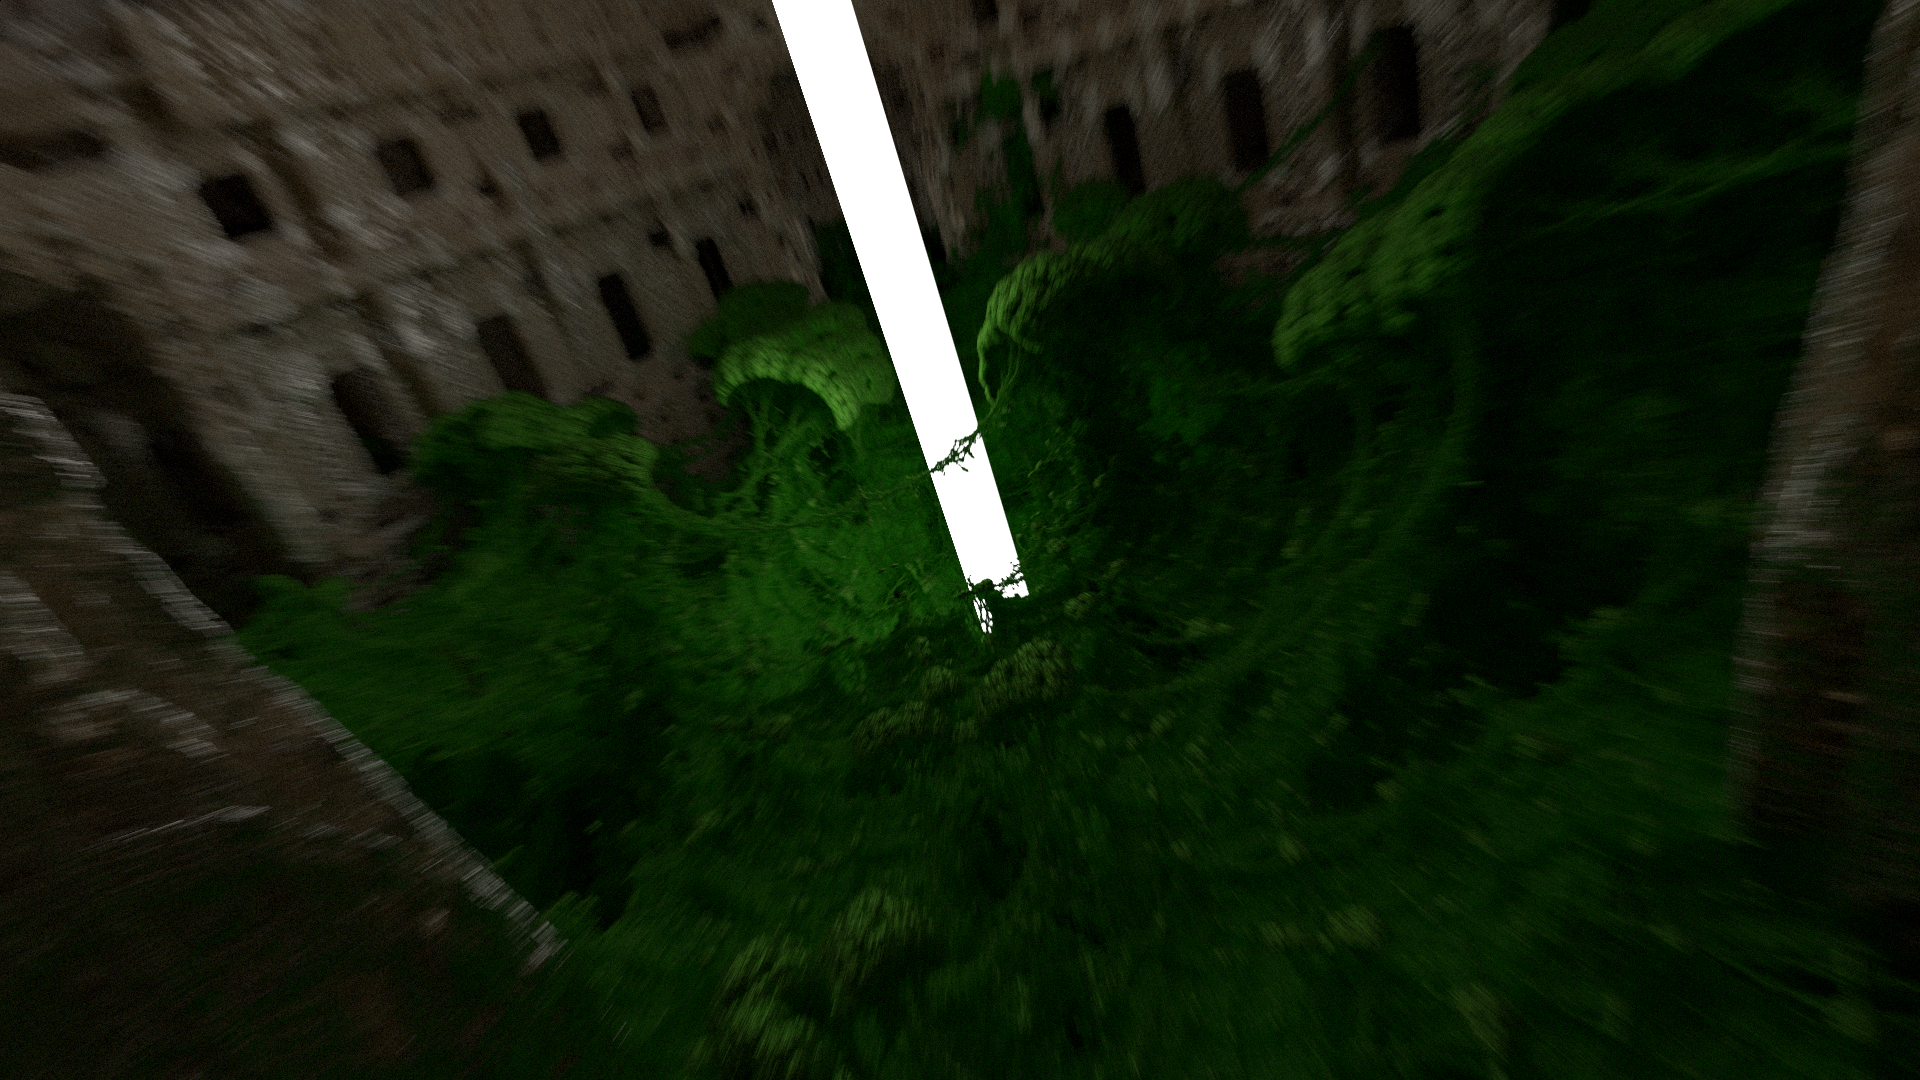
This is something that I've been thinking a lot about since Daedalus. I want to work towards setting up some infrastructure for rendering animations - in particular, to have a random distribution of values for parameters involved in rendering a frame. This would be things like a range of positions and orientations, in order to have seamless motion blur between frames. I messed around with this a little bit here, where the initial ray generation step calculated a small random offset to the FoV value for each ray.
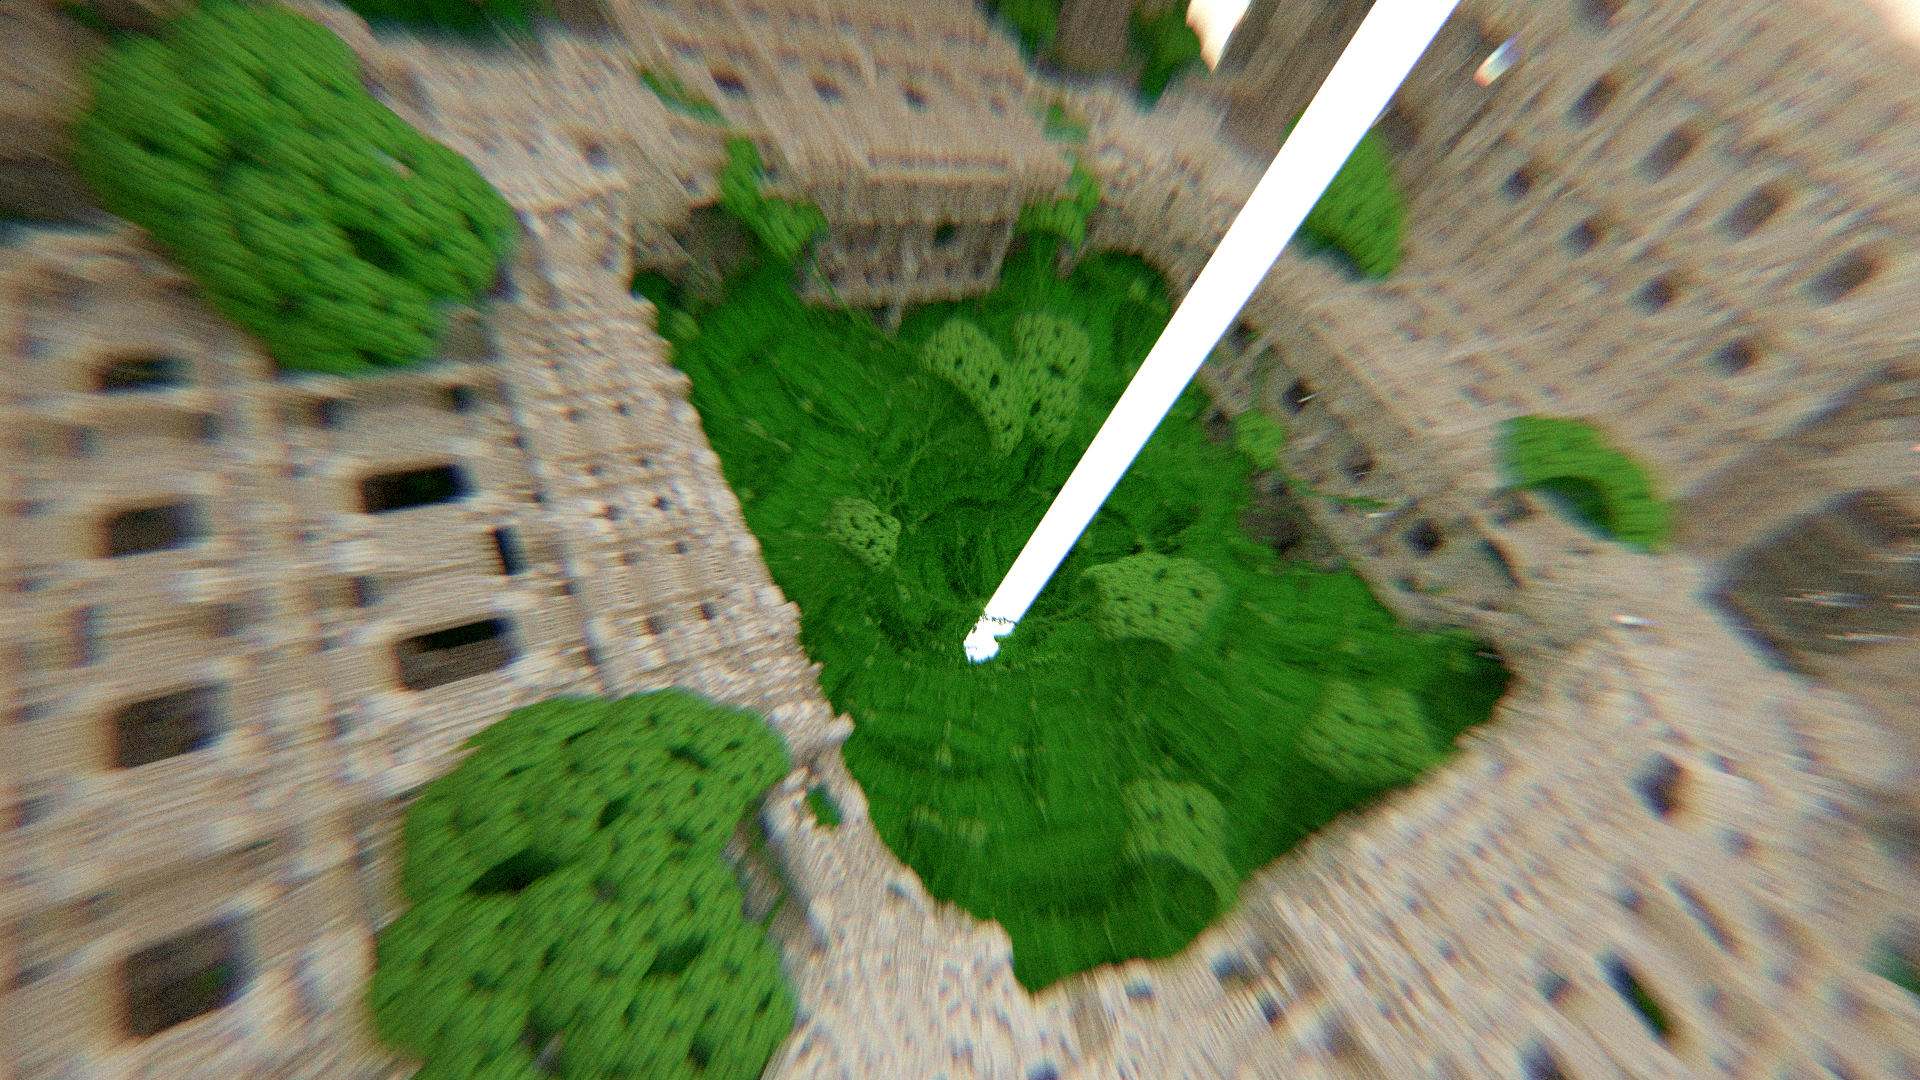
This gives an interesting indication of motion, a sort of radial blur - but because it's informing the raytracing process, rather than operating on flat image data, it's got some subtleties that the postprocess version from Daedalus does not capture. What's more, it can model the same chromatic aberration effect that the postprocess version did, by setting the ray's initial transmission values with a color gradient that's correlated with this FoV offset.
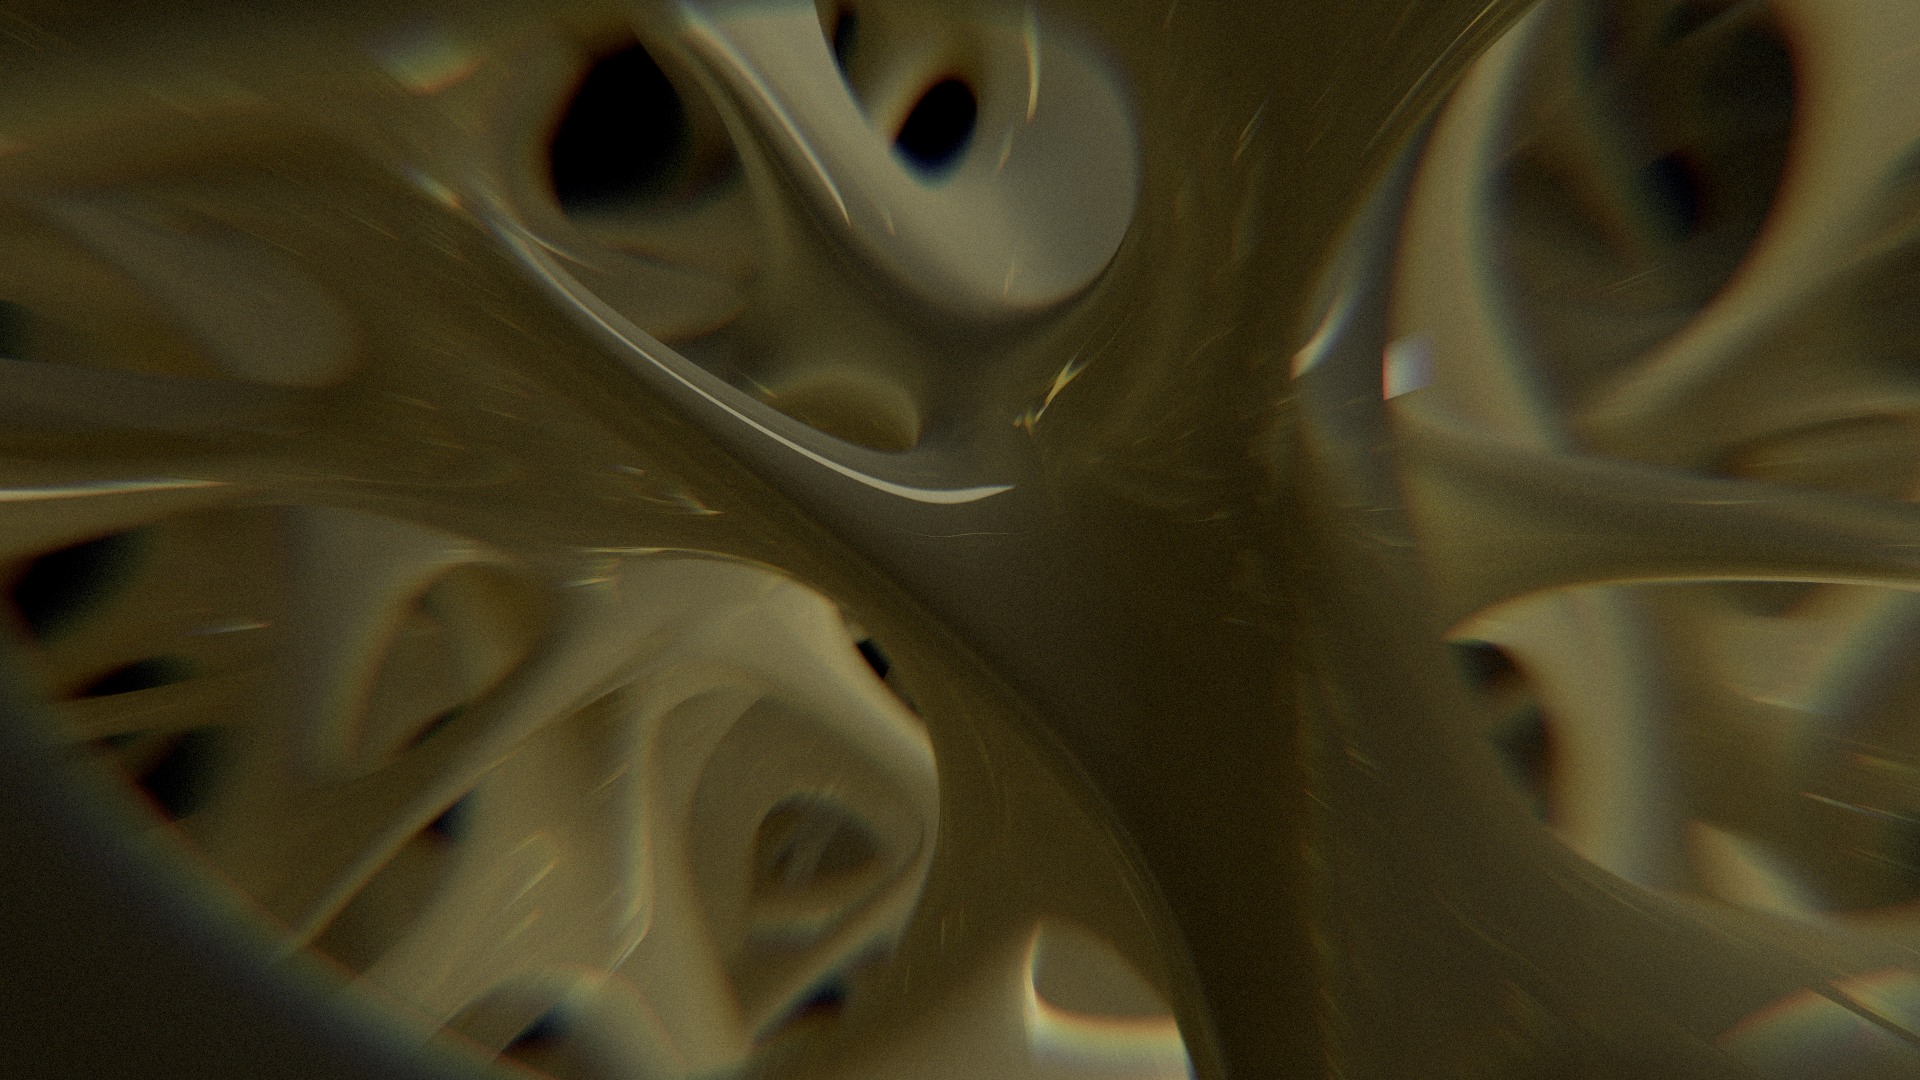
I think this is really interesting, and I think it would be interesting to compare with the postprocess version in more detail at some point. I have a feeling that this will be more interesting to mess with, with different parameters and different camera models. There's a number of camera models that I have not ported over from Daedalus yet. Postprocessing, as well, is still very limited here - I'm not even doing any tonemapping on these, everything here is just linear light, converted to sRGB when it's put into the framebuffer and while saving output. We'll get there, still very early in this project.
Future Directions
One of the key things I would like to see from this is ray branching. The current implementation is just single buffering the ray state structs, updating them in place. But by moving to a double buffered approach, things change significantly - and I think it will have significant performance implications. I had some issues implementing this, in pratice, but I do still think the idea is sound. I'm going to prioritize learning Vulkan here in the coming weeks, I think that I will be able to better specify the synchronization that will be required to make it happen. Indirect compute dispatch will also be relevant, so I've got an opportunity to learn a number of cool things here.
The idea is that basically instead of just writing back to the same memory location during the new ray generation step at the end of the bounce loop, you are going to be doing an atomic increment to a uint buffer offset, effectively allocating space out of a linear memory buffer for the ray you're about to write to the other buffer, which holds the rays that will be used next iteration of the bounce loop. This is big - you can increment the offset by 1... or by some number greater than 1, and generate multiple branching child rays. Because you can duplicate the ray state parameters such as transmission and energy total from earlier, with each newly generated ray proceeding in a stochastic way, this is effectively reusing the computation that was performed by that parent ray that came before.
There are some open questions on how to manage the memory here, because obviously if each ray can write multiple child rays, your buffer usage could potentially explode very quickly. My thinking here involves tracking the value of that uint that is used to allocate the linear memory, and using that to size the next dispatch (ideally, using this to size an indirect dispatch for next bounce loop iteration). The issue I hit was that when I was reading it back on the CPU, I was getting the same value for "living rays" across multiple dispatches. This is completely impossible because in order to see any data written to the image, some of the rays have to terminate. And invocations that terminate, will not hit the uint increment... so for it to be consistently constant across multiple dispatches indicates that something is going wrong. I may be using it wrong, or possibly the issue lies elsewhere. I'll need to learn more about how this works, in order to realize this piece of the project.