3D Physarum Improvements
I had mostly focused on the renderer in the last post on this project. I had limited success with the simulation at that point, and was really only able to get some very basic tentacle shapes to show up. You can see in the video above - I have improved significantly on that front, and I have explored a couple other little interesting directions.
Generator Ranges Fine Tuning

The issue with the sim, it turns out, was basically that I was not setting the sense distance large enough. In my previous physarum implementations, I have remapped pixel indices into another space, kind of arbitrarily scaled floating point coordinates. I don't think this is the best way to do it, and I have seen that it creates resolution-dependent behavior in the 2D sim. Instead, now, I'm still using floating point vectors but everything is in "voxel space". You can take the floor() of any point to find the index of the associated voxel. I've had much more success, now, adjusting the maximum value of the sense distance on the generator from 3 to now 15 voxels. This creates some of the more interesting behaviors you see on this page, since the simulation agents can now make movement decisions that consider data farther out in front of them.

Scattering Based on Beer's Law
This was at the suggestion by Wrighter - basically, before I had been using a linear function of density, to scatter. In order to correctly handle Beer's law, I had to change the way that I considering the density when deciding whether or not to scatter. You can see the comparison between these two falloff curves, below.
The green span is the range of the random number that is generated each step, to stochastically evaluate chance to scatter. The red curve shows the linear falloff - something you will notice, there is no chance to scatter once the density value goes above 1. Compare this to the asymptotic behavior of the blue curve, as it continues on to infinity.

The practical comparison here is basically that between the ray hitting a brick wall at a certain density threshold, and one which is has a finite chance to penetrate denser media. The visual impact is less than I expected it to be, but this is definitely a more correct approach.
Shader Based Initialization
This is a pretty minor quality-of-life change, but it was also a workaround a strange OpenGL issue I was not quickly able to debug. Previously, I had been generating the initial orientation and positions for all simulation agents on the CPU, and passing them to an SSBO to the GPU with glBufferData.
For whatever reason, a second call to this function made the frametime triple - I have no idea why, and rather than waste a lot of time debugging it, I decided to just move the init step to the GPU because it's significantly faster to do it that way, anyways. Calculating a few tens of millions of random rotations of an initial basis was taking a couple seconds on the CPU, it's an extremely parallel workload that is much better suited for the GPU. This way, I can just allocate the space for the buffer one time, and invoke a shader for every element in this buffer when I want to reset the sim.
Stamping into the Volume

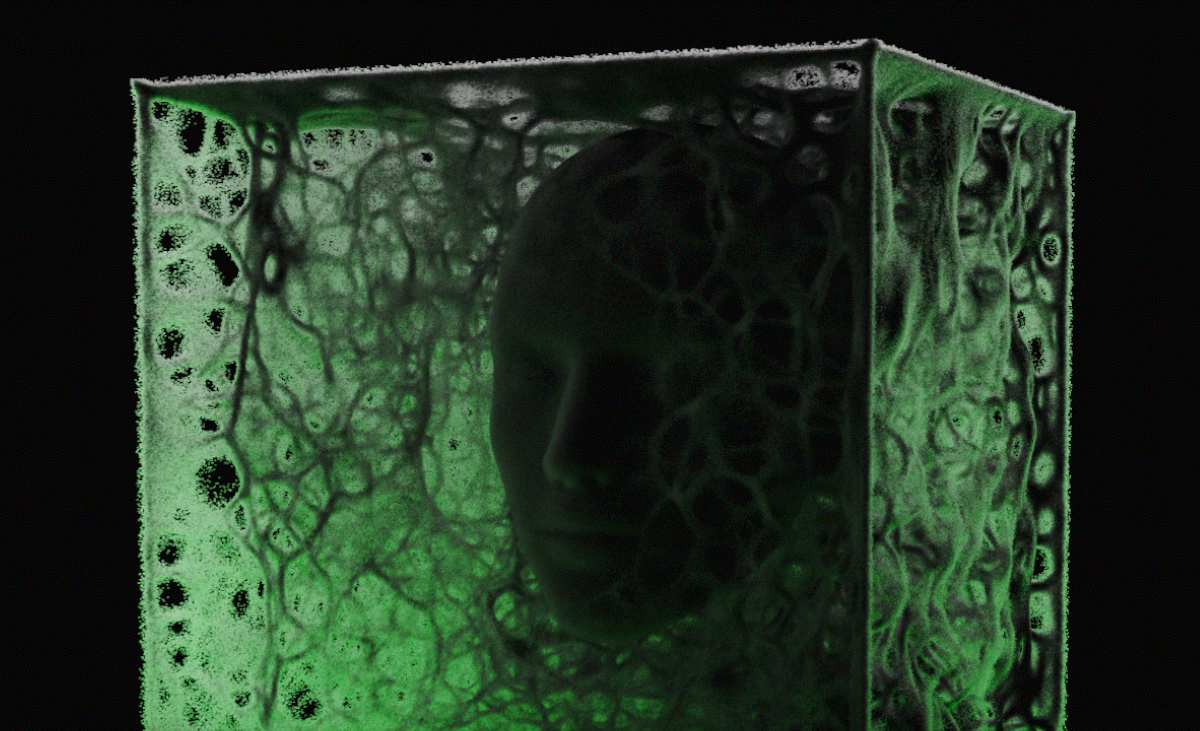
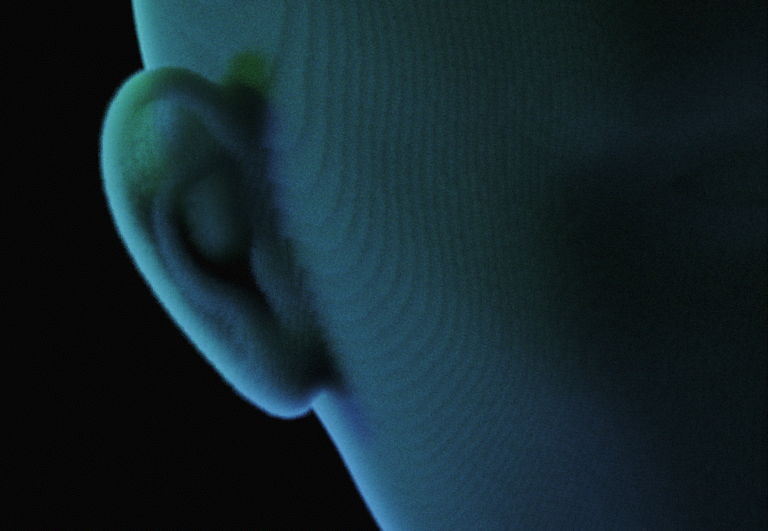
This was an interesting extension that someone suggested - adding more recognizable features into the volume. I had been thinking about drawing simpler geometric shapes and maybe fractals into the volume - but hadn't really considered trying to do hands or faces, something to play up the pareidolia angle since it forms such weird, organic shapes already. I was able to use tdhooper's head SDF, to create some really creepy looking stuff here.

I think some of these are really interesting it sort of acts as a trellis, to guide the sim. This artificial, external influence on the simulation is an interesting idea that might bear further investigation. I think it's really interesting the way that some of them will mostly stay inside the shape, while some will break away from the boundary and and branch out from the seed object. One config that I tried with the head, looks like a beard.

Basically it works by scaling the voxel's positions such that I can place this SDF inside the volume - I cache this 1-bit inside/outside result to another R8UI texture, and can read from it during the diffuse-and-decay step of the physarum update. I can use this as a mask to overwrite the blurred result, or use it to clamp to a minimum or maximum value... I have tried a couple different approaches here. I think these ones are extremely interesting, where the denser tentacles are growing over this less-dense medium - especially the green one on the top right, here. I think that really visually emphasizes the variable densities of the volume involved.
Future Directions
This heterogeneous volume pathtracing approach has me pretty excited - some of these renders are very compelling. I'm thinking a lot about directions to go from here. I want to introduce more material properties into the volume like color, normals, information about how the material scatters, etc. By adding a material type for each voxel, especially emissives, I think we can start looking at some much more interesting behavior.

Emissives, in particular, light emitting voxels inside this volume, would provide a way to create more interesting lighting. The current light comes only from rays that escape the volume, choosing between two skybox colors with the dot product of the up vector. This has some limitations - it's like a cubemap, with no parallax. This limits how physically realistic it is actually going to look, since this basically represents a light source at infinite distance. I'd like to be able to place emissive objects, for example, an emissive quad just above the volume. If you combine this ray testing with the traversal where you scatter, you could think about doing these emissive objects inside the volume.