Siren: Exceeding Feature Parity with SDF_Path
SDF_Path is arguably one of the best renderers I have written before this project. I was able to extend it to support refraction, but the general architecture became complicated, messy, and just generally not very nice to work on. I have improved massively on code formatting and organization over the past year or so, writing code in a profesisonal context, and the old code really was a mess. This was the motivation for the Siren project - create something simple to work on, on an ongoing basis, with all the utilities that I had added to NQADE in the time since I had started the SDF_Path project. I put some time into adding some features to this project over the early part of December, and got to the point where I now have all the features that SDF_Path had. It's much more maintainable this time around, the CPU-GPU interface is a lot more nicely organized, with renderer parameters gathered into structs. I will be able to do a lot more with this project, going forward.
Preview Mode
The pathtracing mode is very expensive rendering method, and takes several seconds at least to get a good sense for how the scene is going to look like. This is not very convenient, and if you want to move around a lot to compose a view of the scene, you may have a lot of wasted work. This was the motivation for creating a preview mode, something cheaper, which would only update once each time there was a renderer state change that would change how the scene would be viewed.
What's cool is that this can also give a sense of how the focus plane for the DoF effects will sit in the scene. This single sample also does the logic for the DoF, so when you get the result in the buffer, you will see noise in the areas that are out of focus, and a coherent result in the areas that would be in focus. In the actual pathtracing mode, you would accumulate this over several ( read: many ) frames, and eventually arrive at the converged result.
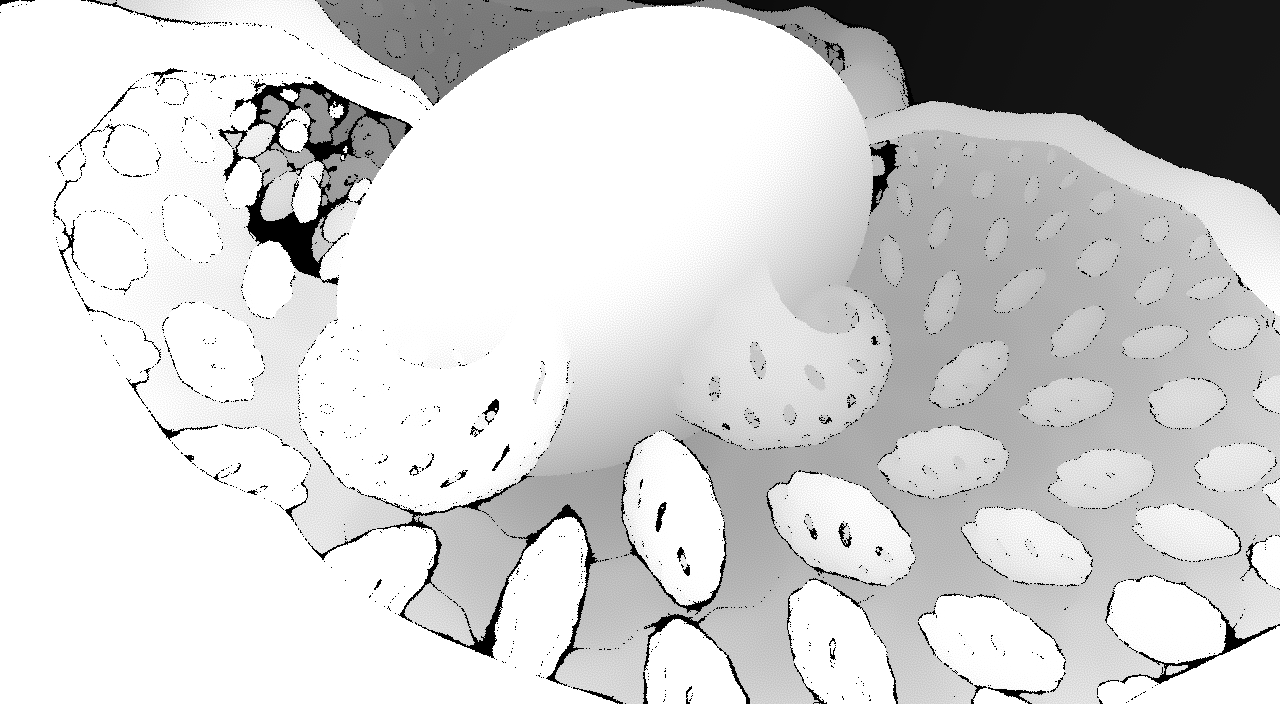
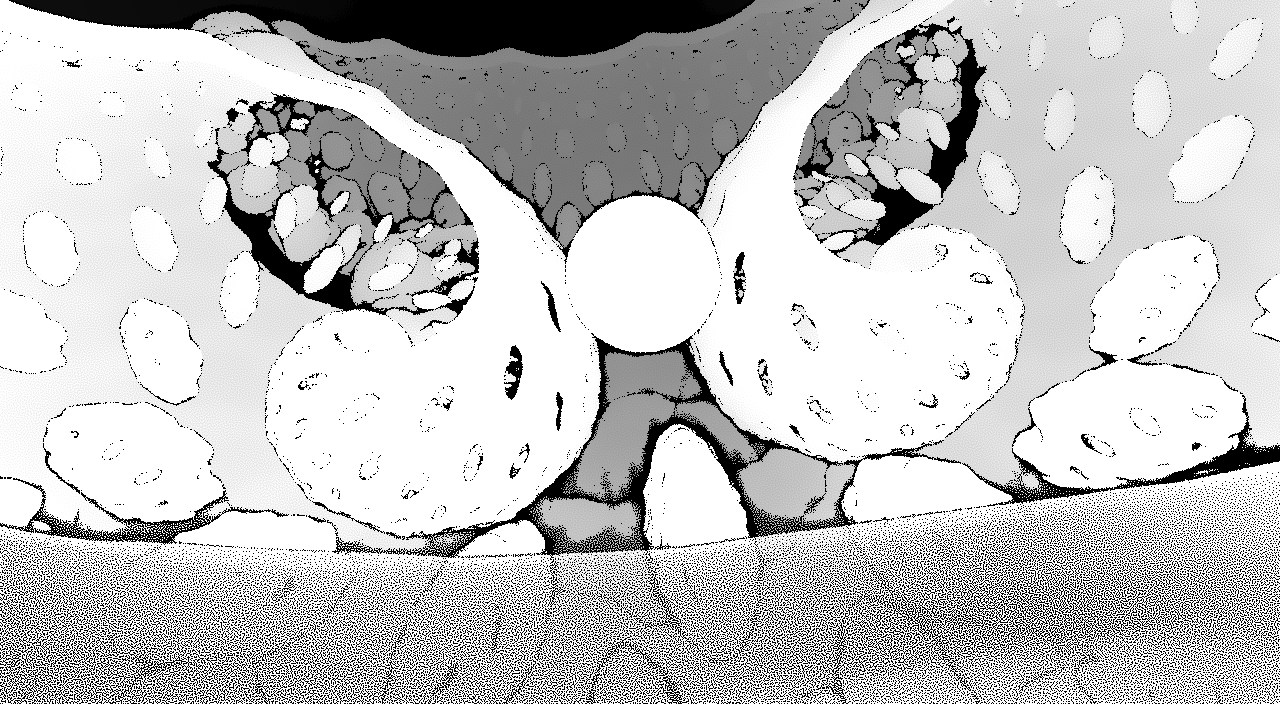
You can see the several preview modes here - I have it set up to be switchable between a material preview, which shows the diffuse color of each surface, the surface normal, and 1.0 divided by the depth. You can see the corresponding rendered view here, as well:
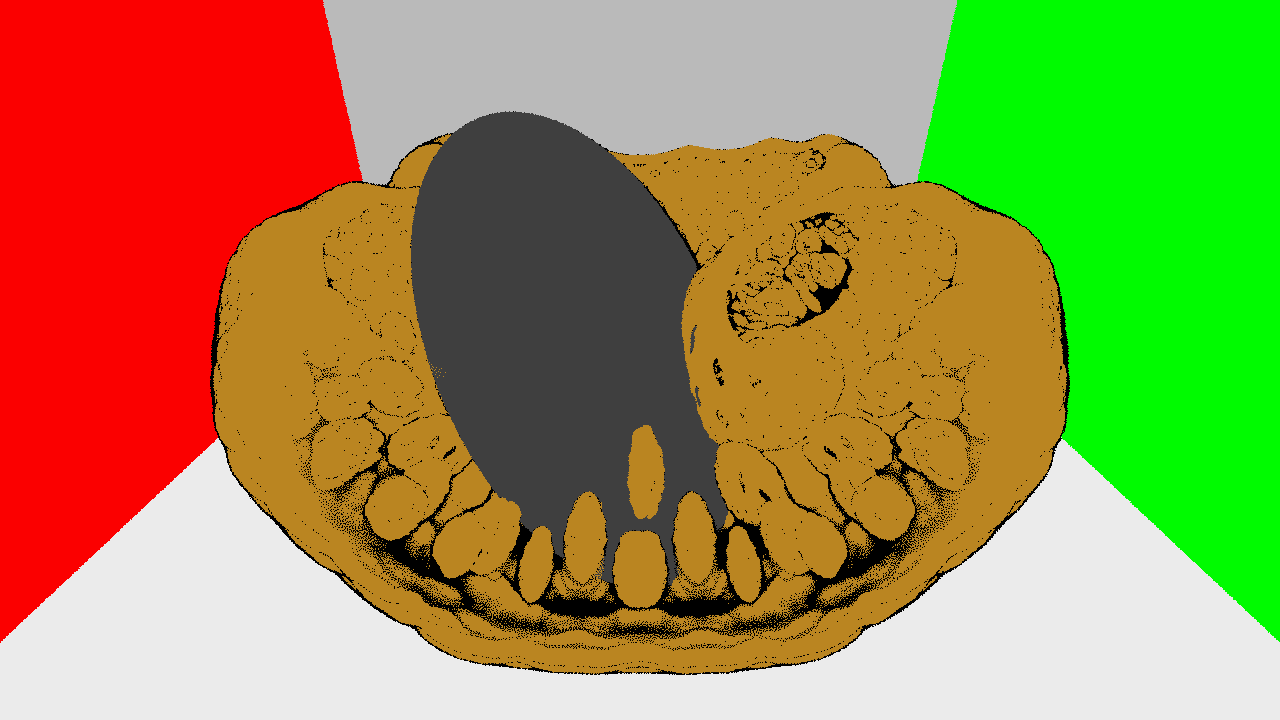
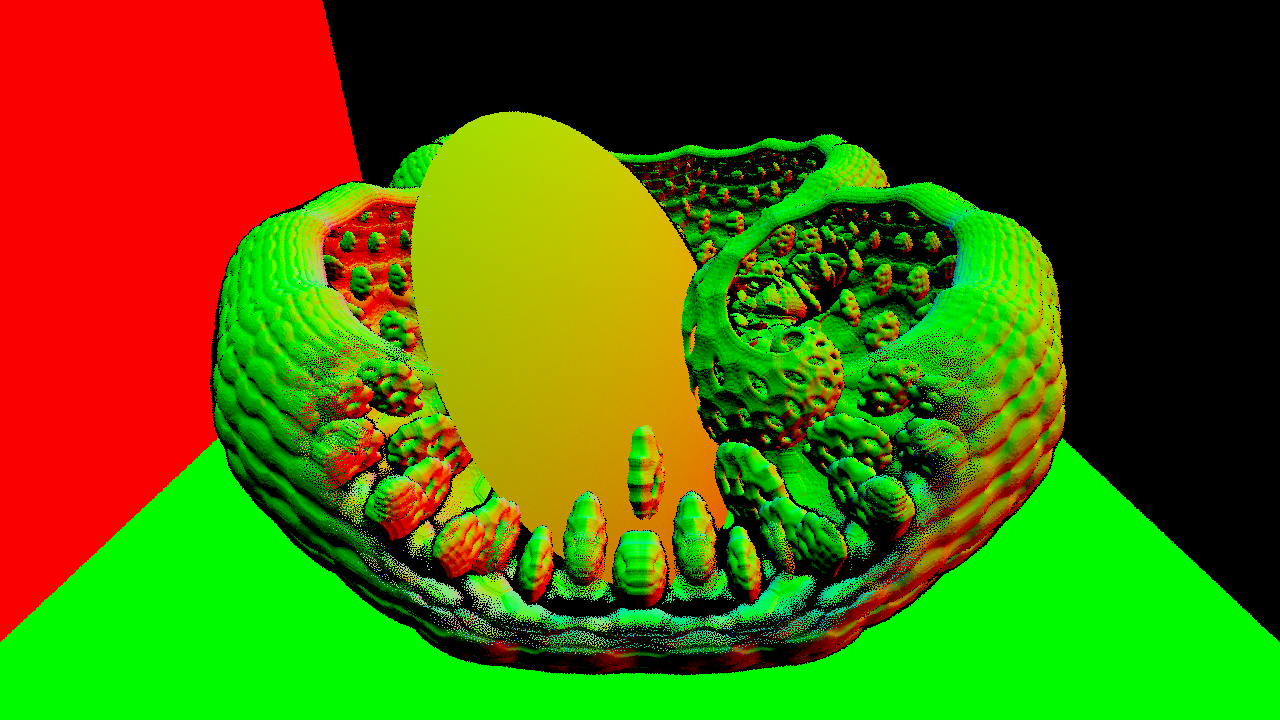
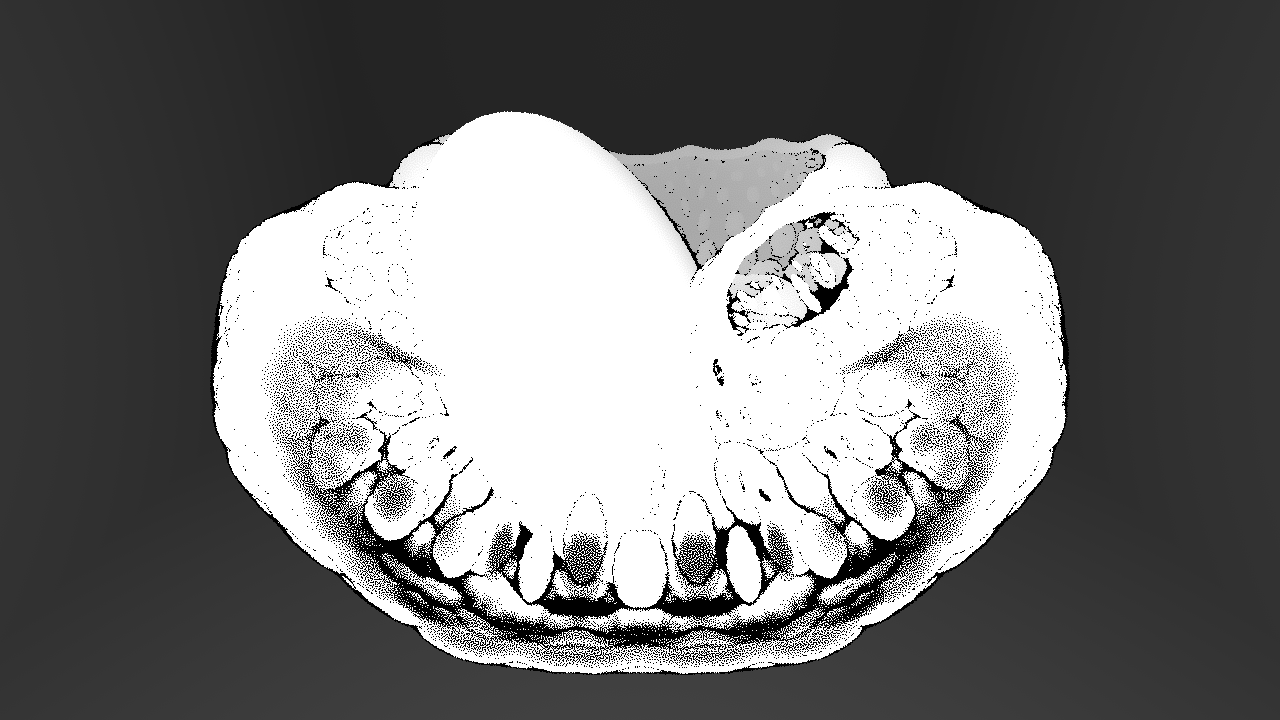
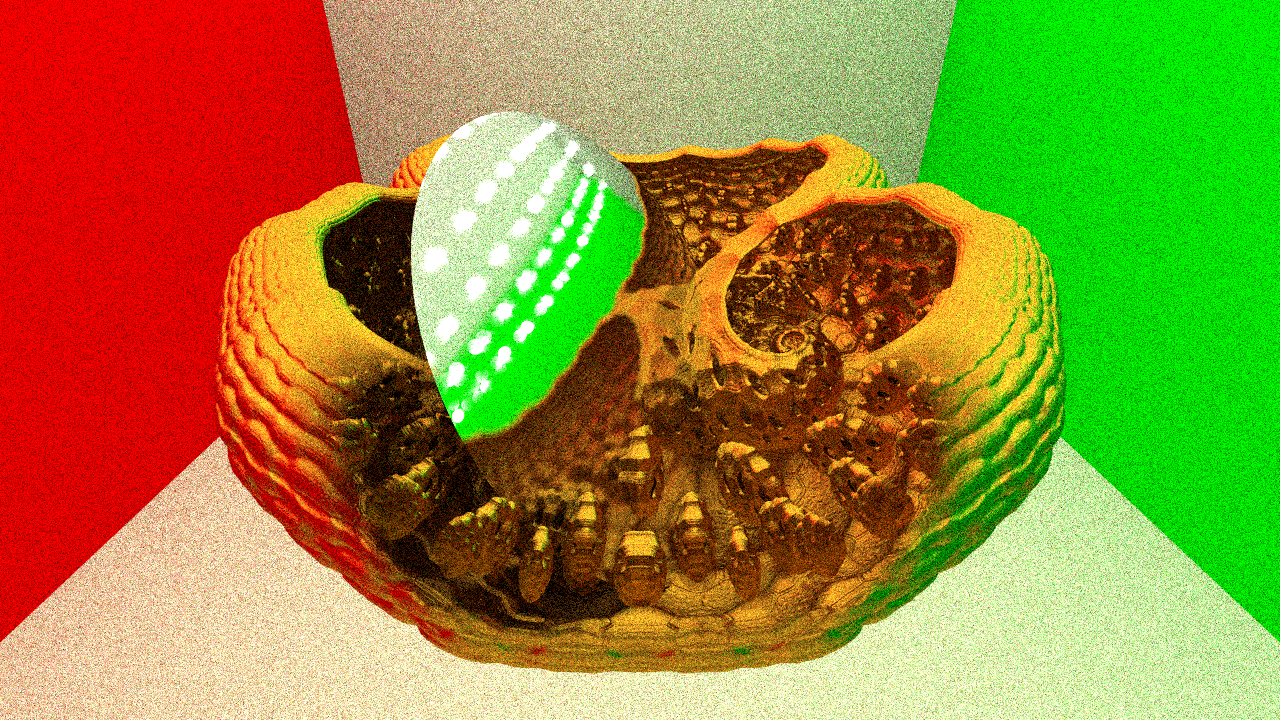
I really like the way that the depth mode looks. You can see something here that I was messing with, to create a soft section plane. This is basically jittering the ray starting point - traditionally, you would have the ray start at zero distance from the viewer's location. This basically starts at 1.0 unit out, plus or minus a small amount based on a blue noise read, per pixel. You can see the stipple pattern in the preview mode - it uses a single sample per ray, but when this blue noise is offset between frames for the pathtracing mode, it converges to a soft section plane. This is like cutting into objects, but it kind of fades into the interior gradually, makes objects look transparent because it ends up blending several samples, some of which are inside, others outside. I ended up moving away from this, but it did look kind of cool.
Refraction
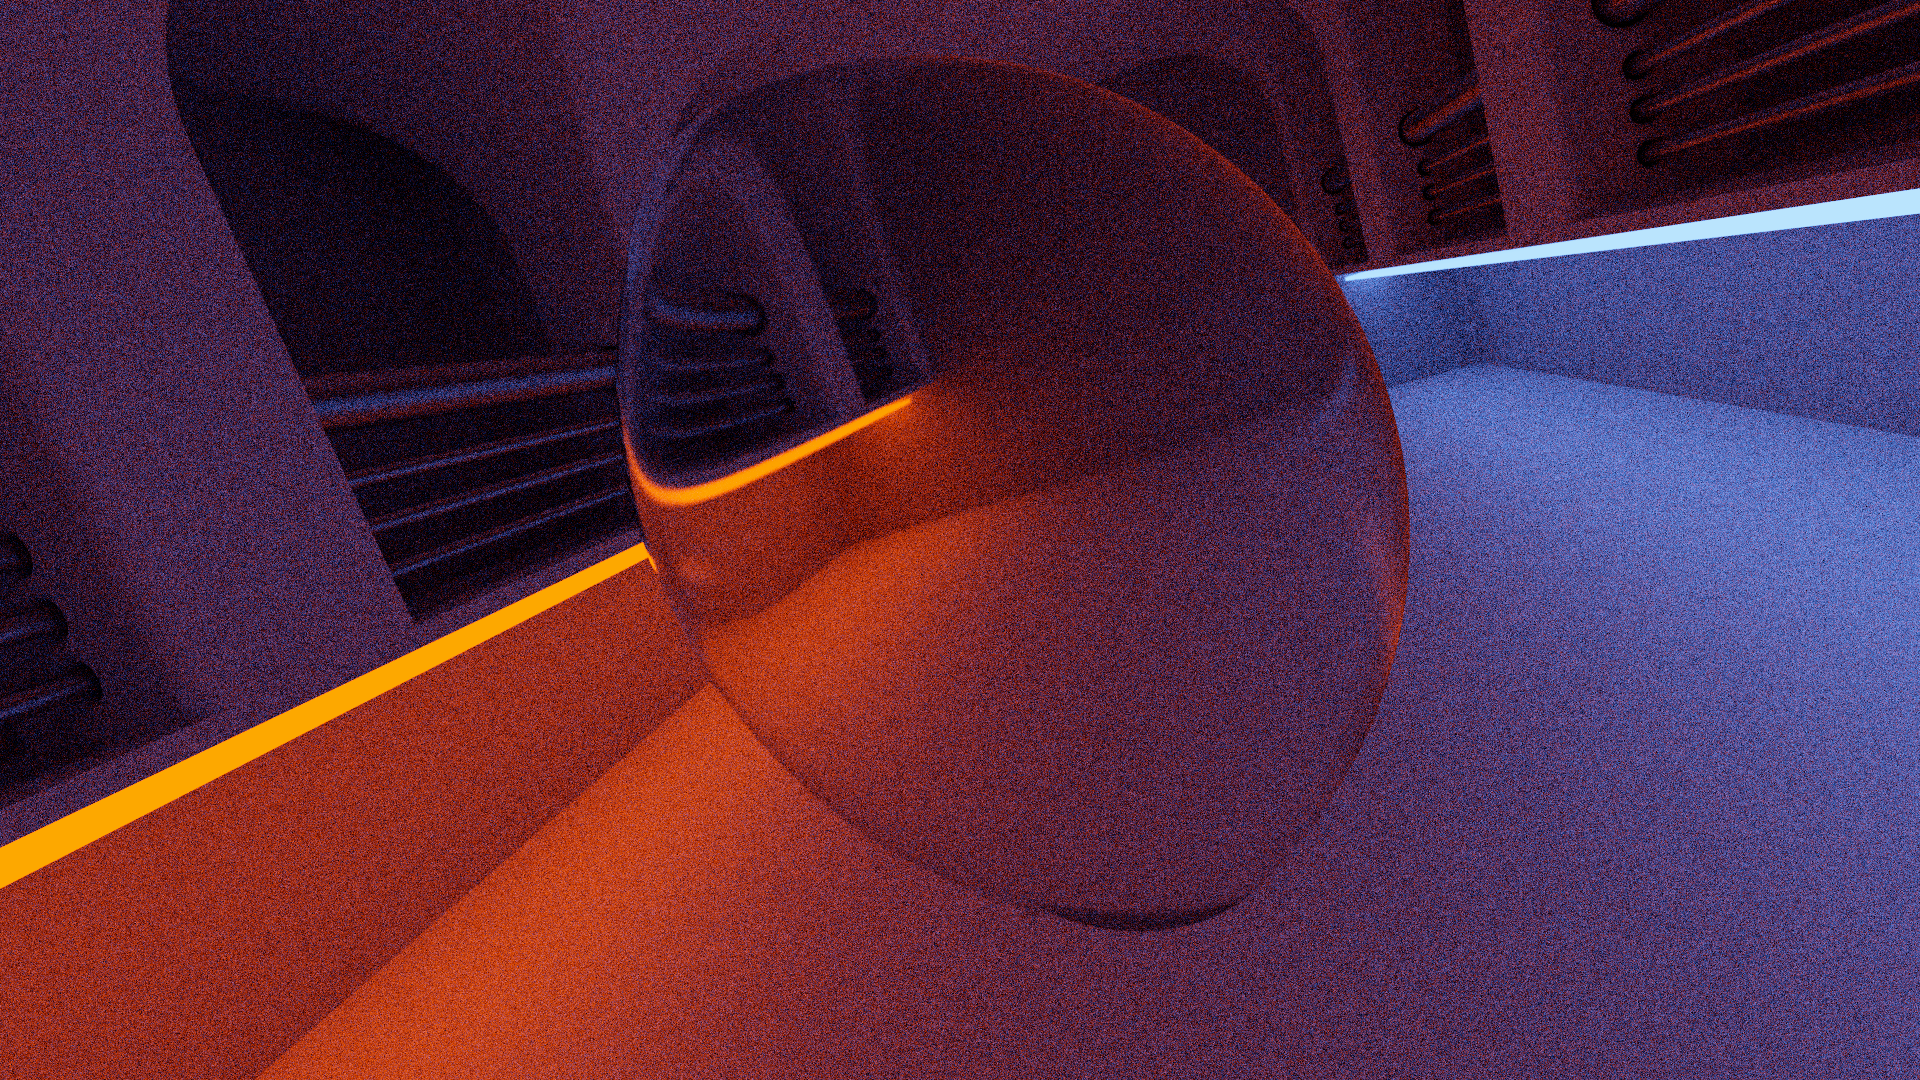
Refraction is one of the cooler effects you can do with basic materials. I like the kinds of scenes you can create with refractive materials, and it's relatively easy to represent with SDF geometry. With explicit intersection, most times, you know if you're hitting the front or back face of the geometry. In my SDF implementation, I have a global state toggle for each ray. Initially false, and toggled each time you hit a refractive object, this flag is used for two things. First, we need to know how to refract the ray - when entering refractive media, we use the material IoR, when leaving the refractive media, we use 1.0 divided by the material IoR. Second, it is used to invert the SDF for the refractive object. When we are outside the object, it appears as any other SDF - when we are inside of it, we have to multiply its value by -1.0, in order to negate the volume of the object and traverse the interior. If you think about the case of a refractive sphere, this negated version is basically an SDF that is negative everywhere except for inside the sphere. The SDF representation makes these things relatively straightforward to think about, except for complex fractal SDFs that do not have good Lipschitz continuity on the interior.
Caustics
I was actually quite surprised to see that this renderer would resolve caustics. This is an area where a lot of times you have to go to either forward or bidirectional pathtracing, and this is a backward pathtracing implementation in the style of Raytracing In One Weekend. Caustics are the behavior of light where it is concentrated and focused into visible patterns on diffuse surfaces. If you are familiar with the ability of a magnifying glass to start a fire, the name is pretty intuitive. In the real world, the energy from the sun can become so concentrated as to heat materials to the point of combusting.
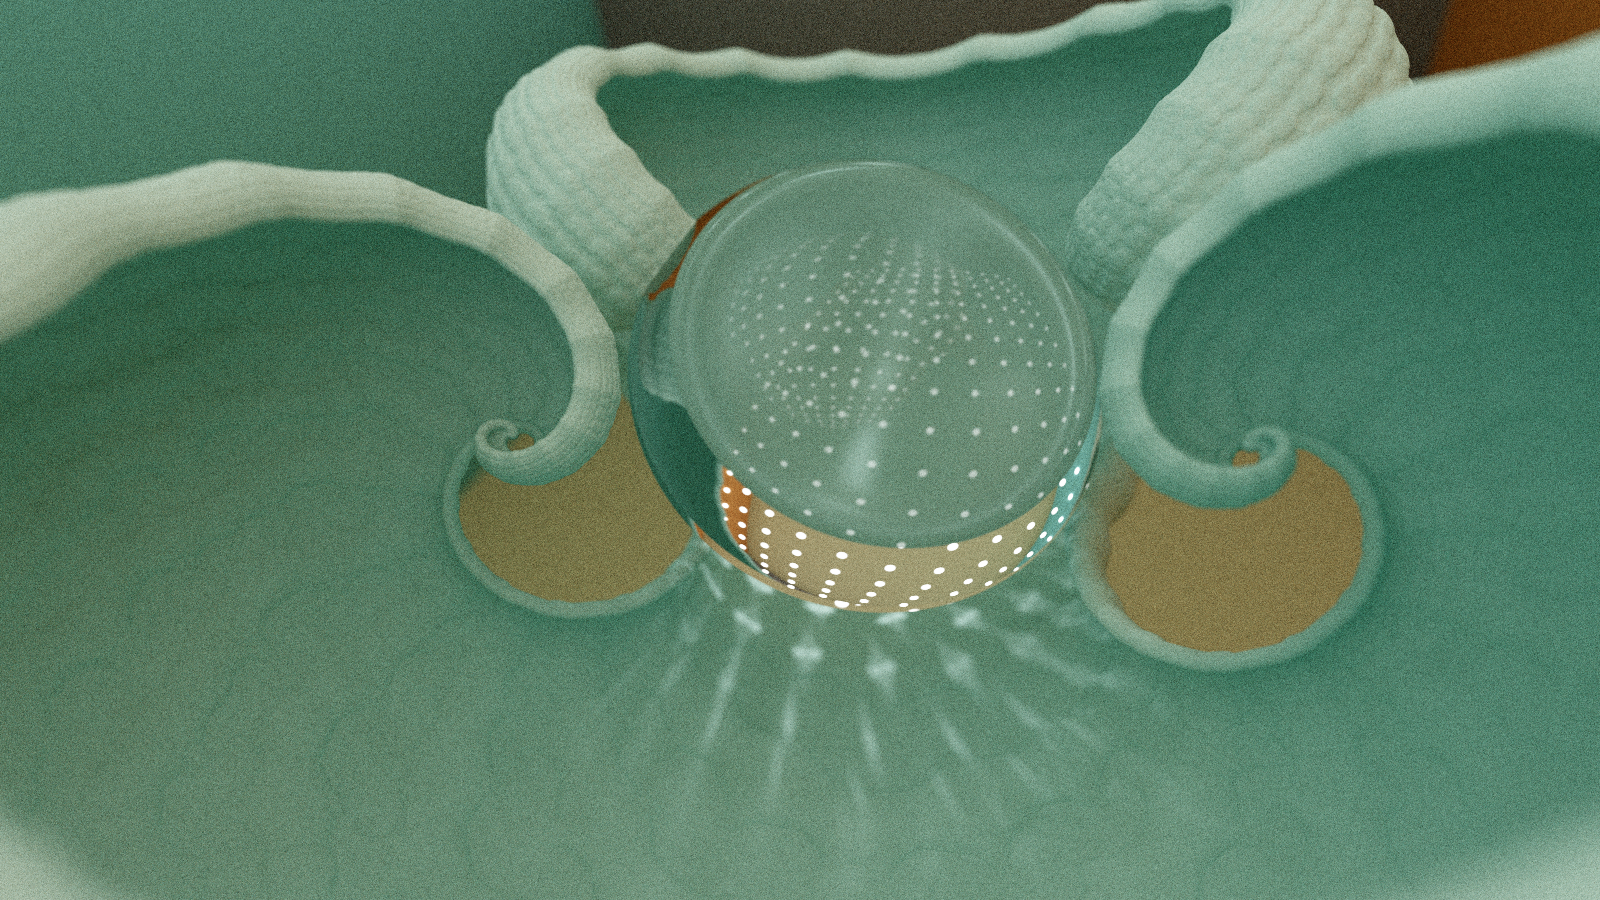
This behavior happens when we get a concentration of light, where camera rays in a certain area of the image have a large number bounce to go through a refractive object. They essentially project the light source onto the surface - there are a large number of bounced rays that end up hitting a light source - enough to make it recieve a higher concentration than it would from usual ambient bouncing of rays, and so we get the caustics. This models the inverse phenomenon that occurs in the physical world, where photons emitted from light sources are concentrated into a higher density in these areas.
Some Lingering Issues
There are some artifacts remaining in my reflective and refractive materials. I think this may be a consequence of my current camera implementation. Basically, I'm seeing some issues where reflections are blurring too much, and some other chaotic behavior, similar behavior with refractive materials. I thought that it was something to do with the thin lens DoF, but it's showing up, even in cases where this feature is disabled. It's going to require some more investigation and experimentation. You can see some of the weirdness in the reflected highlights on the object in the center.
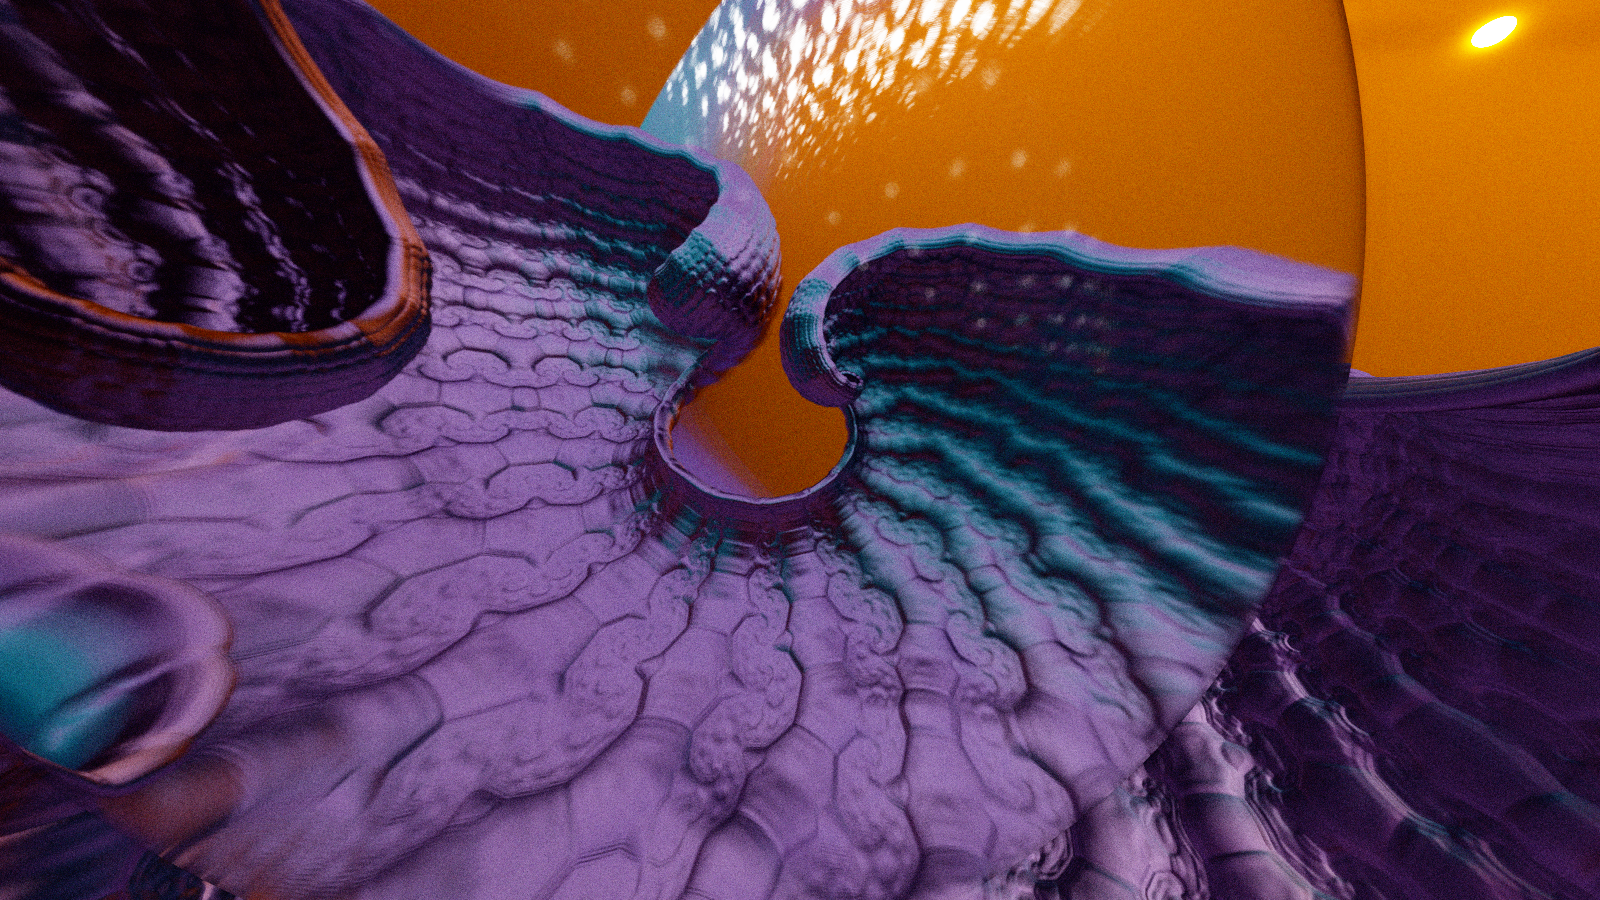
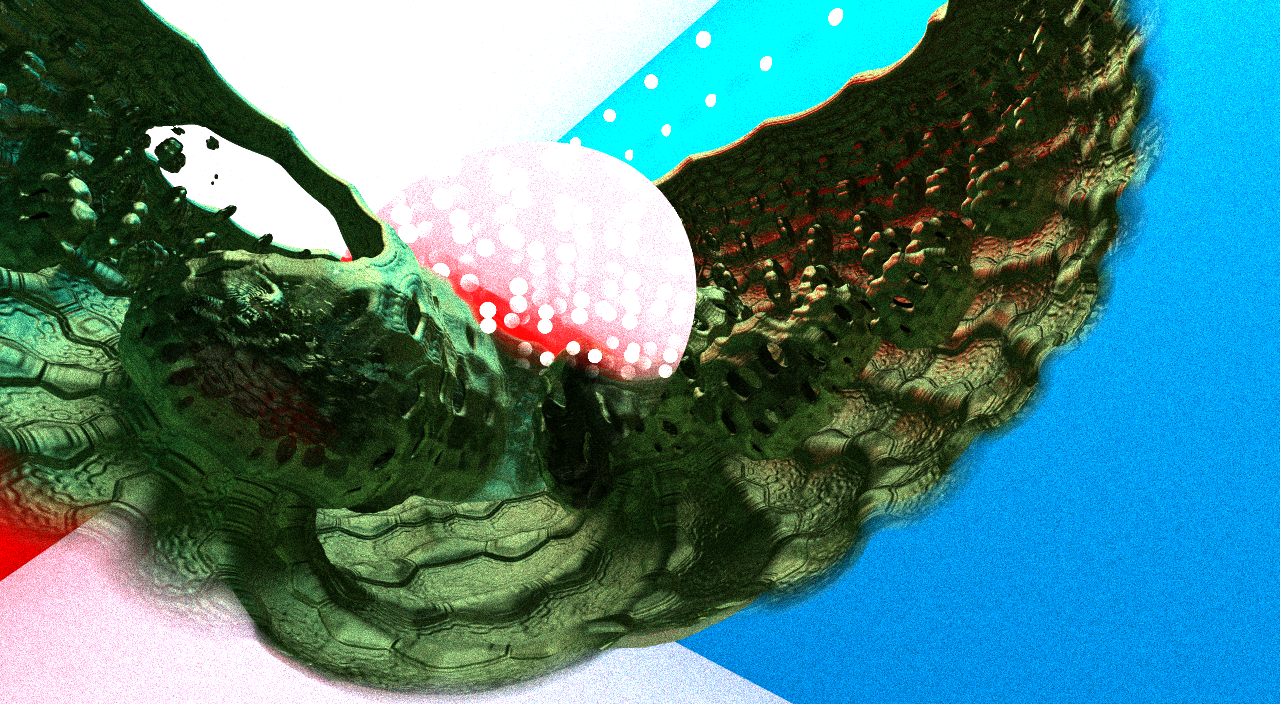
Slightly different appearance for the refractive behavior, but I believe it's the same culprit. I'm getting a strange amount of blur here, without any kind of thin lens computation that would account for it. Again, I think it's just something in the ray generation logic that's giving me a bad result, because looking at just the normals, I'm seeing a smooth surface that looks correct. Click through on any of these to view them full size.
New Test Environment
After messing around with the Cornell box for a while, I started to get bored of it - so I degsigned a new environment in which to look at some focal object. This one has diffuse white surfaces for walls and cielings, and metallic rails running the length of the hallway. It also provides configurable areas of warm, neutral, and cool light, in order to give some more interesting potential lighting conditions.
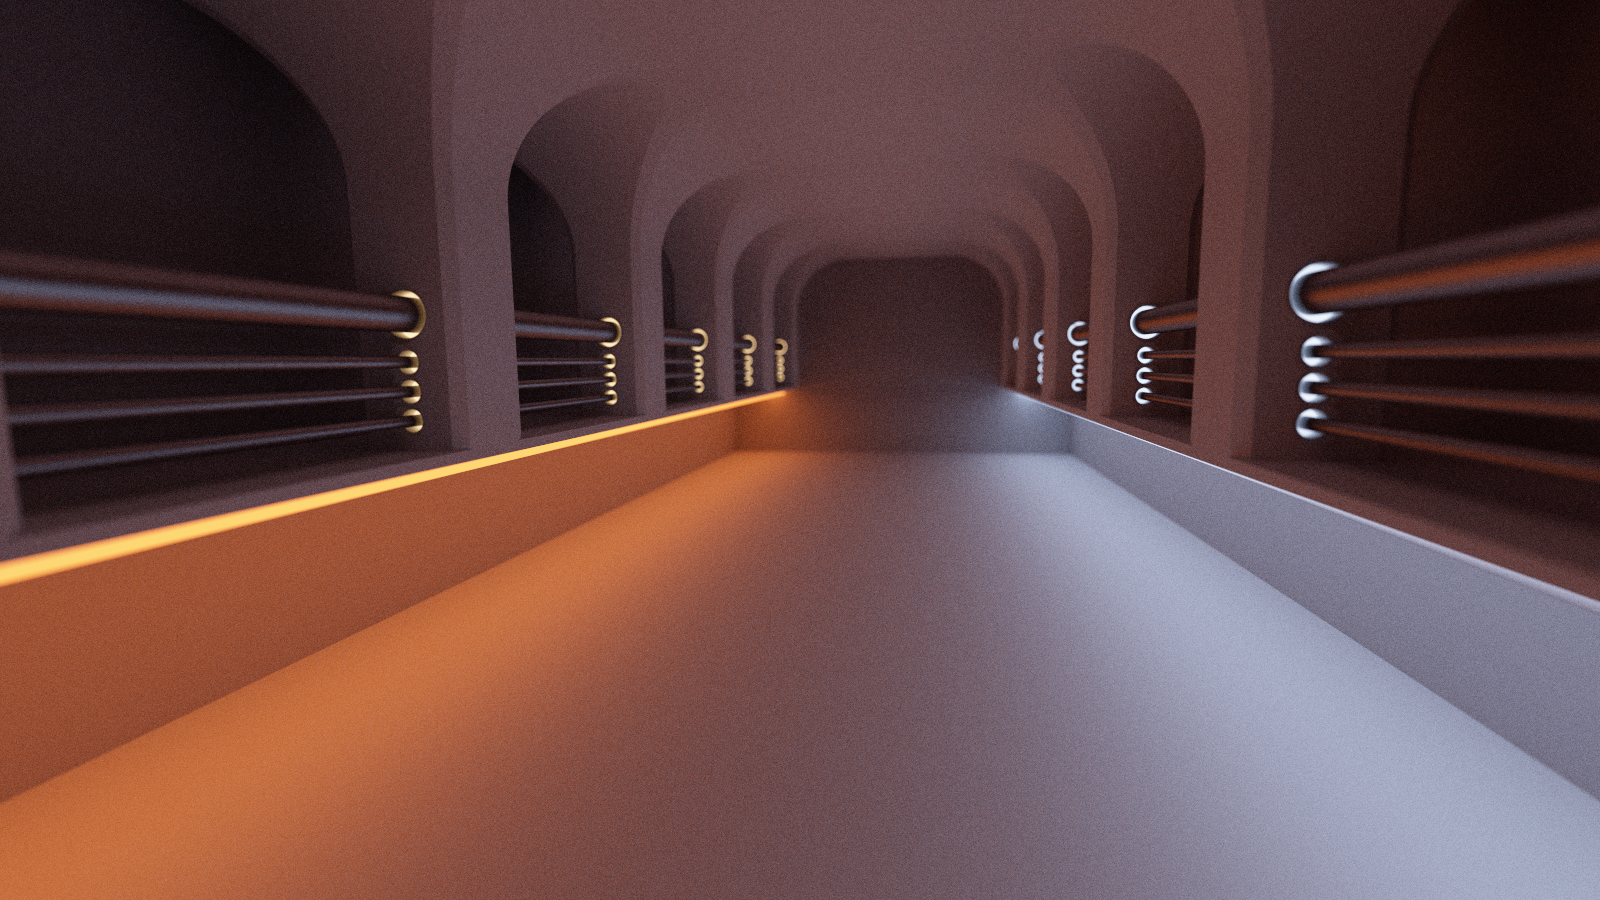
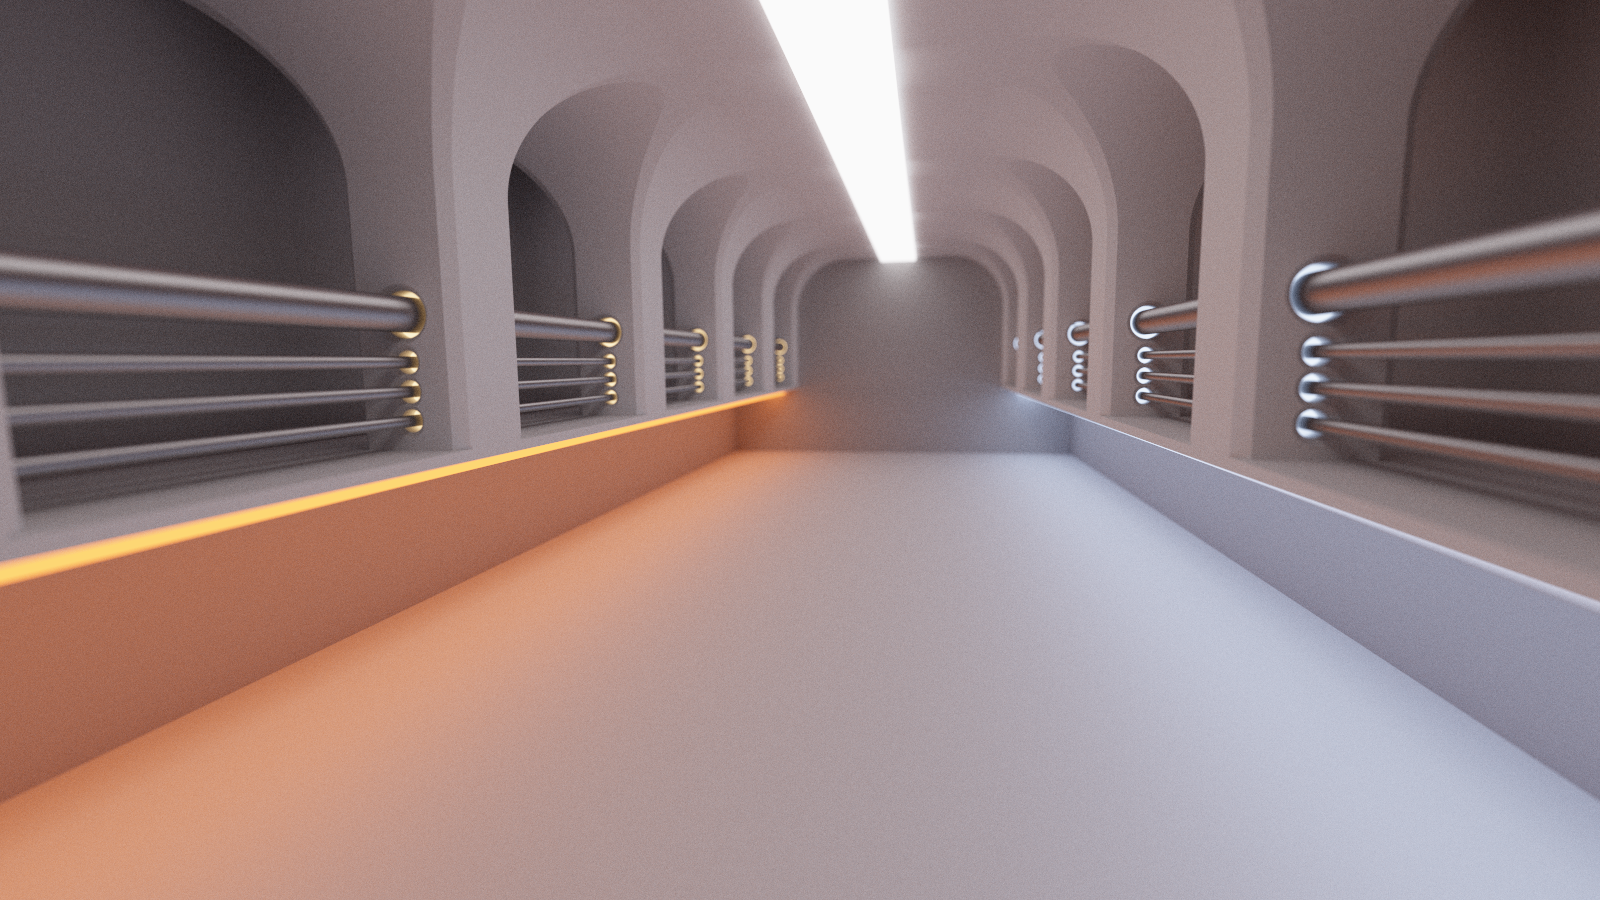
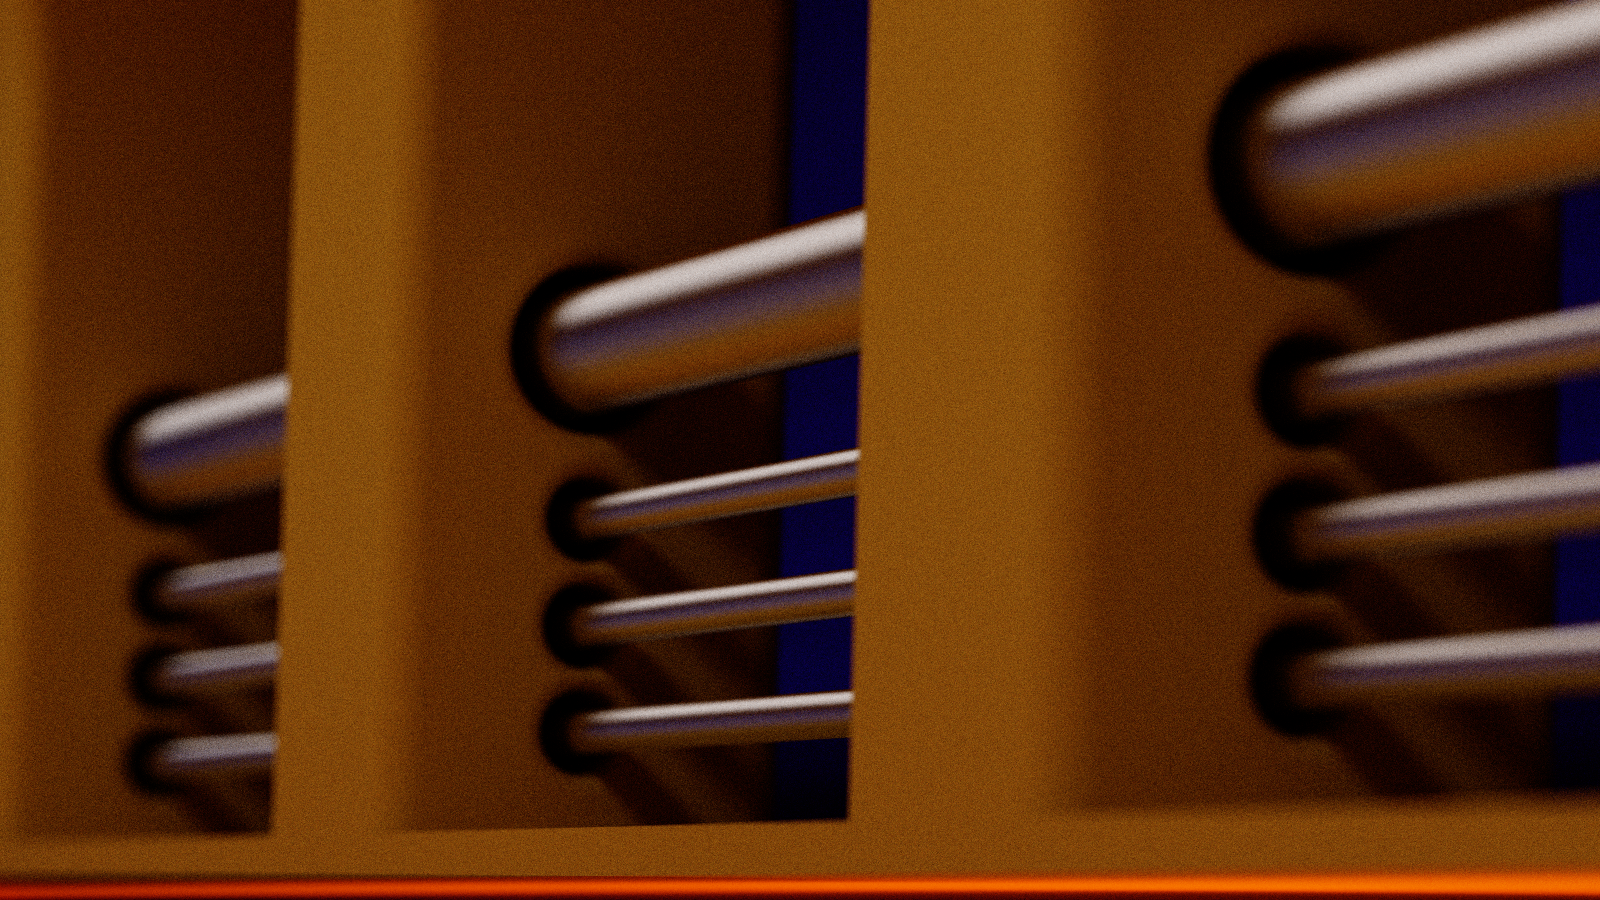
I messed around with adding light sources inside of the columns on the upper section, but after a couple renders, I started feeling like that was a little bit obnoxious. So that came back out, and those are just dark areas, where the railing intersects with the columns. I used a number of the non-trivial boolean functions from hg_sdf, to create more interesting shapes to work with. In the two sets of images here, you can see some different boolean variants on the archways - in the two images above, you can see them using the bevel difference function, and in the one below, you can see them using the smooth difference function.

Simple BVH
I had an idea to try to make the scene SDF cheaper to compute. I have heard of similar schemes to this before - I have only really given it a dry run, tried it on one set of primitives. The railings are a bit of an expensive set of geometry, since it evaluates 4 capsule SDFs, mirrored on each side. Cheaper, I can put a box around them, which contains all of the capsule SDFs - I can conditionally evaluate the capsules if and only if the bounding box SDF is less than 0.0. I have not profiled to get specific performance numbers to compare, but I believe that this will be a performance win. By only having to evaluate the bounding box SDF in the negative space, the world looks a lot simpler to a ray traversing that part of the scene.
A Couple More Samples
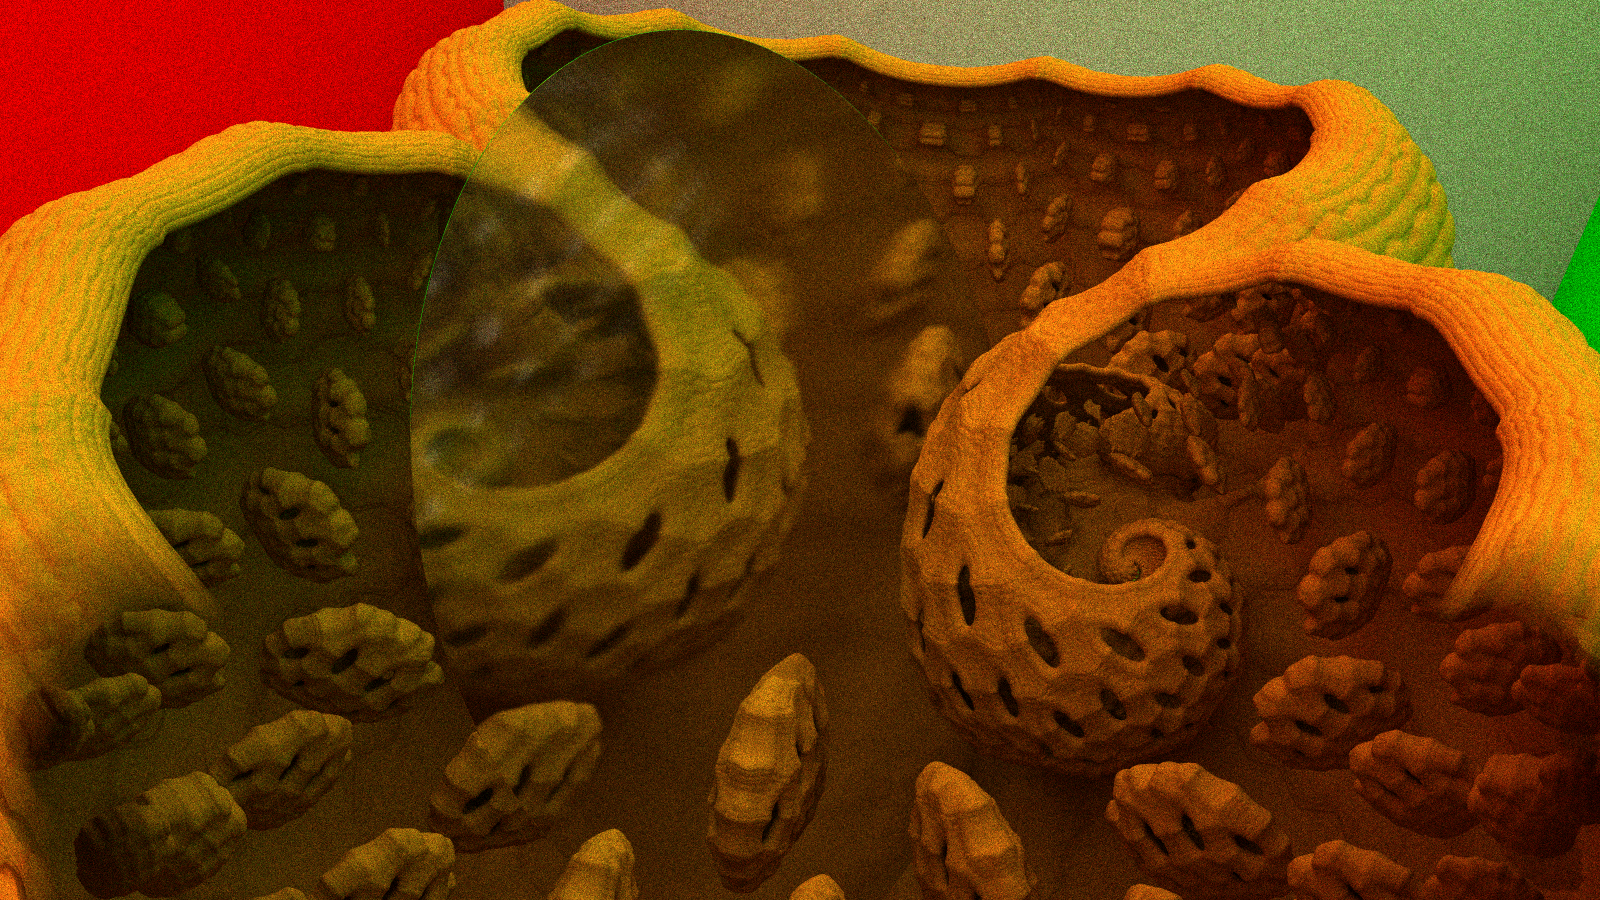
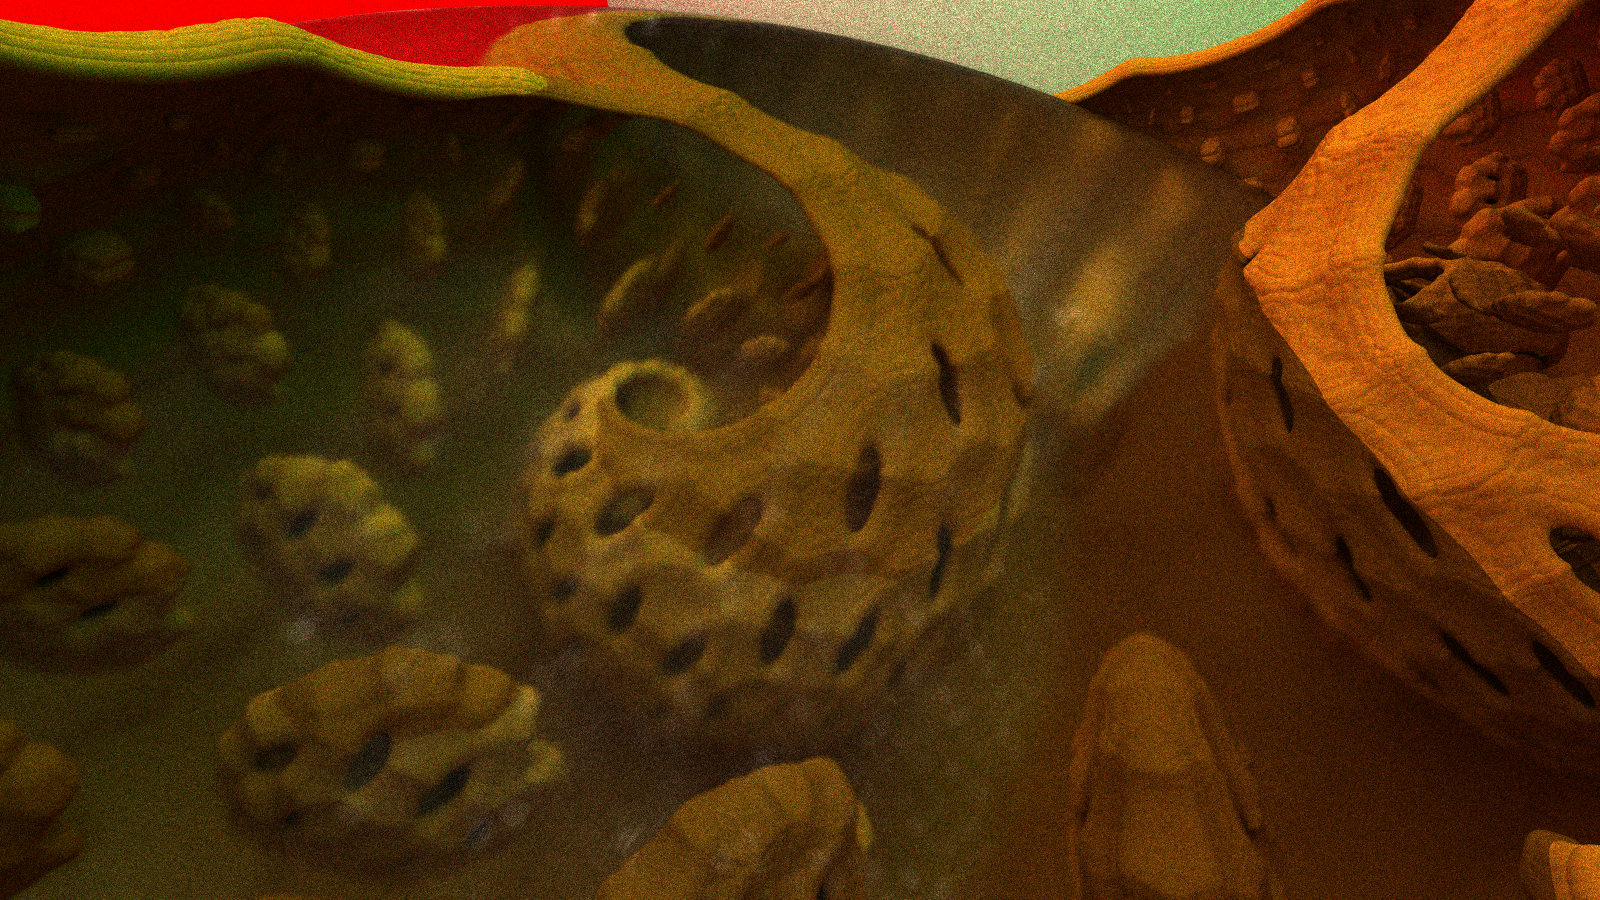
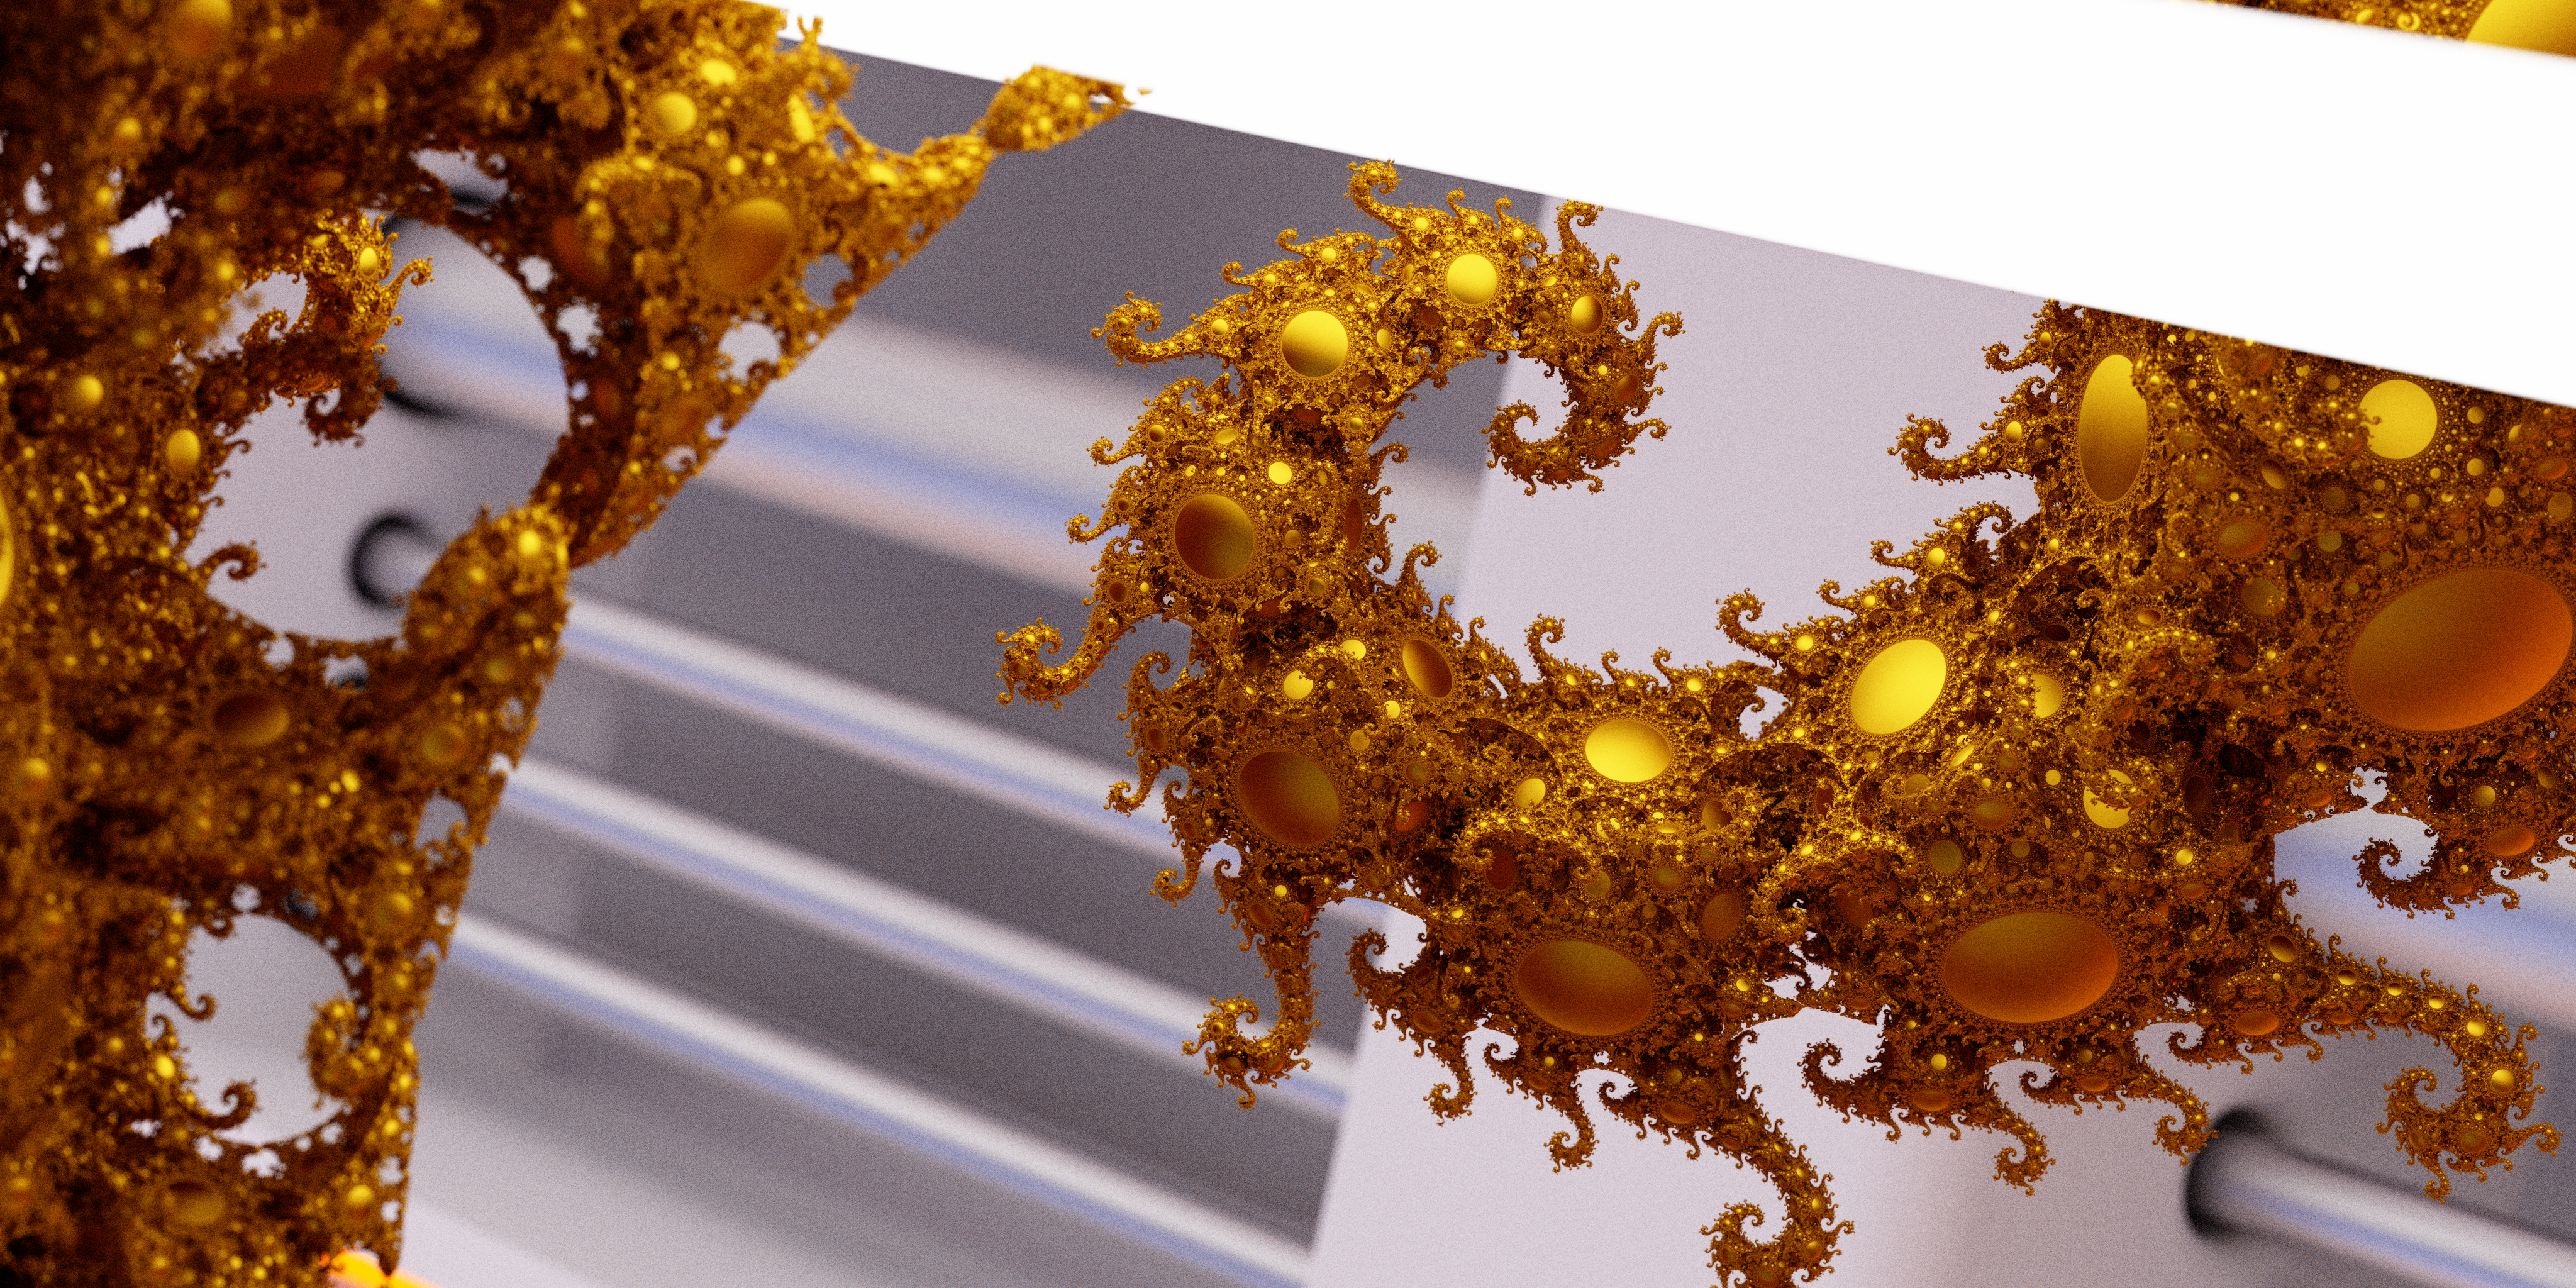
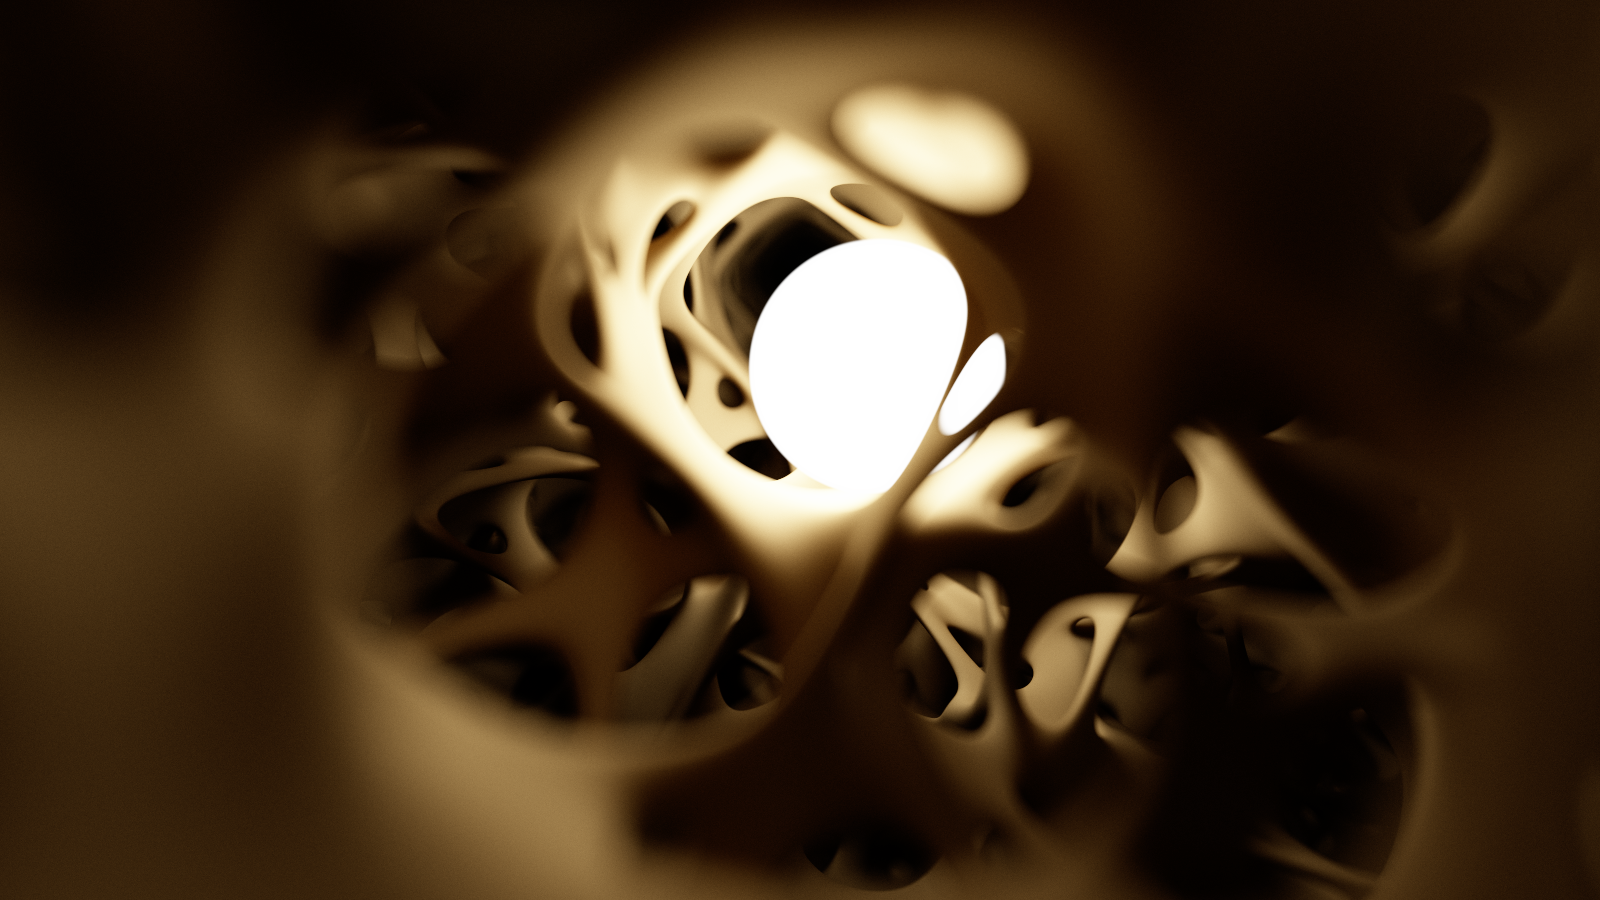
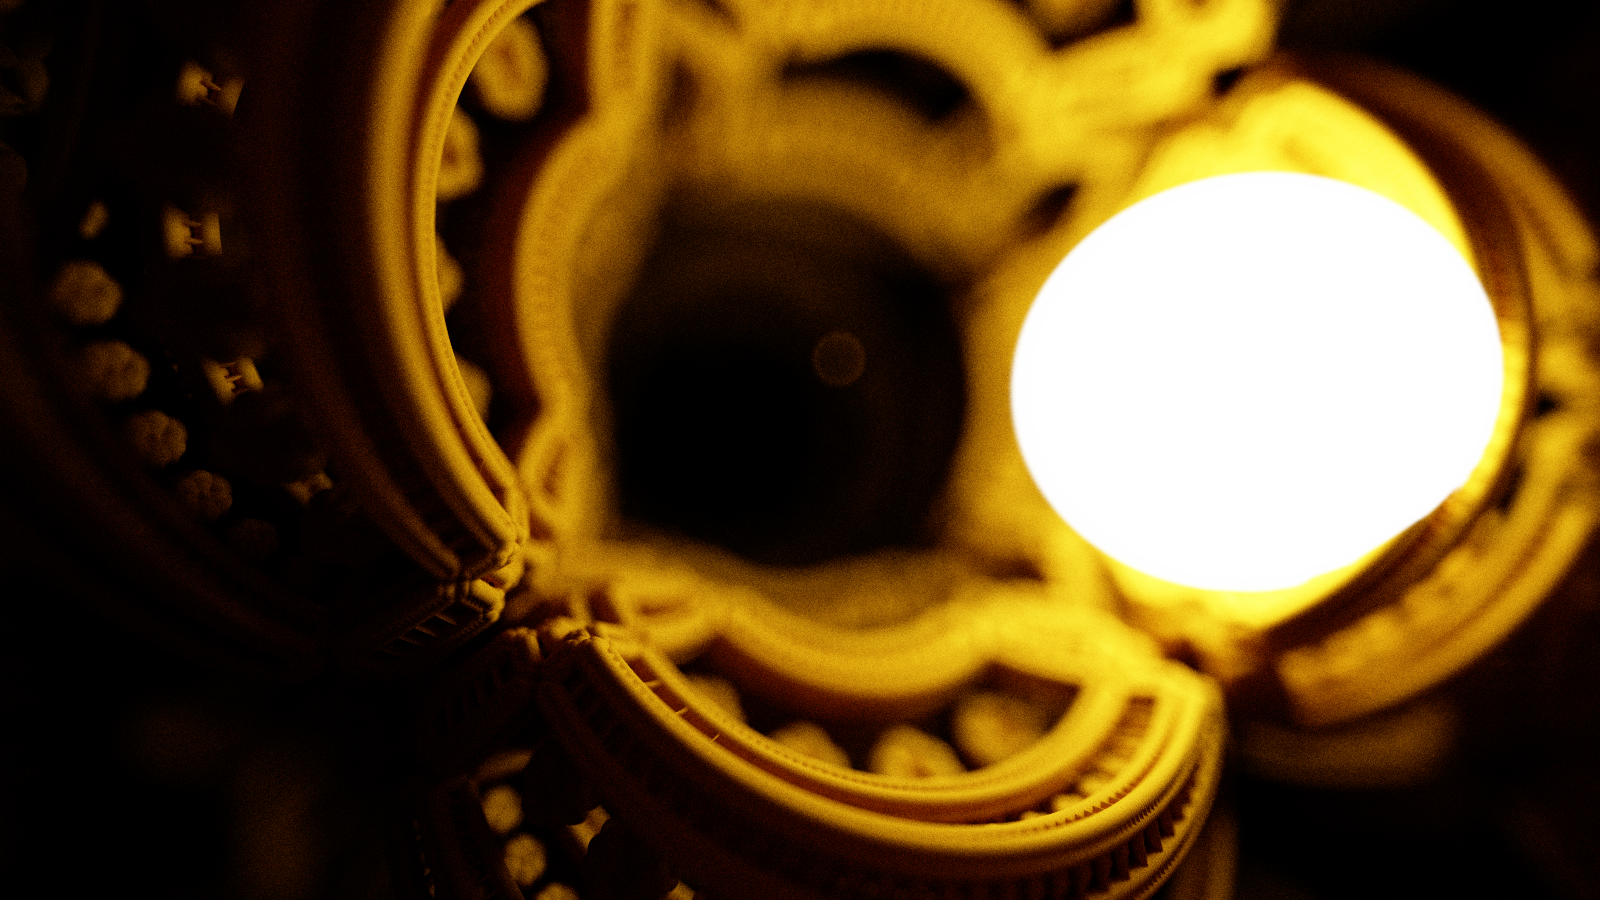
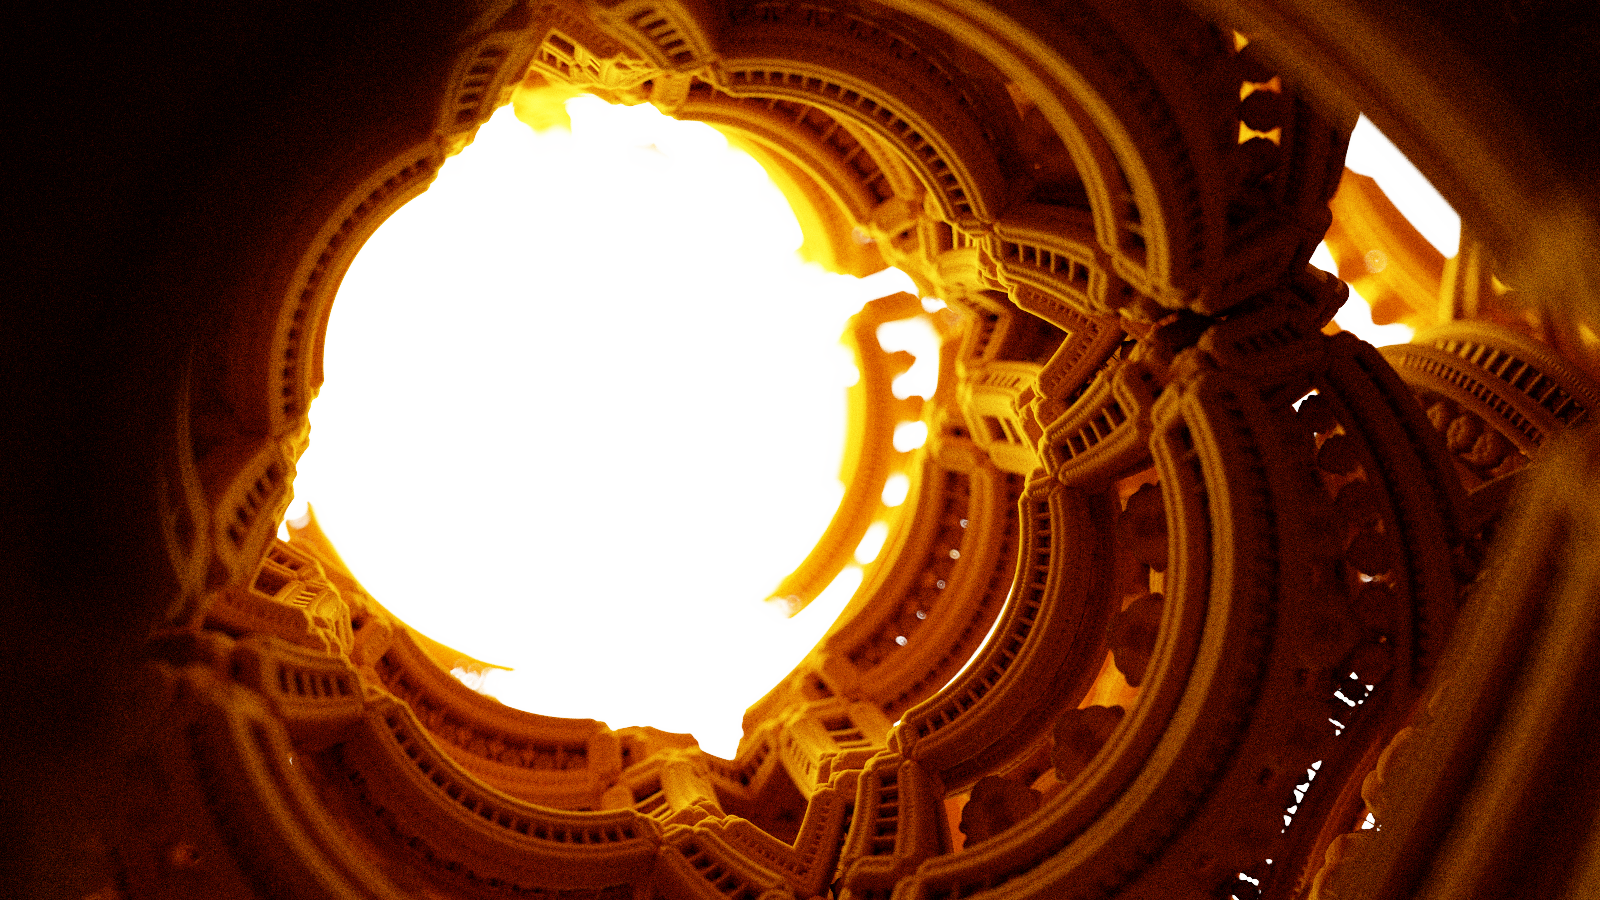
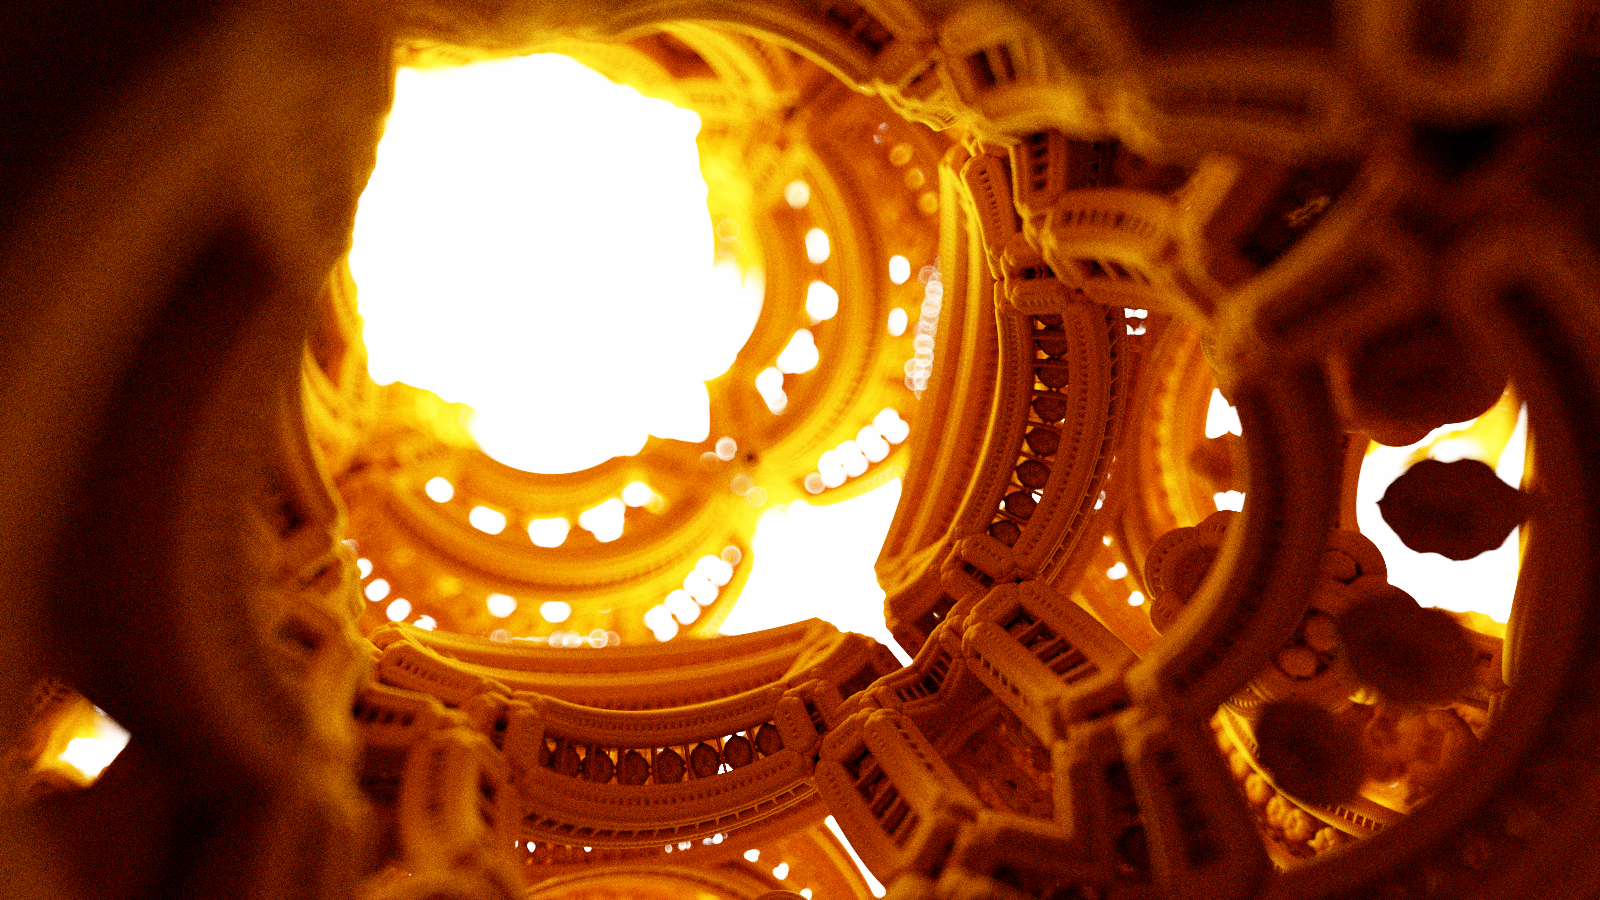
I am really pleased with some of the stuff I'm getting out of Siren. I think this is some of the more impressive images that I've been able to generate. The curly fractal is taken from a shadertoy demo from tdhooper. That and the other ones are all available in the DEC collection of SDFs.



Future Directions
I have just finished setting up a new Windows dev machine with a Radeon RX 7900XTX - most of my personal dev work is done on Linux, so this will be a bit of a transition. This new card has much greater floating point compute capability that my current Radeon VII has, 61.42 TFLOPS vs 13.44 TFLOPS on single precision floats, which will translate to much better performance for this project. Evaluating these SDFs many times per ray is a compute heavy operation, so this will translate to much higher performance on the new machine. Memory bandwidth is roughly the same between the two cards ( the VII is actually about 64 GB/s faster - the stacked HBM2 on the VII was really very impressive in this regard, especially for the time ), so I do not expect a huge amount of performance improvement in Voraldo.
I want to implement a switchable camera for this project, to allow for wider ranges of creative options in composition - I have messed with a couple different arrangments before - namely this spherical camera implementation by a friend, then the current camera with adjustable FoV, which as I mentioned, may be at least a little bit broken ( I may actually try something based on Voraldo's camera, which would allow for standard perspective, orthographic, and hyperbolic perspective, tbd ), and then there's another one that I've seen, like what's used for showing a full HDR skybox at one time.