Aquaria

Aquaria is the culmination of a couple different experiments with new approaches to volumetrics. In this project, I was able to figure out a DDA algorithm from a Shadertoy example in order to do a new type of traversal to touch any and all voxels along a given ray. It uses some bitwise operations that are a little dense to try to pick out, but the core of the traversal code is like this:
 vec3 deltaDist = 1.0f / abs( Direction );
 ivec3 rayStep = ivec3( sign( Direction ));
 ivec3 mapPos = ivec3( floor( Origin ) );
 vec3 sideDist = ( sign( Direction ) * ( vec3( mapPos ) - Origin )
	+ ( sign( Direction ) * 0.5f ) + 0.5f ) * deltaDist;

 for ( int i = 0; i < MAX_RAY_STEPS; i++ ) {
	if ( /* check hit condition for voxel at mapPos */ ) {
		// break, you hit a voxel at location mapPos
	}

	// Core of https://www.shadertoy.com/view/4dX3zl Branchless Voxel Raycasting
	bvec3 mask = lessThanEqual( sideDist.xyz, min( sideDist.yzx, sideDist.zxy ) );
	sideDist += vec3( mask ) * deltaDist;
	mapPos += ivec3( vec3( mask ) ) * rayStep;
 }
Which is a pretty drag-and-drop piece of code, anywhere you want to look at doing some kind of discrete, square grid traversal, like voxel rendering. I’m not sure why I had not taken the time to look at this before – as with many other things, once I did actually look, it was much simpler than I had made it in my mind. I used this traversal method to create something with an appearance along the lines of what Voraldo had been, since I have not yet gotten to implementing a version of Voraldo in jbDE yet ( Voraldo14 will be upcoming, and will very likely use some ideas from this project, as well ).
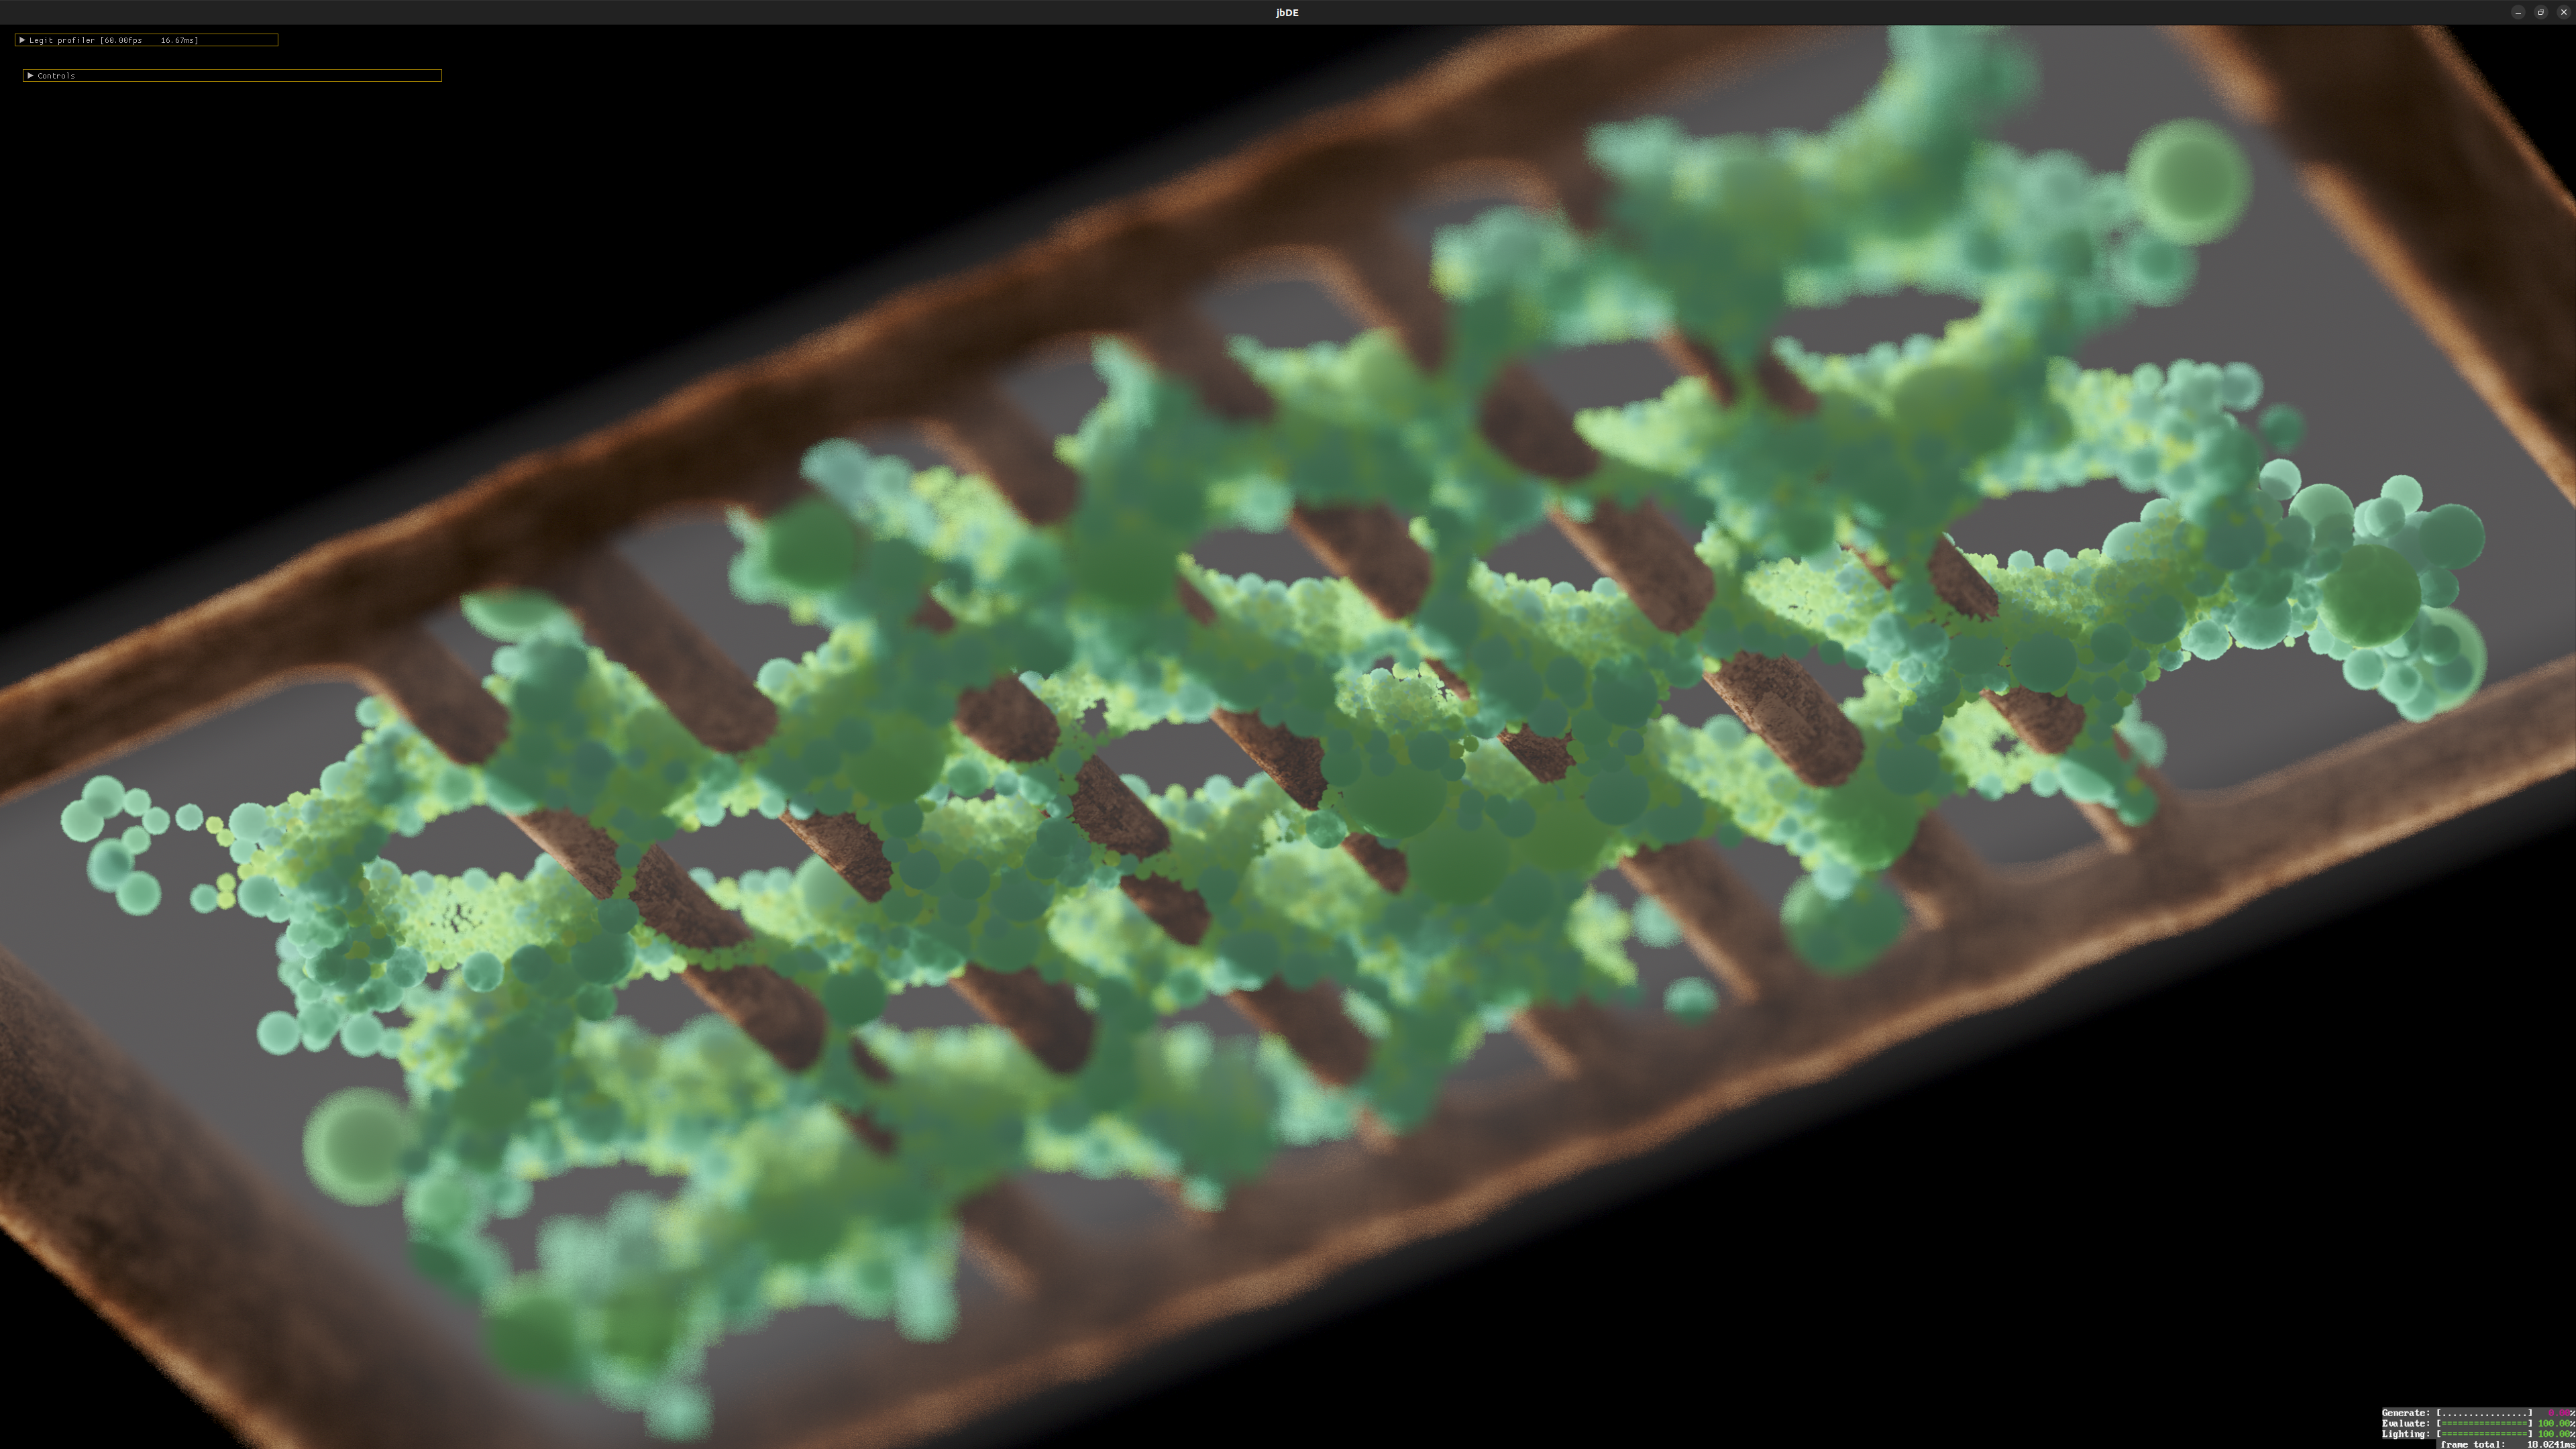
The rendering, despite being visually impressive, is actually relatively simple. With the exception of the DDA traversal, there’s almost nothing new from the new physarum renderer I wrote. The data is a 3d texture instead of a 2d one. Where that one just used the depth term to color the output, really, it effectively added that term to a base color of vec3( 0.0f ). In Aquaria, that base color is the color of the first voxel you sampled in the DDA traversal that had an alpha value greater than zero. Output for that pixel is the sum of the two terms.
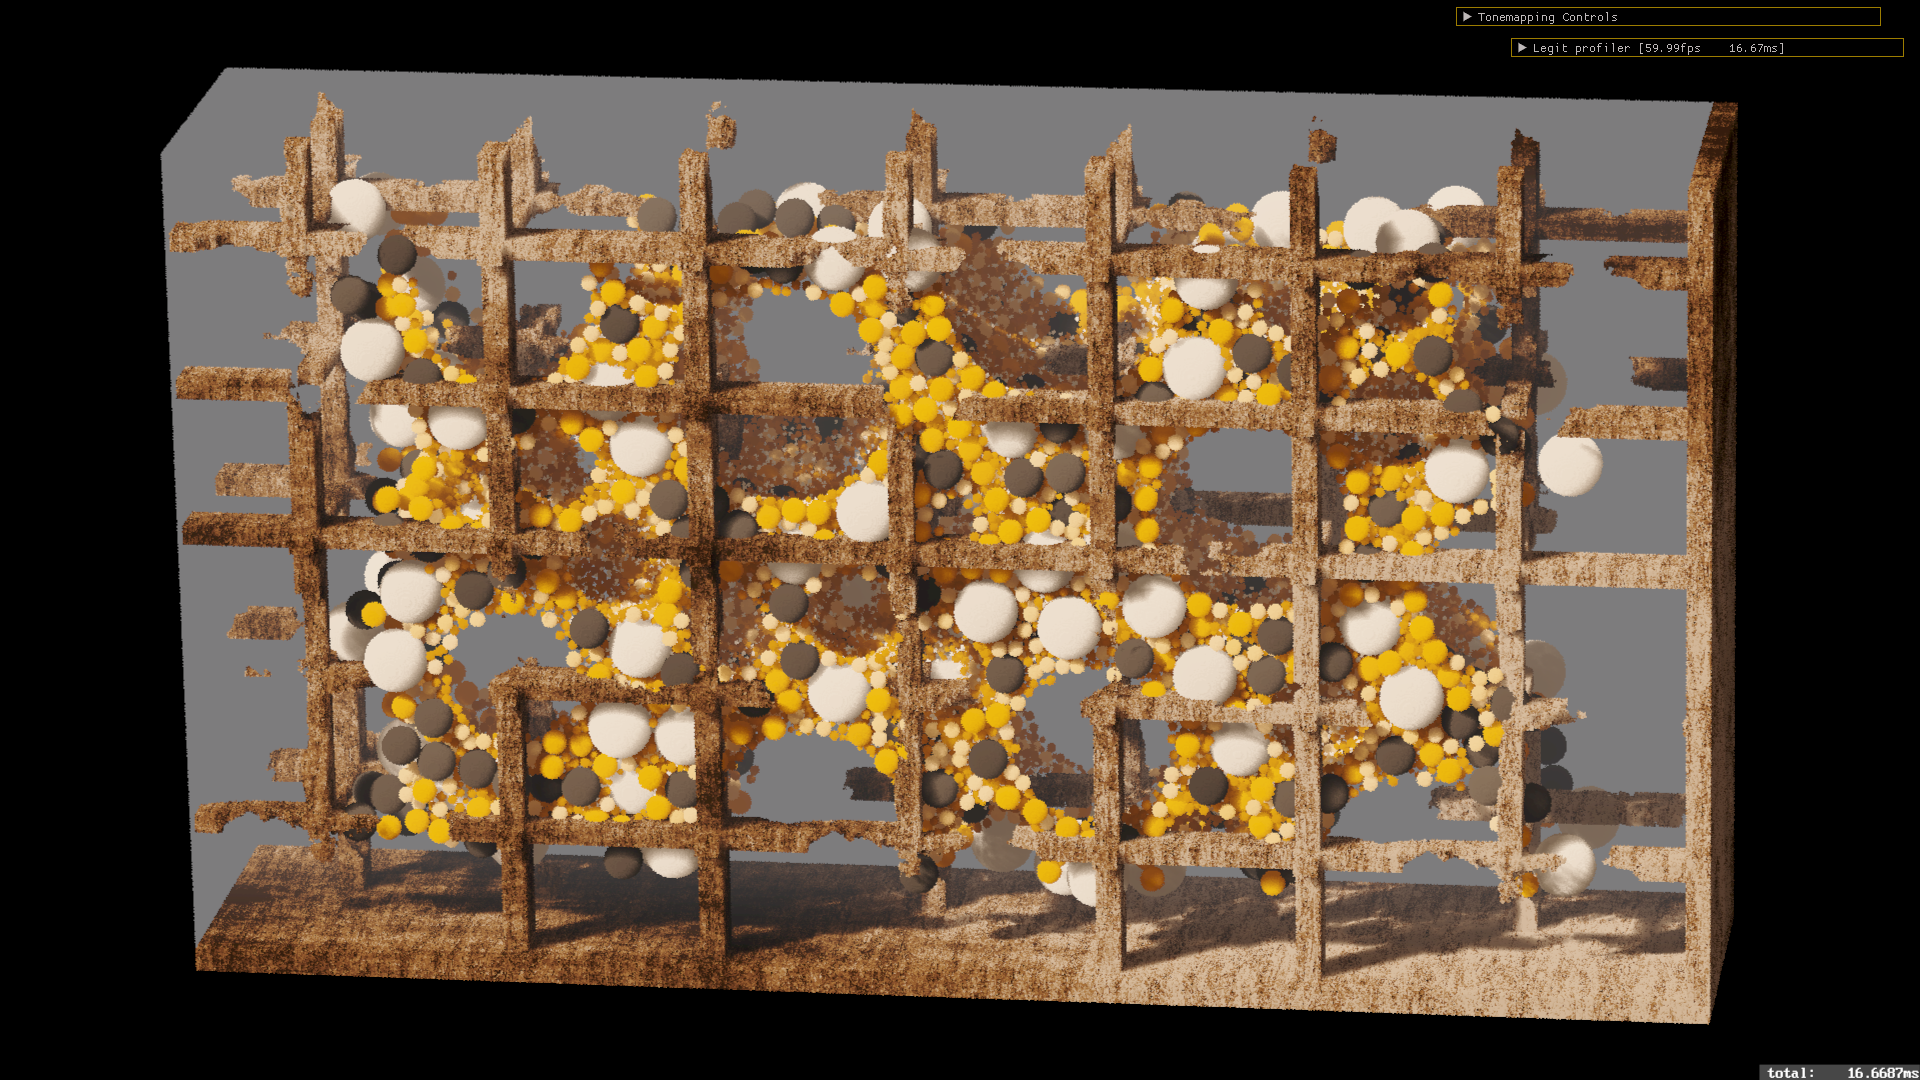
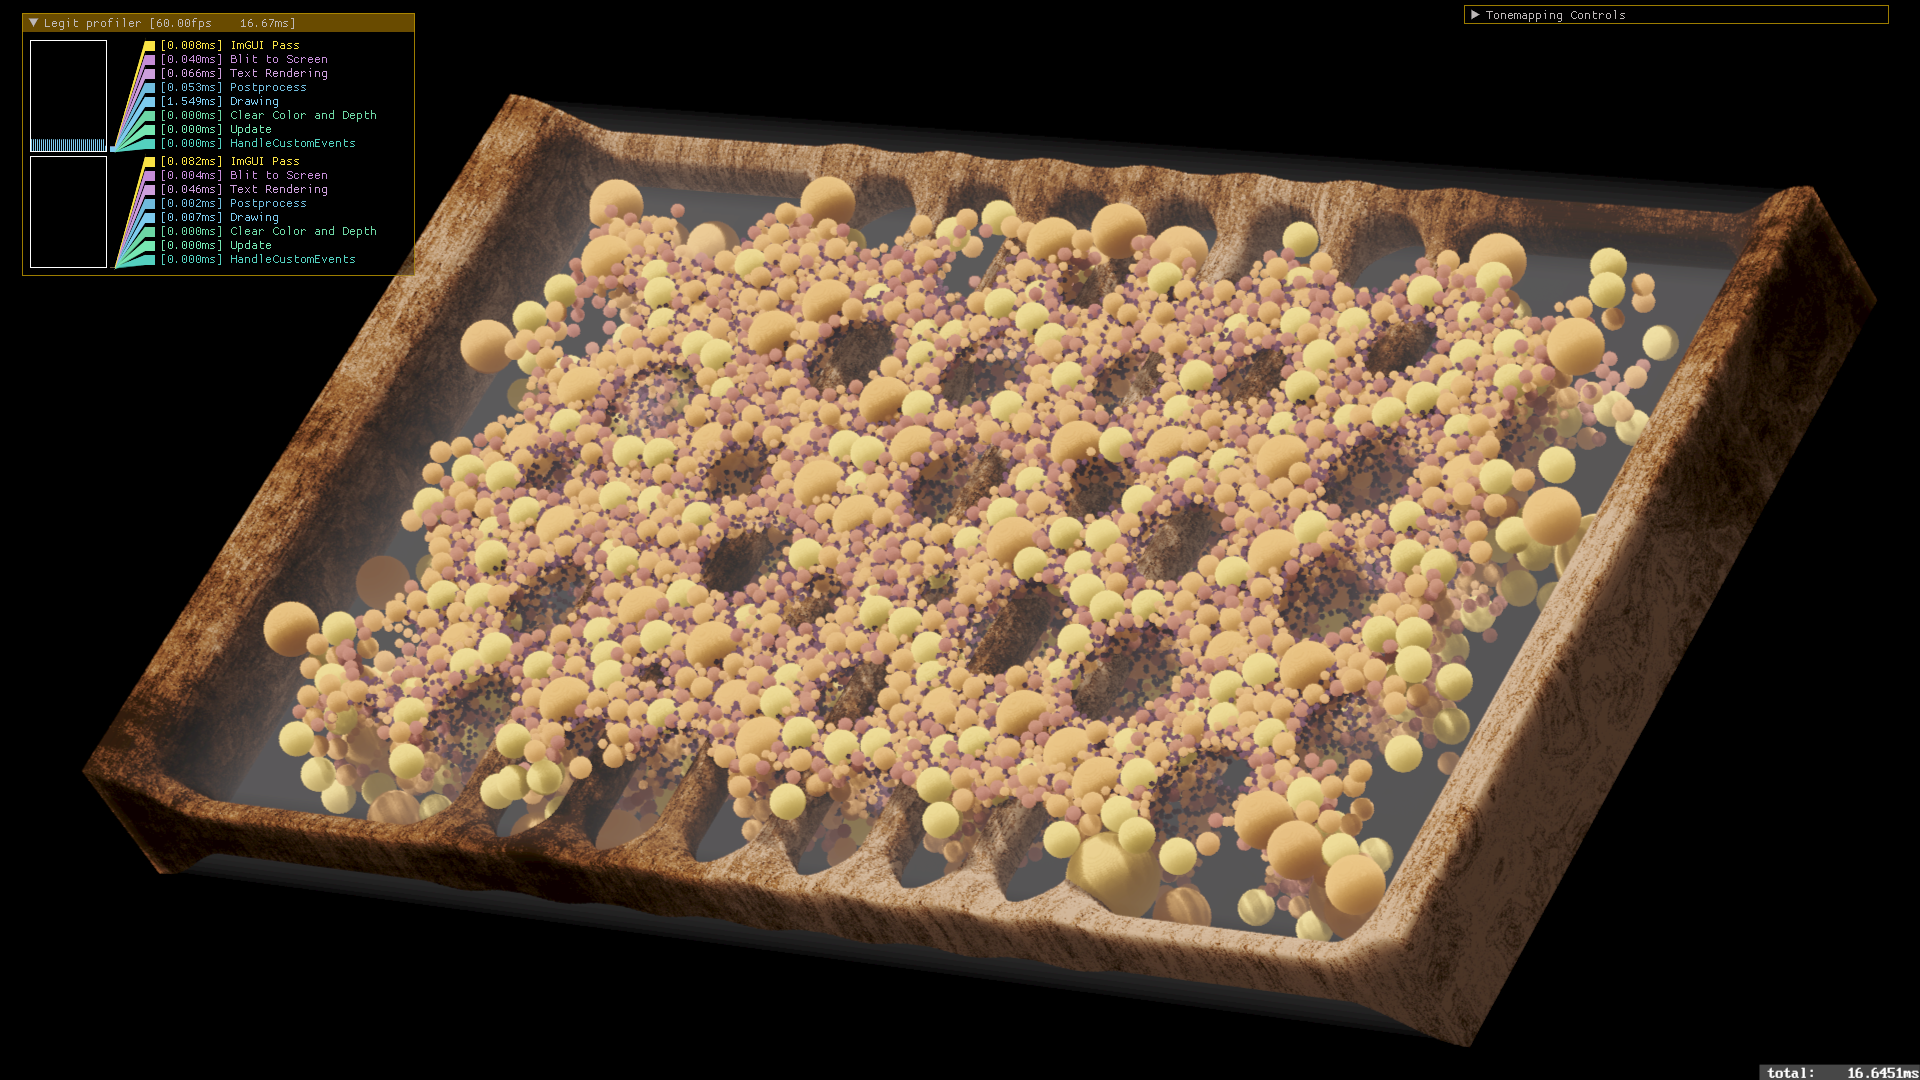
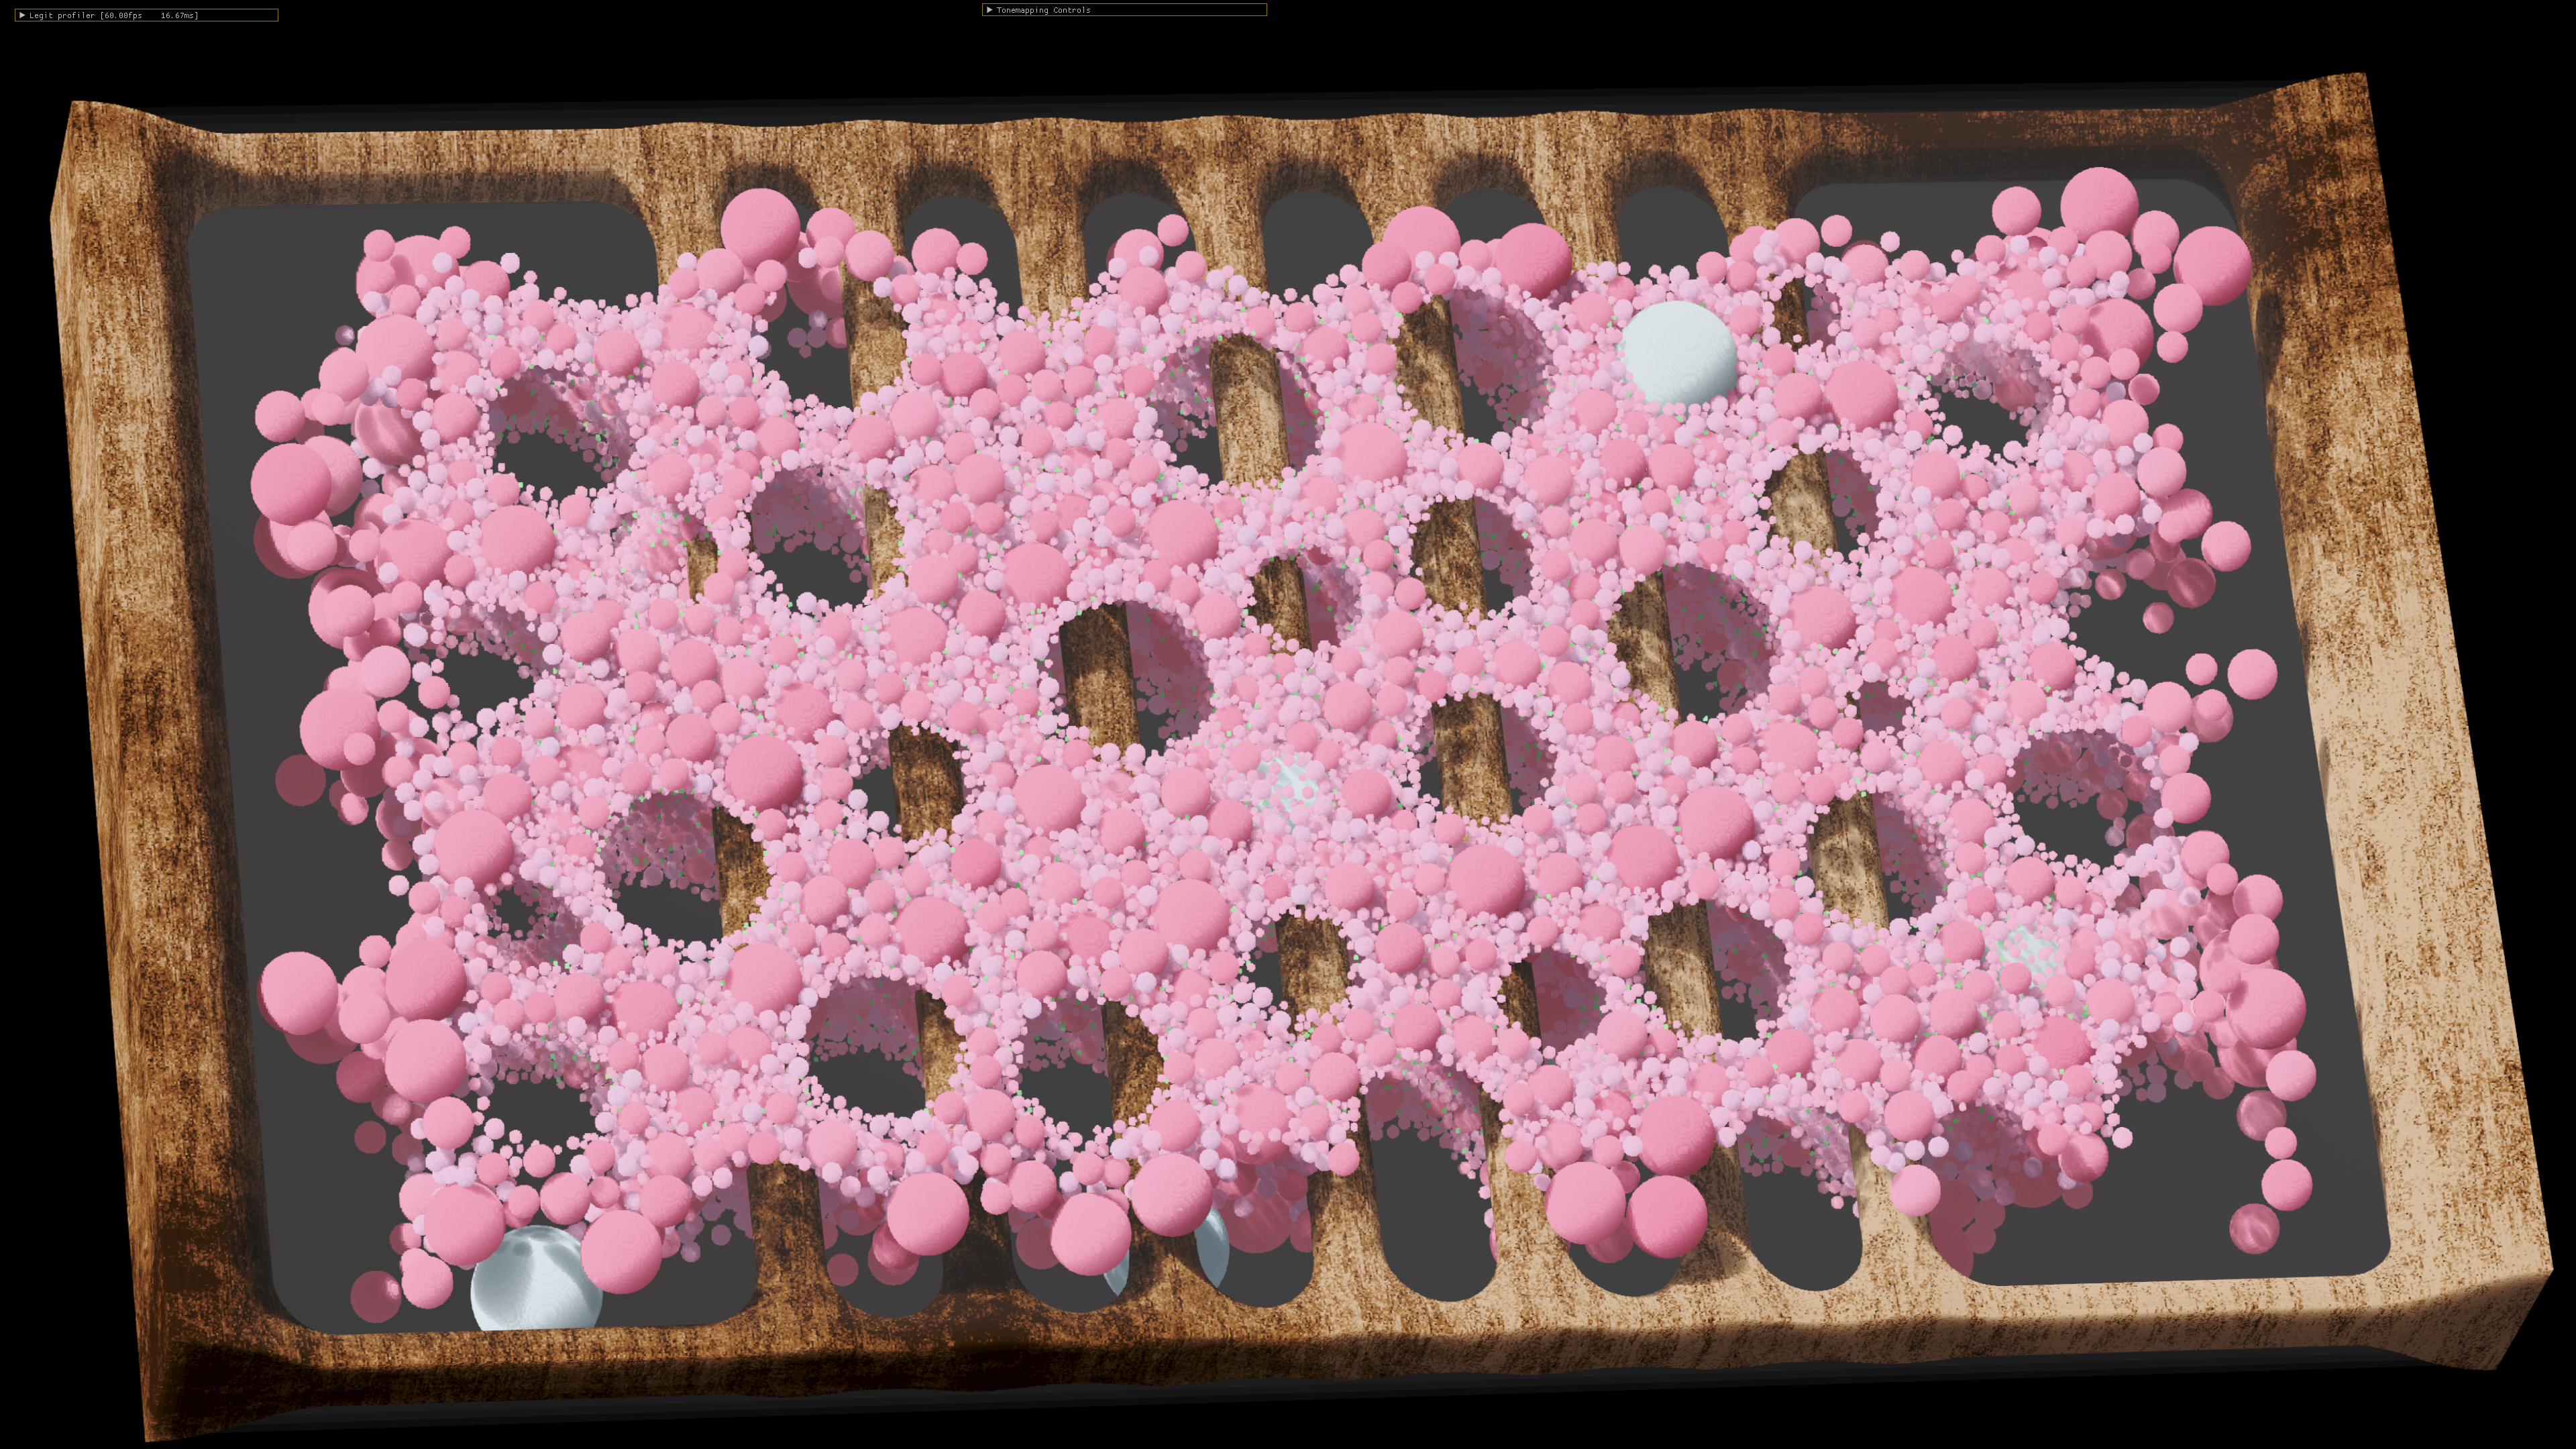
The high level structure of the renderer is almost identical to the physarum’s renderer, where you do a ray-AABB test, and optionally you do a refractive ellipsoid intersection to distort the rays before they are intersected with the AABB. There is an additional precomputation step, where every voxel sees if they are inside a sphere, and colors themselves accordingly. Once that completes, a second pass comes in, touching every voxel, which does a traversal in the direction of a light source, accumulating alpha. This accumulated value is used with Beer’s law, to determine how much optical density is between that voxel and the light source, informing the level of shadow that voxel should see. The value is destructively combined into the color value and put back. This is a little bit of a limitation in the current implementation, because I don’t have a method in place to get the original color back. I have a plan on how to resolve that limitation, and decouple the albedo from the lighting, more on that later.
Bokeh and DoF
Thin lens depth of field adds a lot – this is one of my favorite little drop-ins any time I’m doing accumulated ray-based rendering. I was able to explore some new aspects of it, after I realized that my RNG that I was using for point in a unit disk was biased towards the rim. This created a characteristically ring shaped bokeh, as more samples were taken that contributed to that part of the bokeh shape. I explored two methods for making these hexagons of uniform brightness – uniform sampling and rejection sampling.
 // from fadaaszhi on GP discord 11/8/2023
 vec2 randHex() {
 #ifdef ANALYTIC
 // uniform sampling - unit square remapped to hexagon
 	float x = rand() * 2.0f - 1.0f;
 	float a = sqrt( 3.0f ) - sqrt( 3.0f - 2.25f * abs( x ) );
 	return vec2( sign( x ) * a, ( rand() * 2.0f - 1.0f ) * ( 1.0f - a / sqrt( 3.0f ) ) );
 #else
 // rejection sampling I had written before
	vec2 cantidate;
	// generate points in a unit square, till one is inside a hexagon
	while ( sdHexagon( cantidate = vec2( rand(), rand() ) - vec2( 0.5f ), 0.3f, 0.0f ) > 0.0f );
	return 2.0f * cantidate;
 #endif
 }
Fad on the GP discord shared a method for remapping a uniformly generated 2d offset ( uniform on 0..1, both axes, this is the one I’m calling uniform sampling ) to a hexagon, while keeping the uniformity. This method is much faster than rejection sampling because of the nature of the algorithm: rejection sampling stochastically generates samples, until one of them passes a test that says “I’m in the hexagon”. This means there is a significant amount of divergence, as neighboring invocations have to run for varying numbers of iterations. The uniform remapping also means you can sample it with blue noise, and get yourself some nice, smooth hexagonal bokeh.
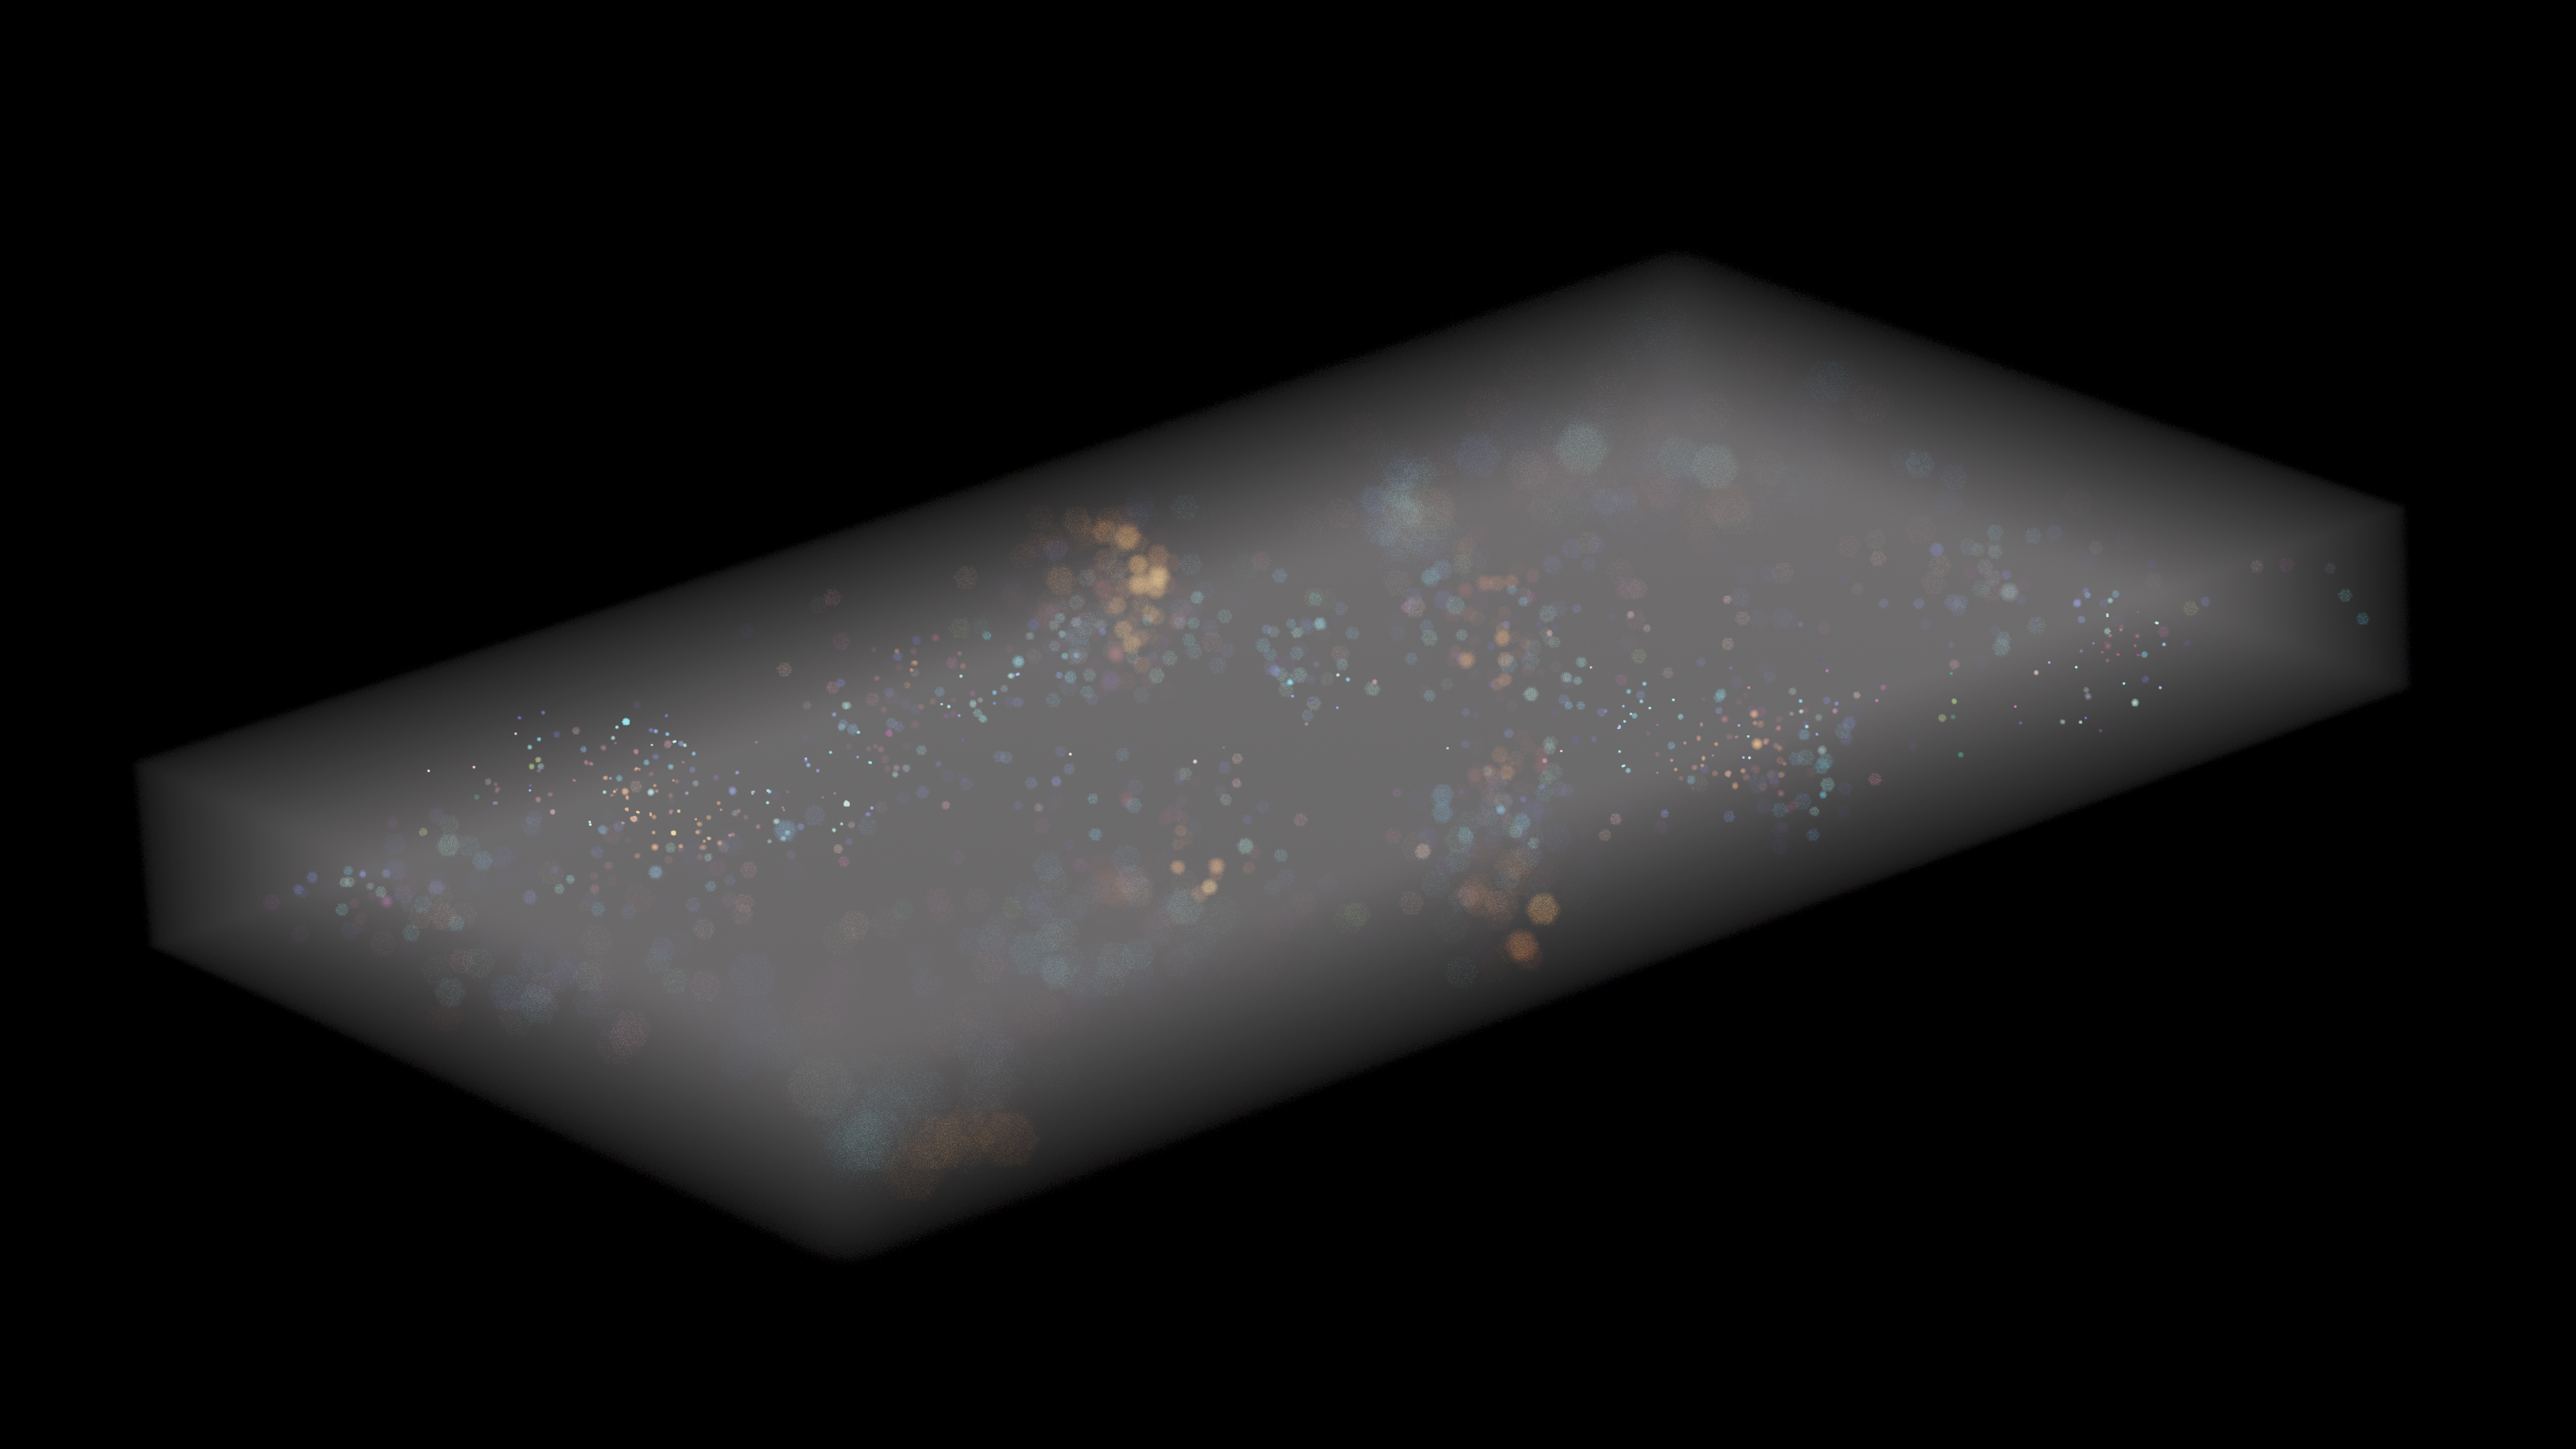
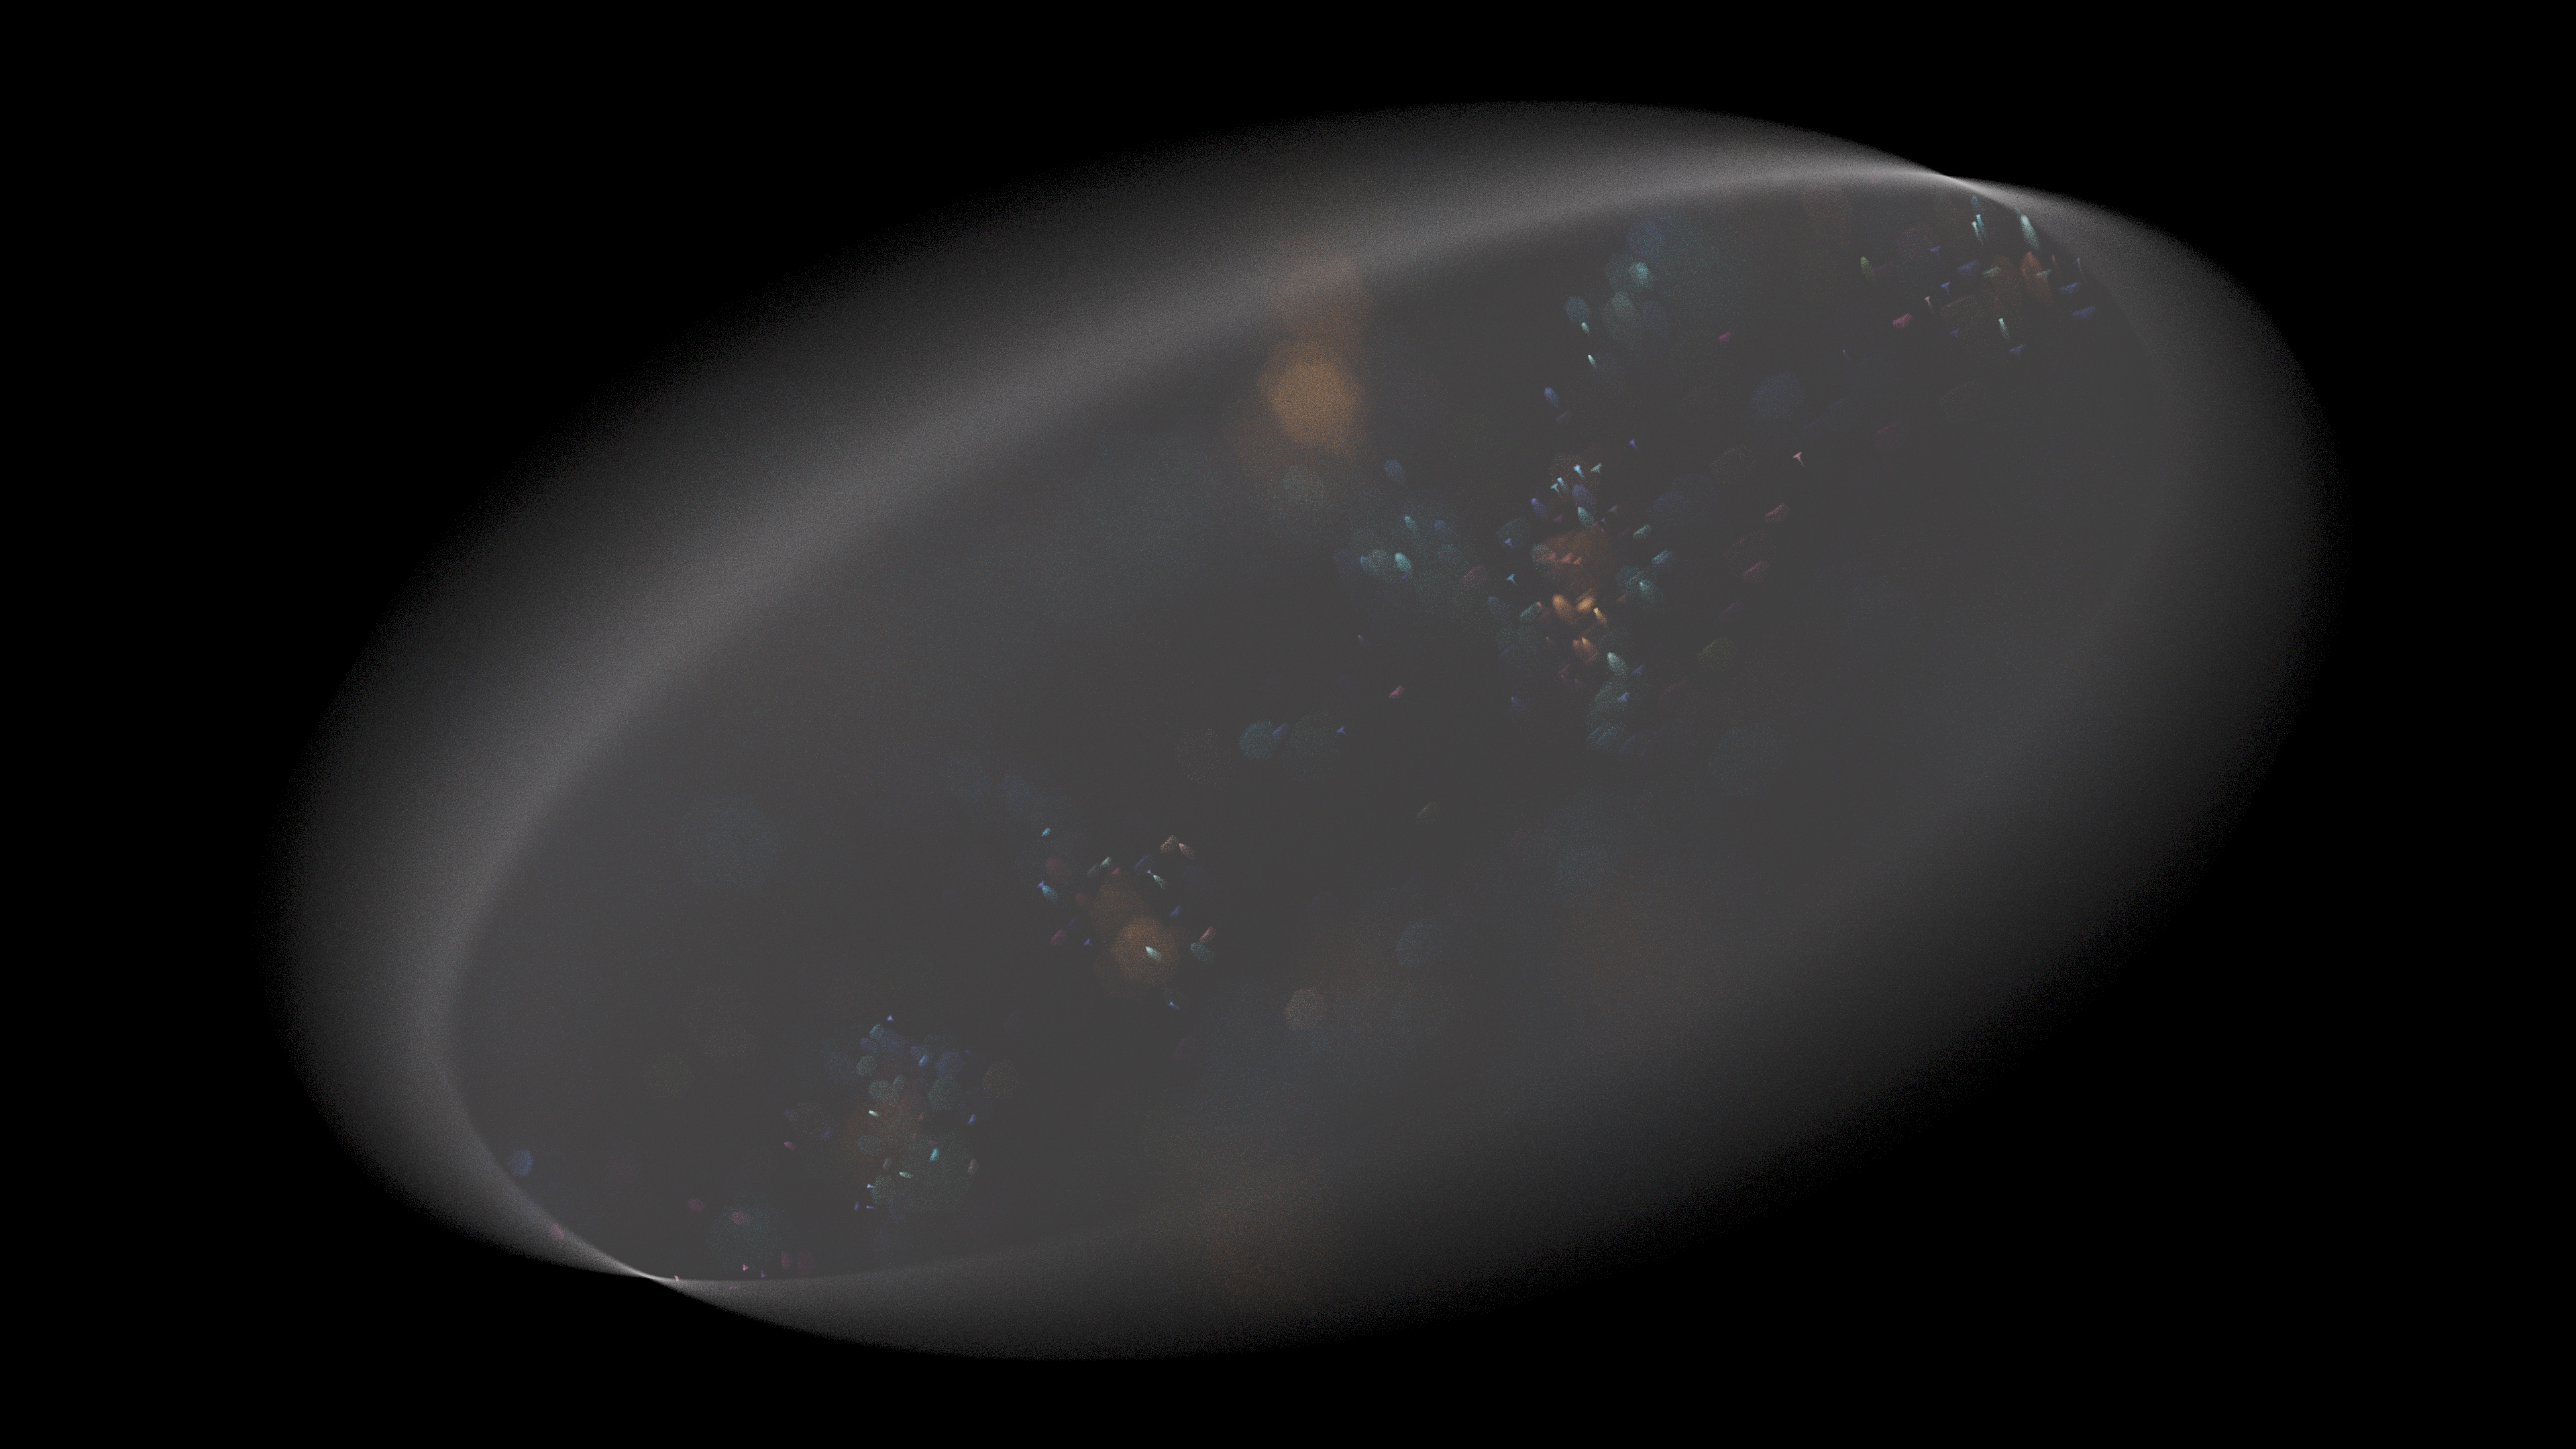
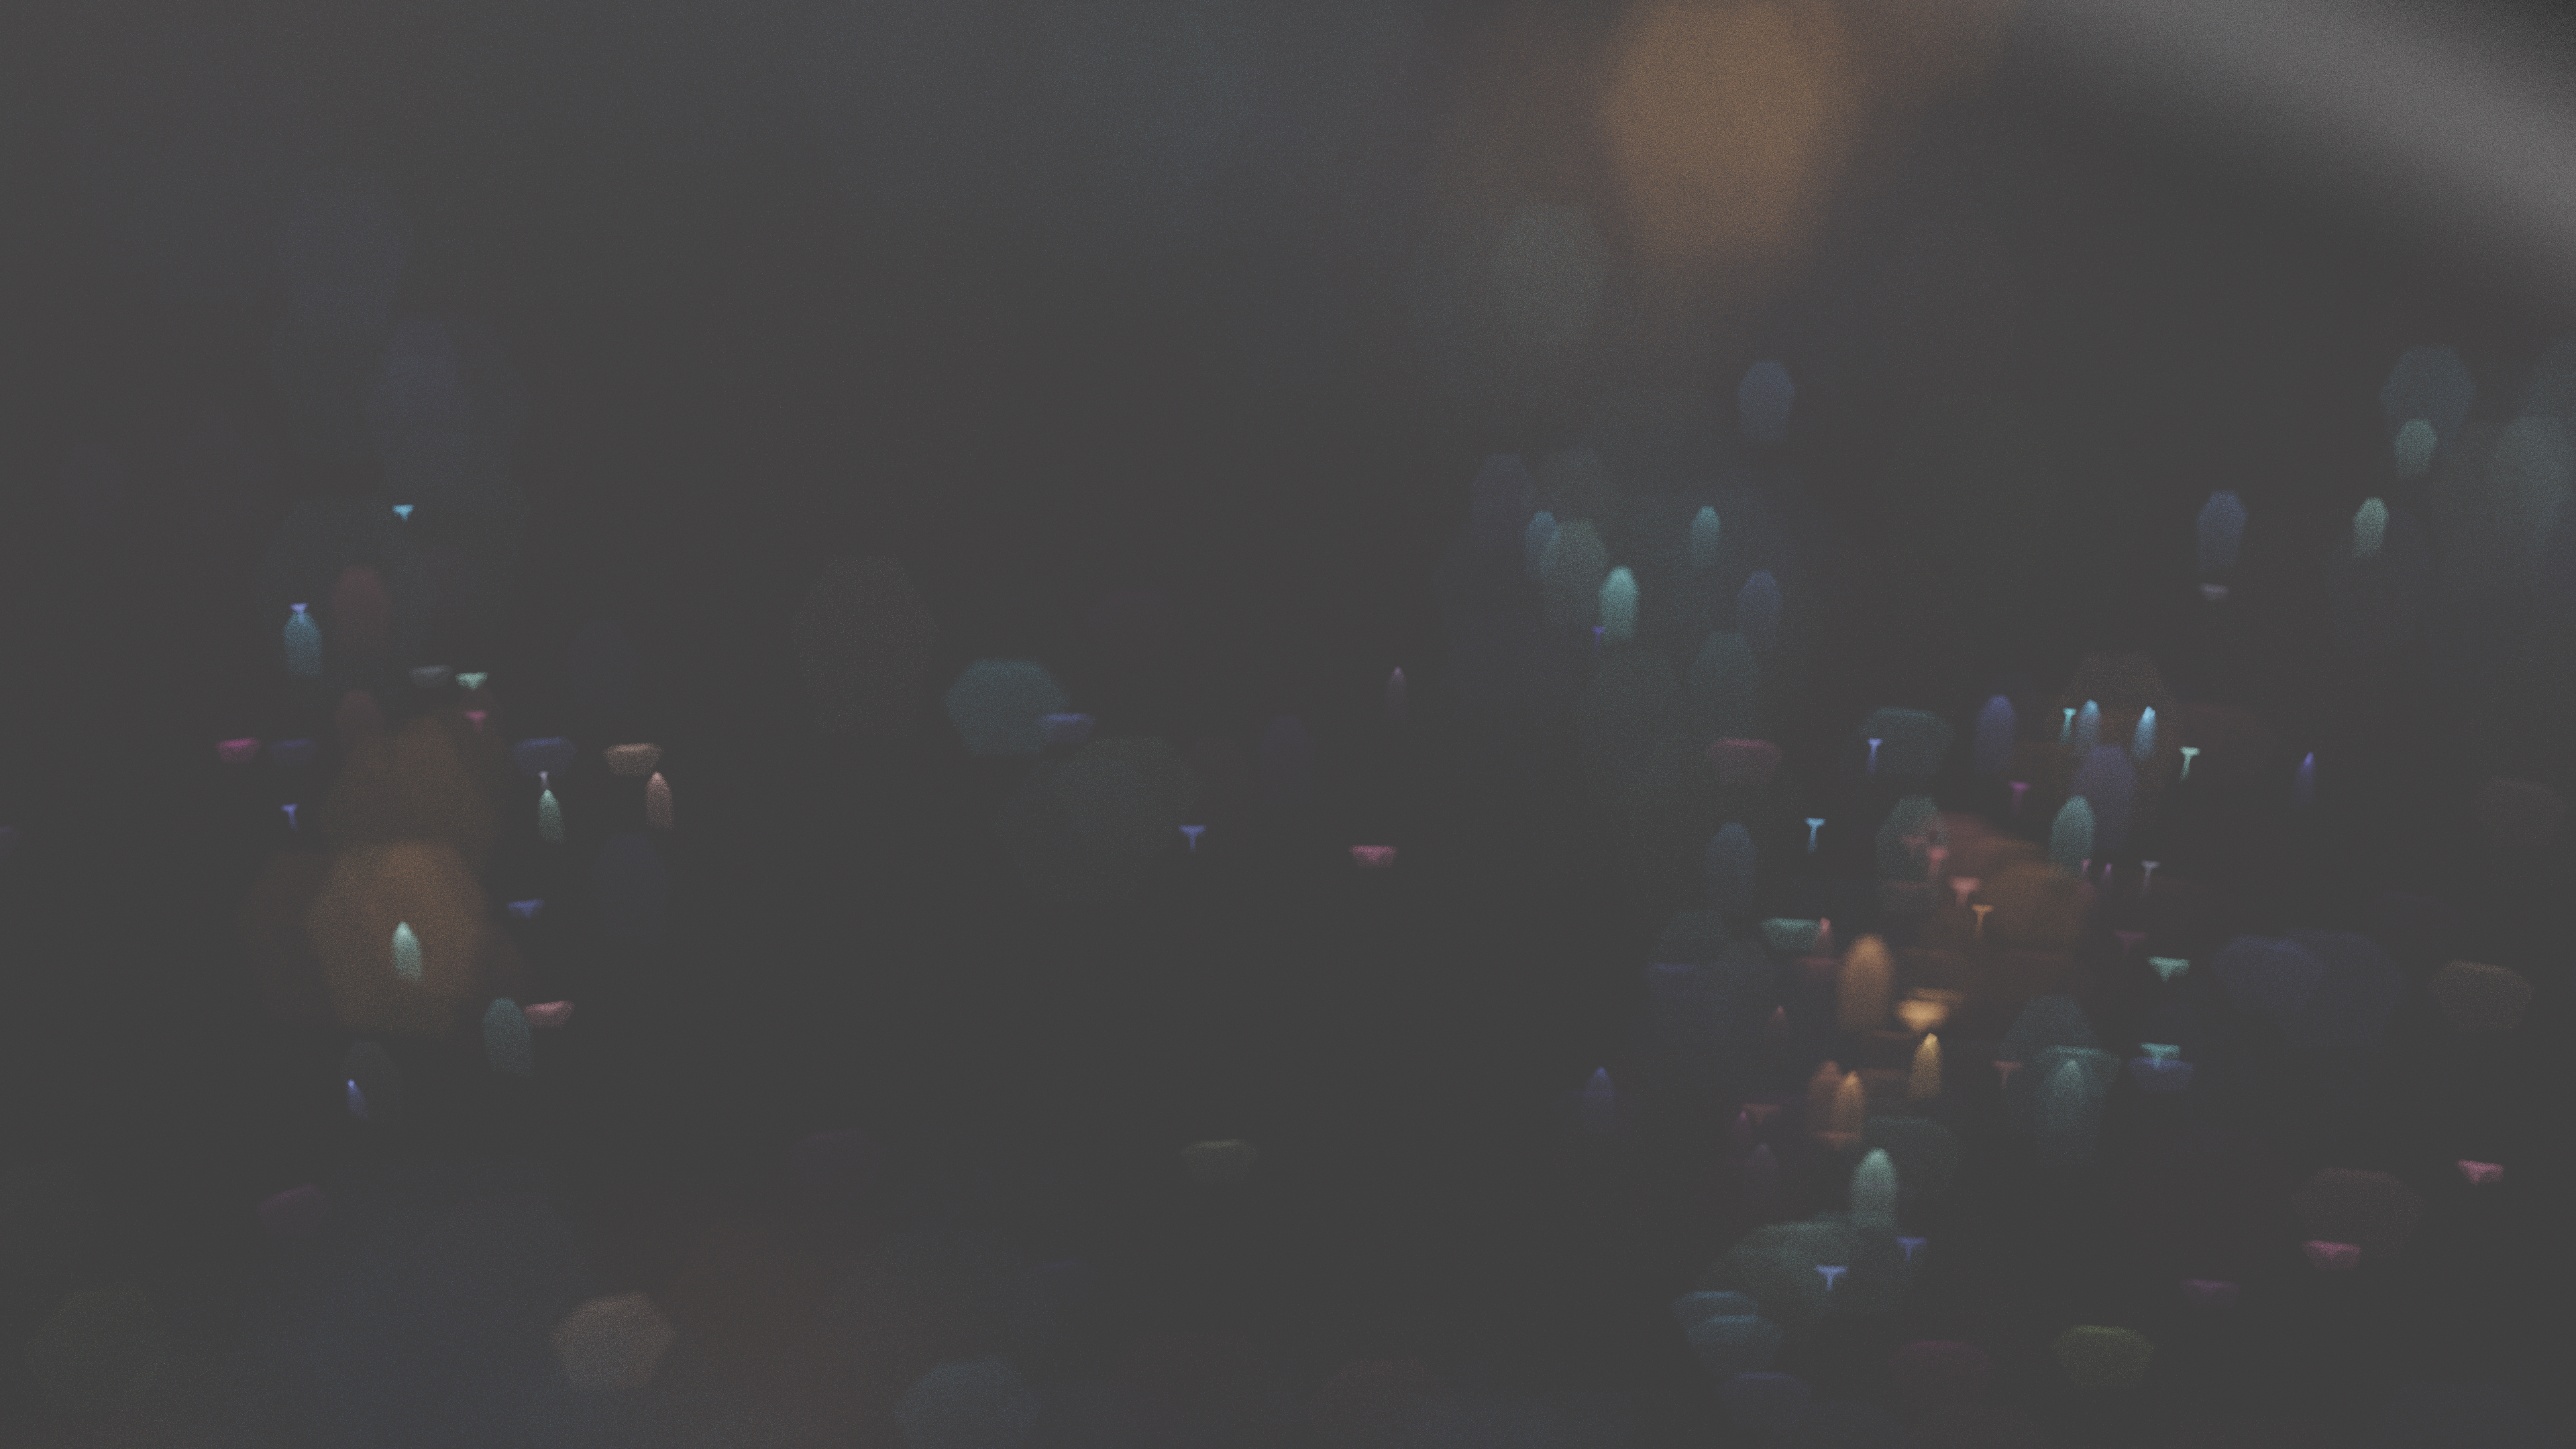
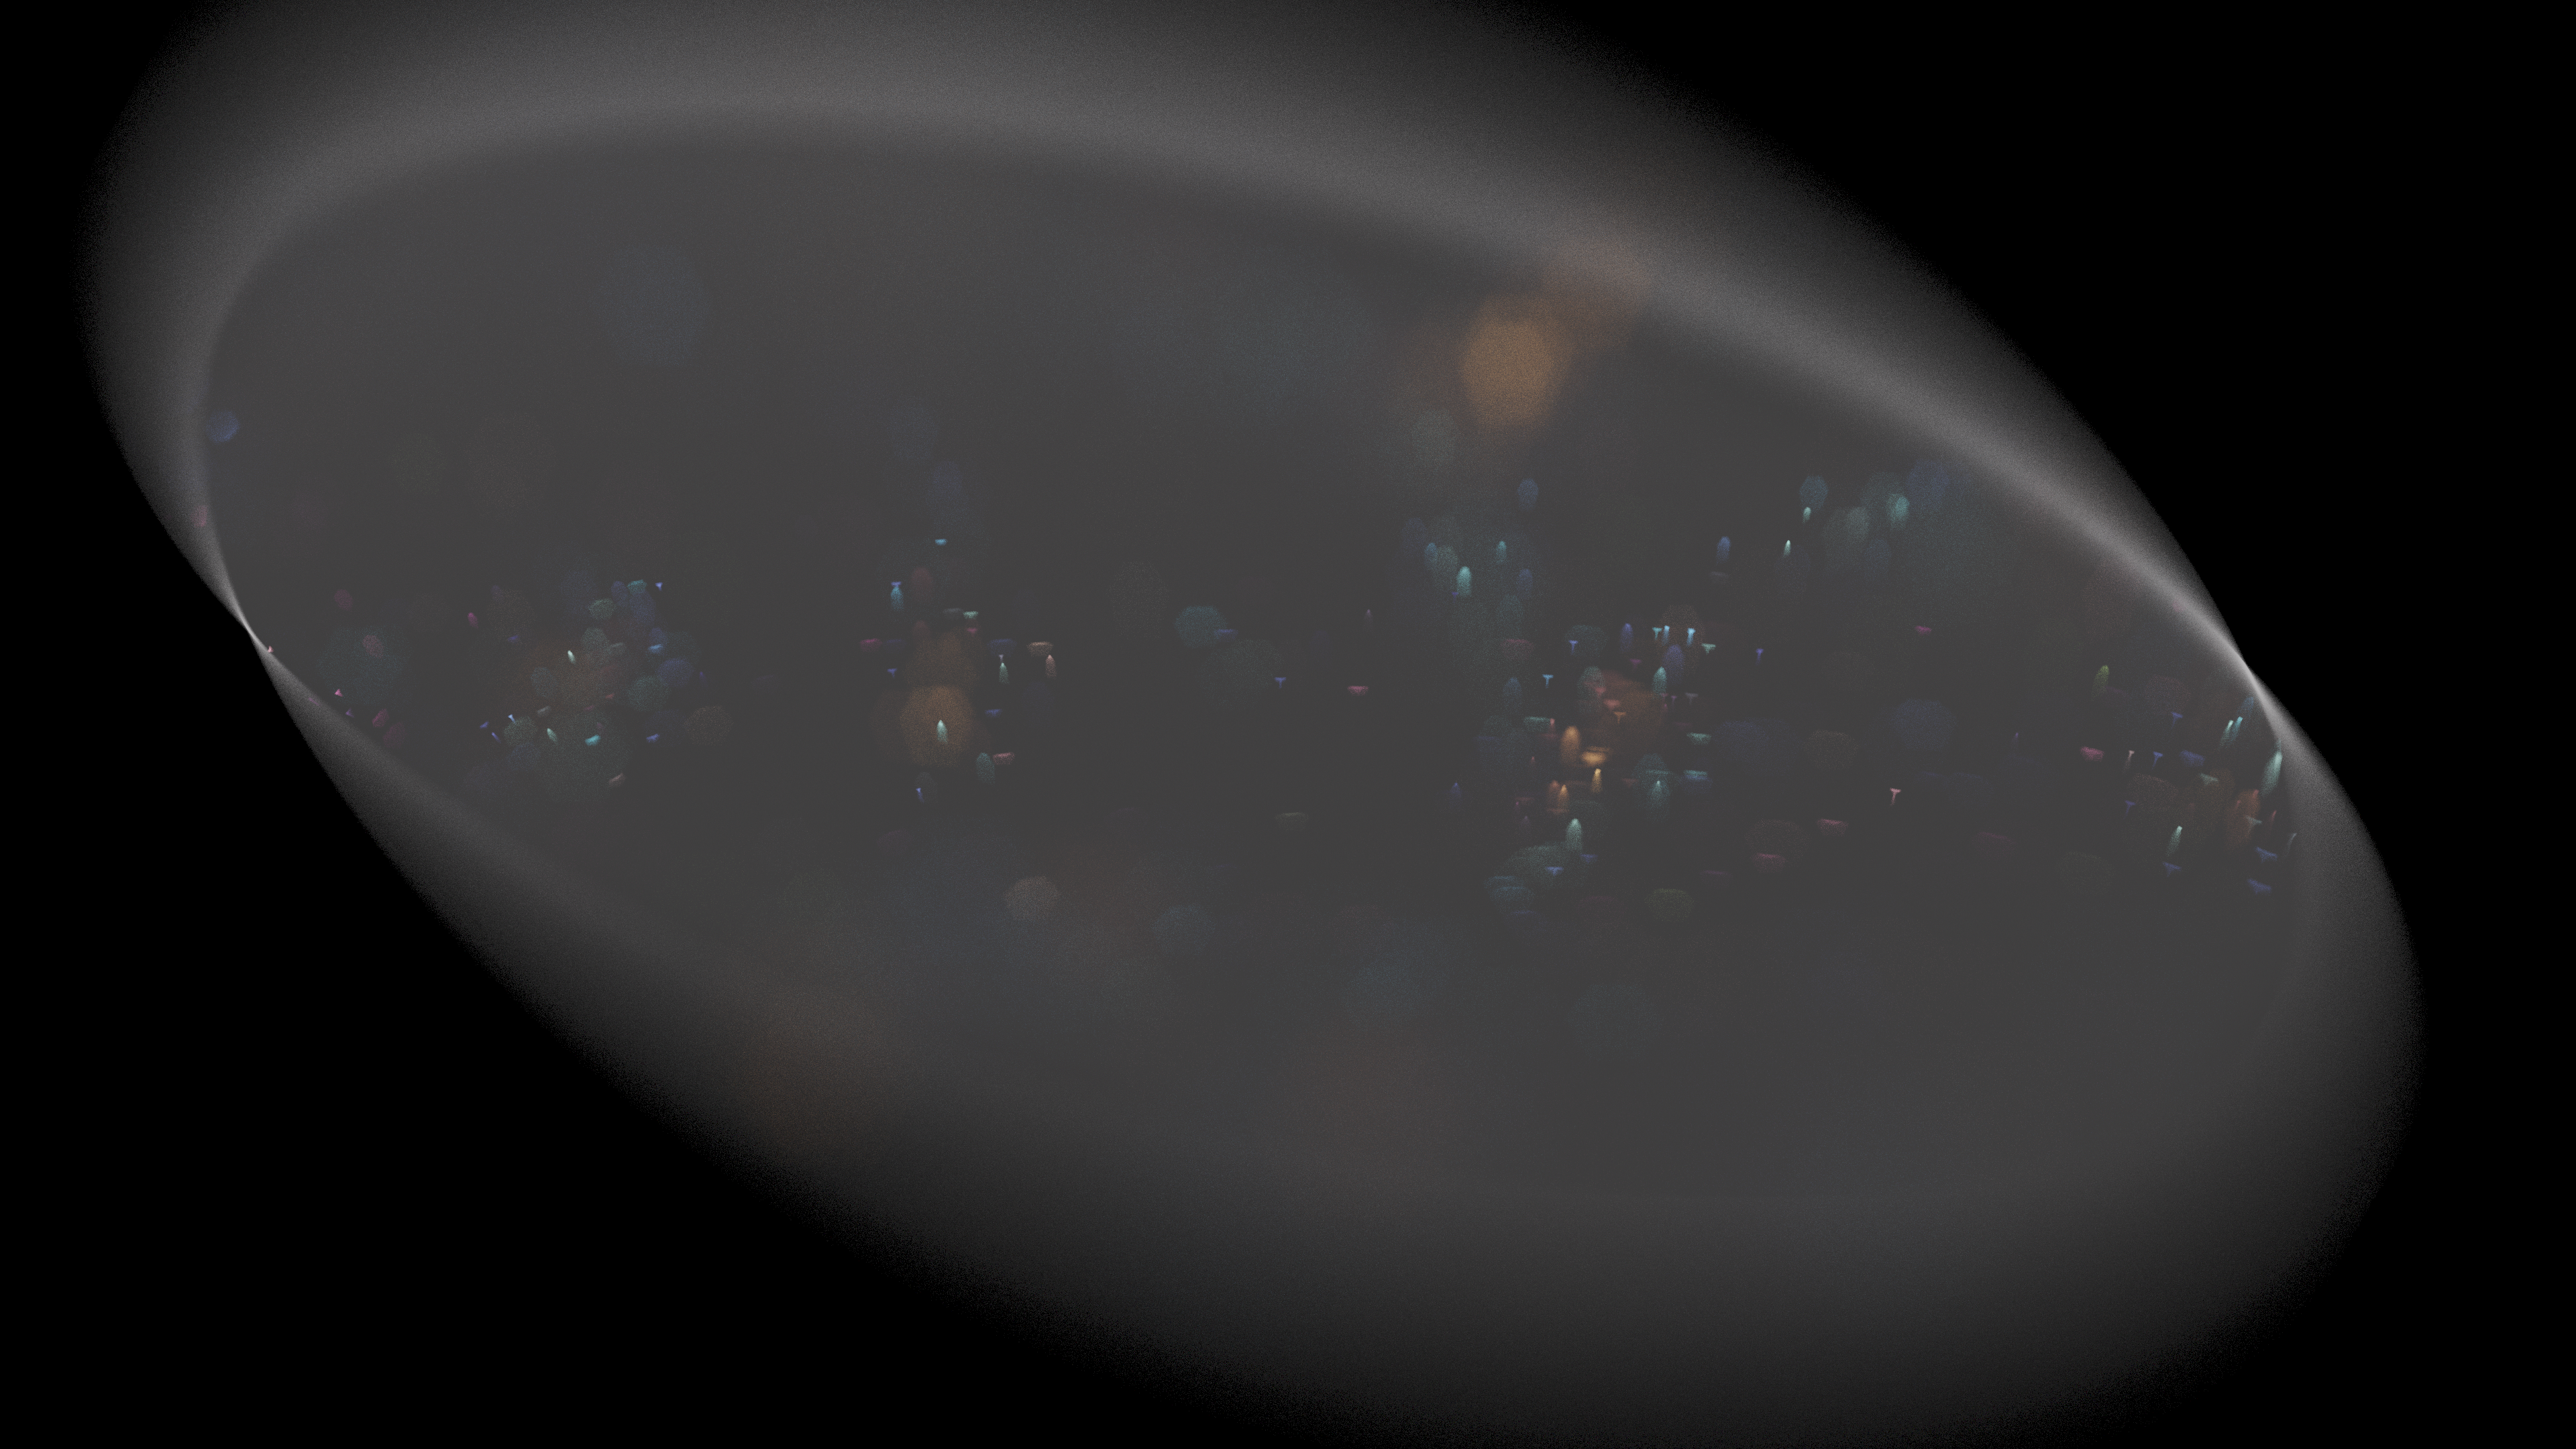
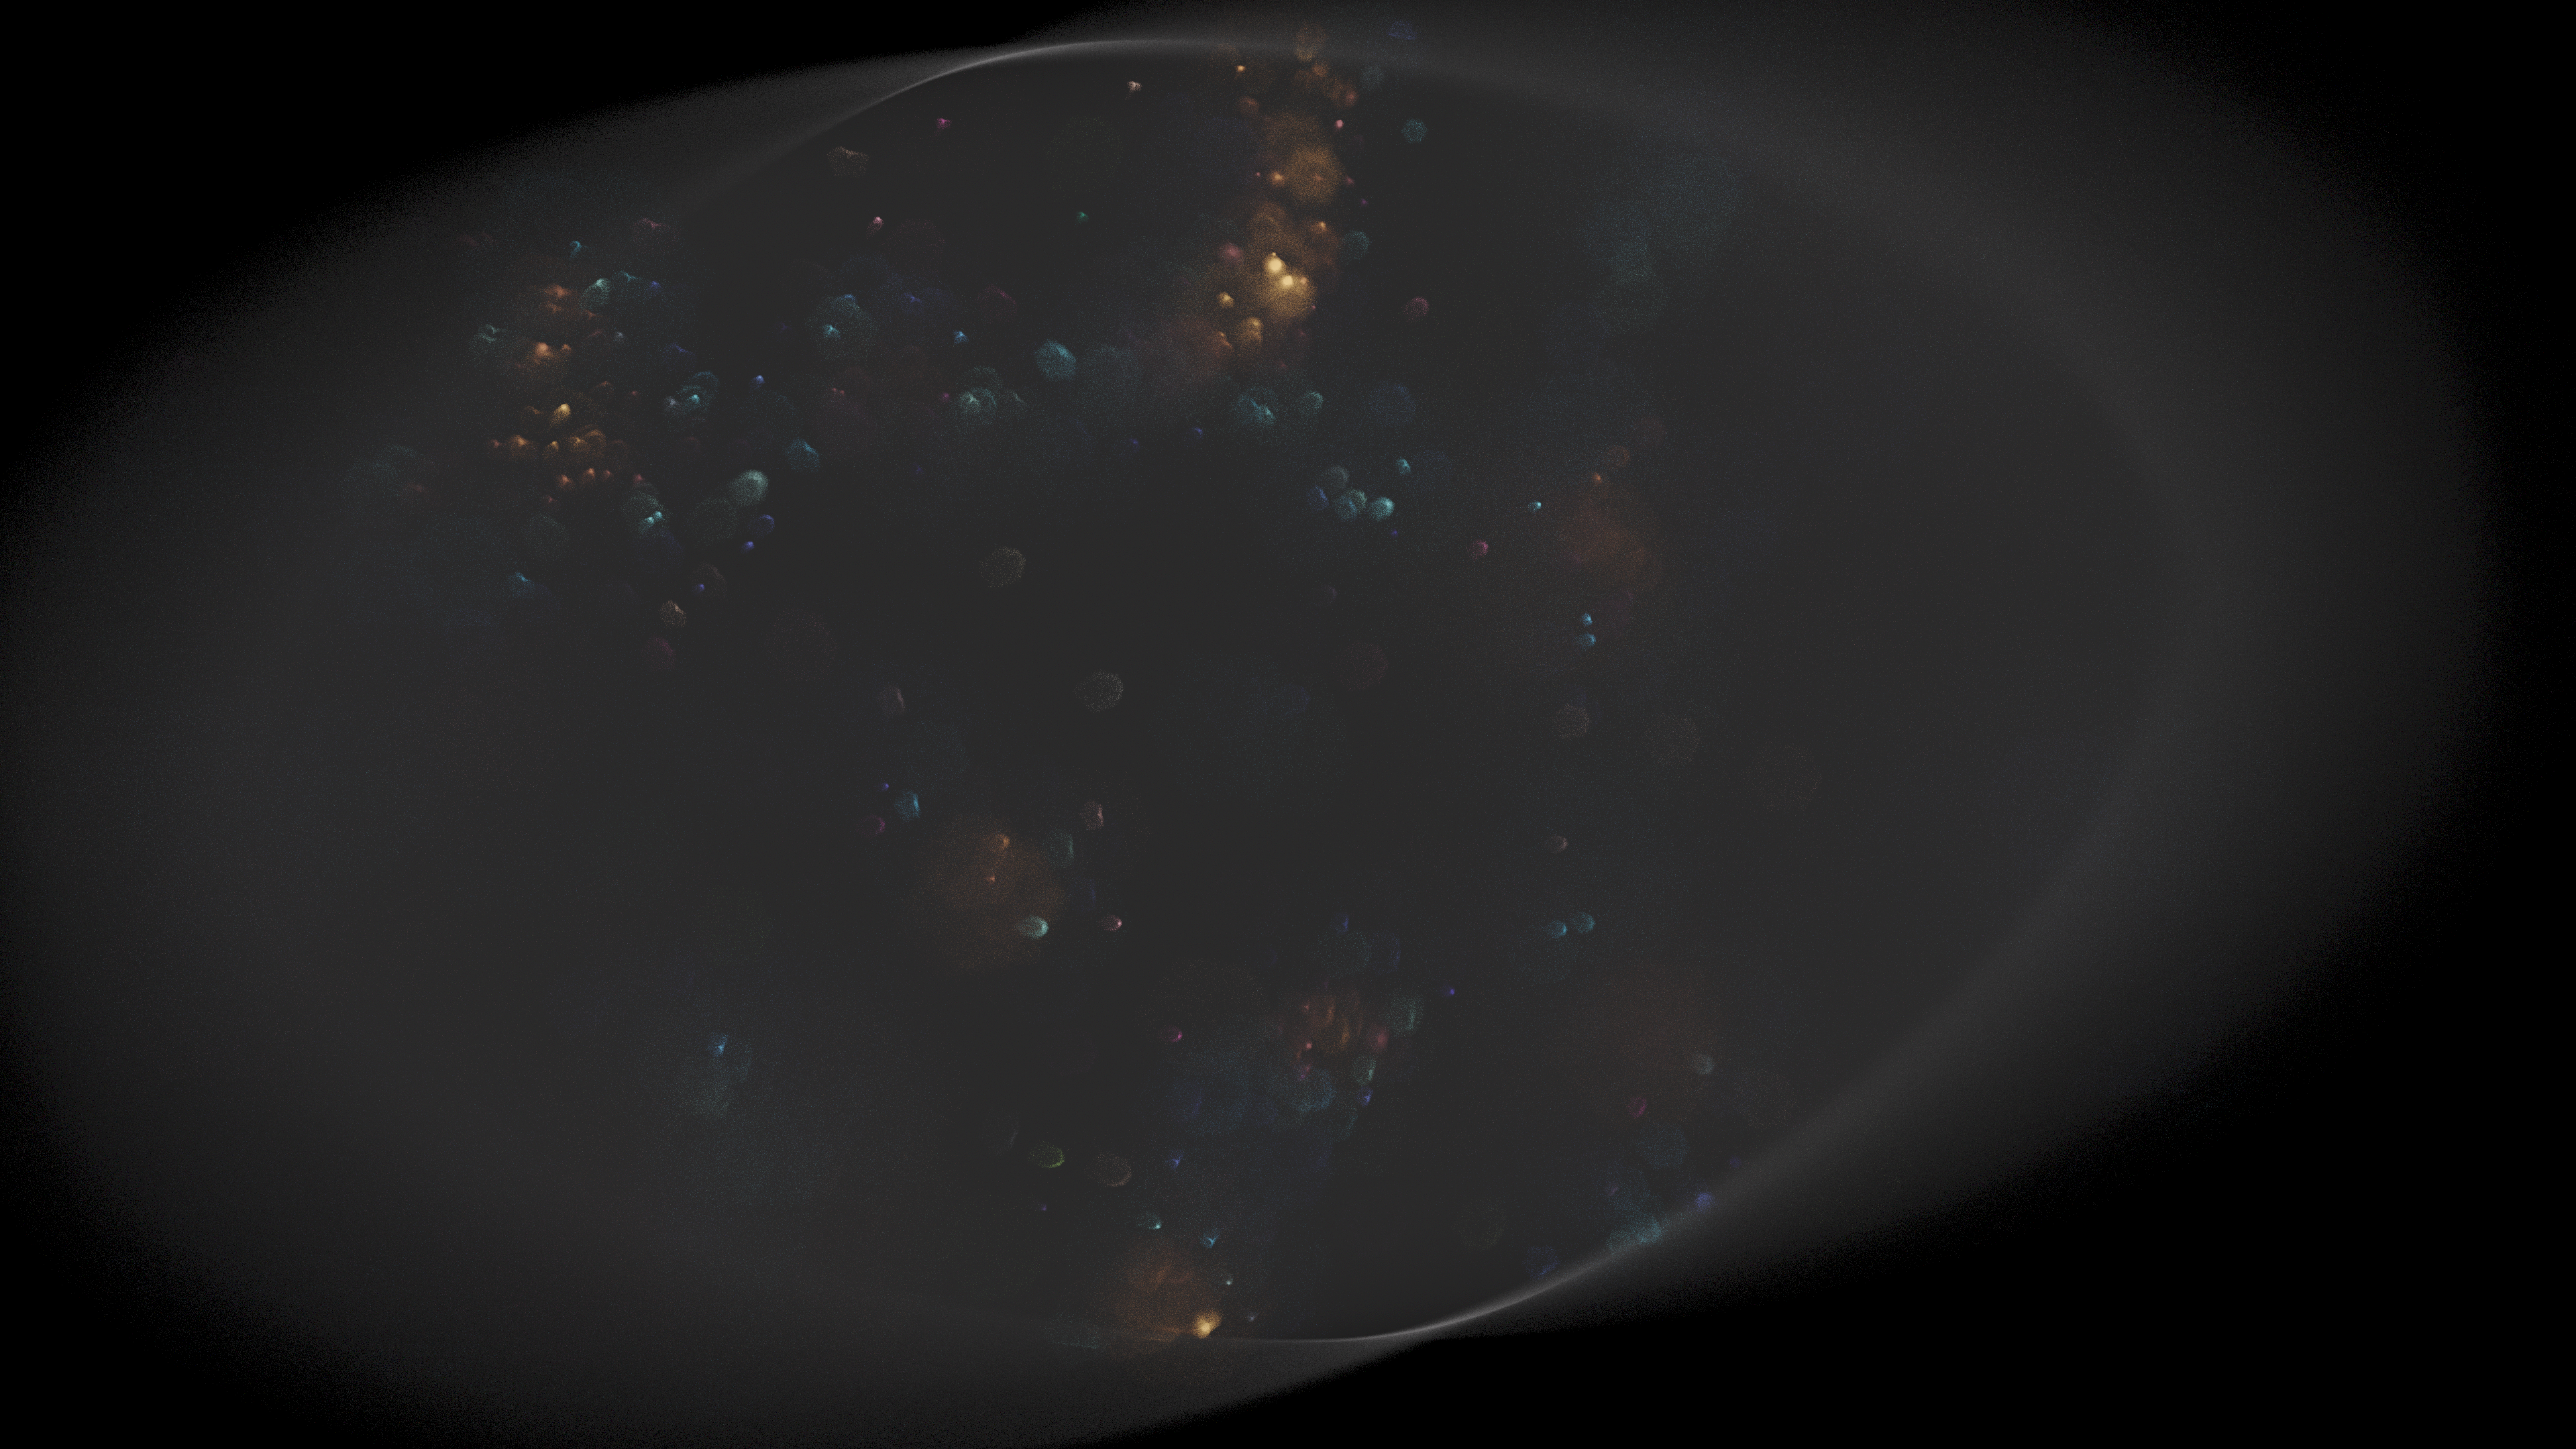
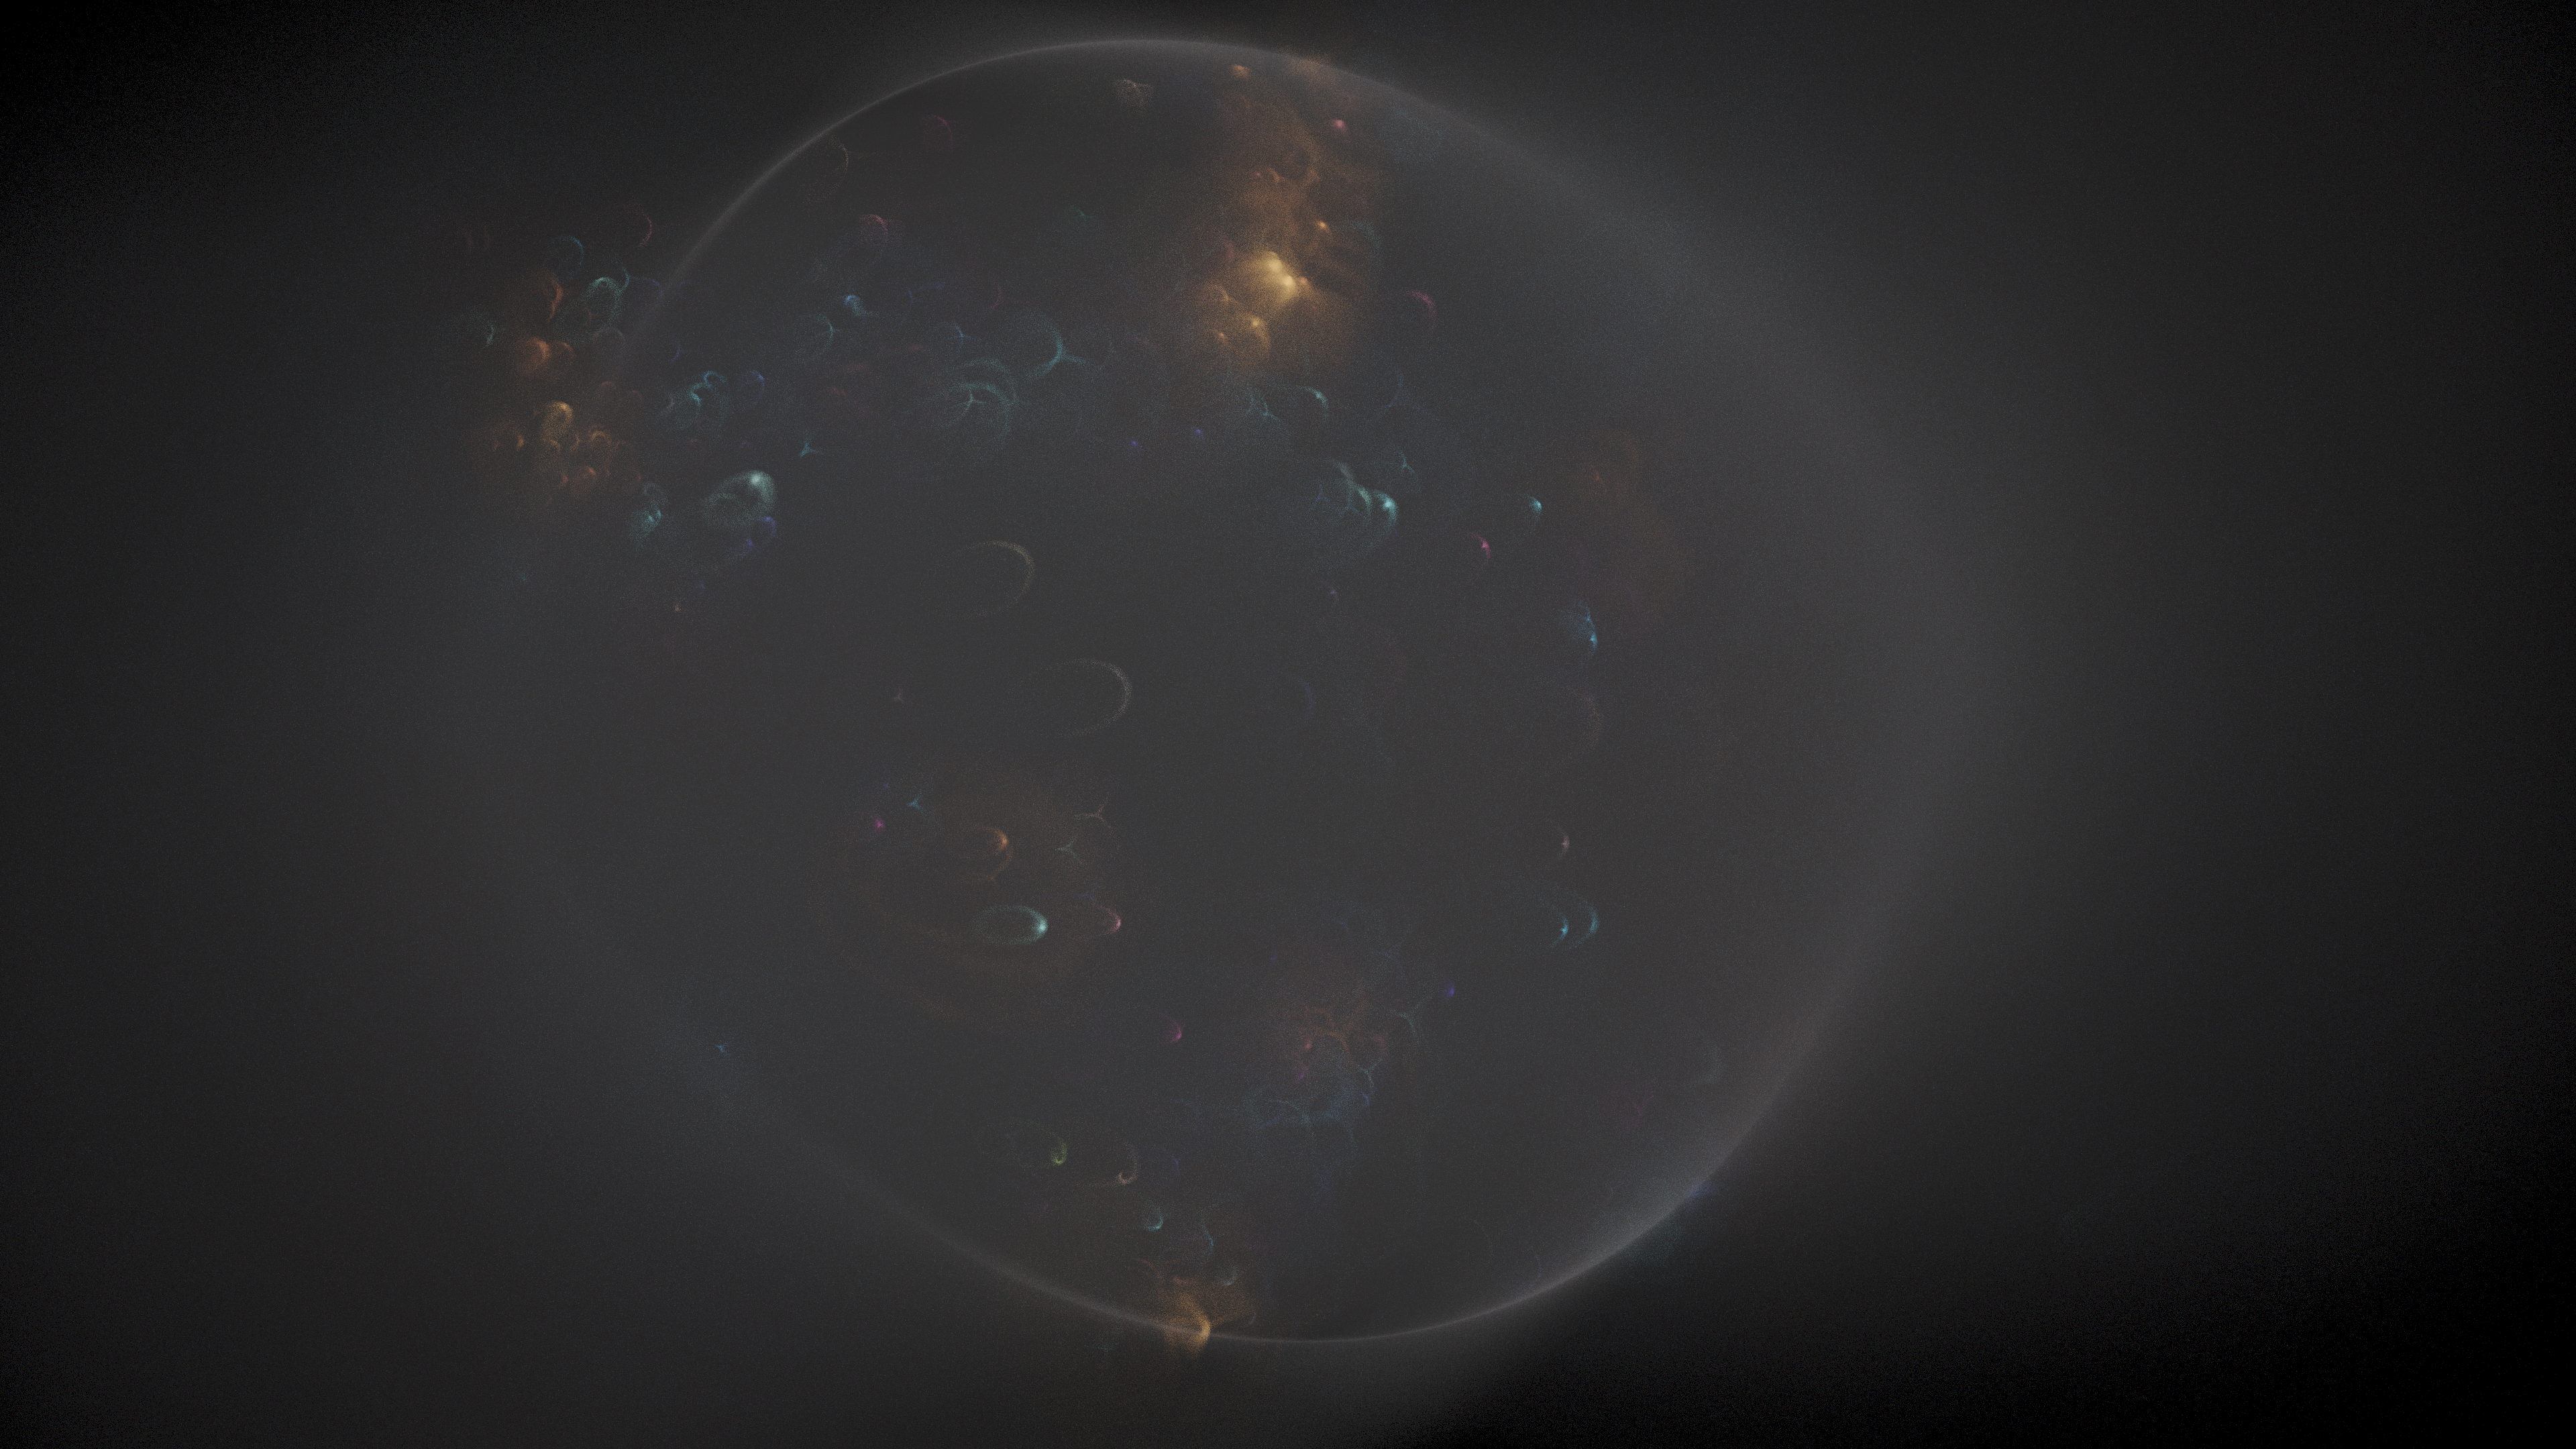
I encountered a very interesting bug, an interplay between a combination of the shaped bokeh, extremely intense DoF, the refraction, and a scene consisting of small, high contrast spheres against a black background. You can see a couple samples of it above, where it created these wild, caustic-like refracted bokeh. Click through on any of these to see full size. You can see what that looked like live, video on youtube, see timestamp linked here.
Dithering
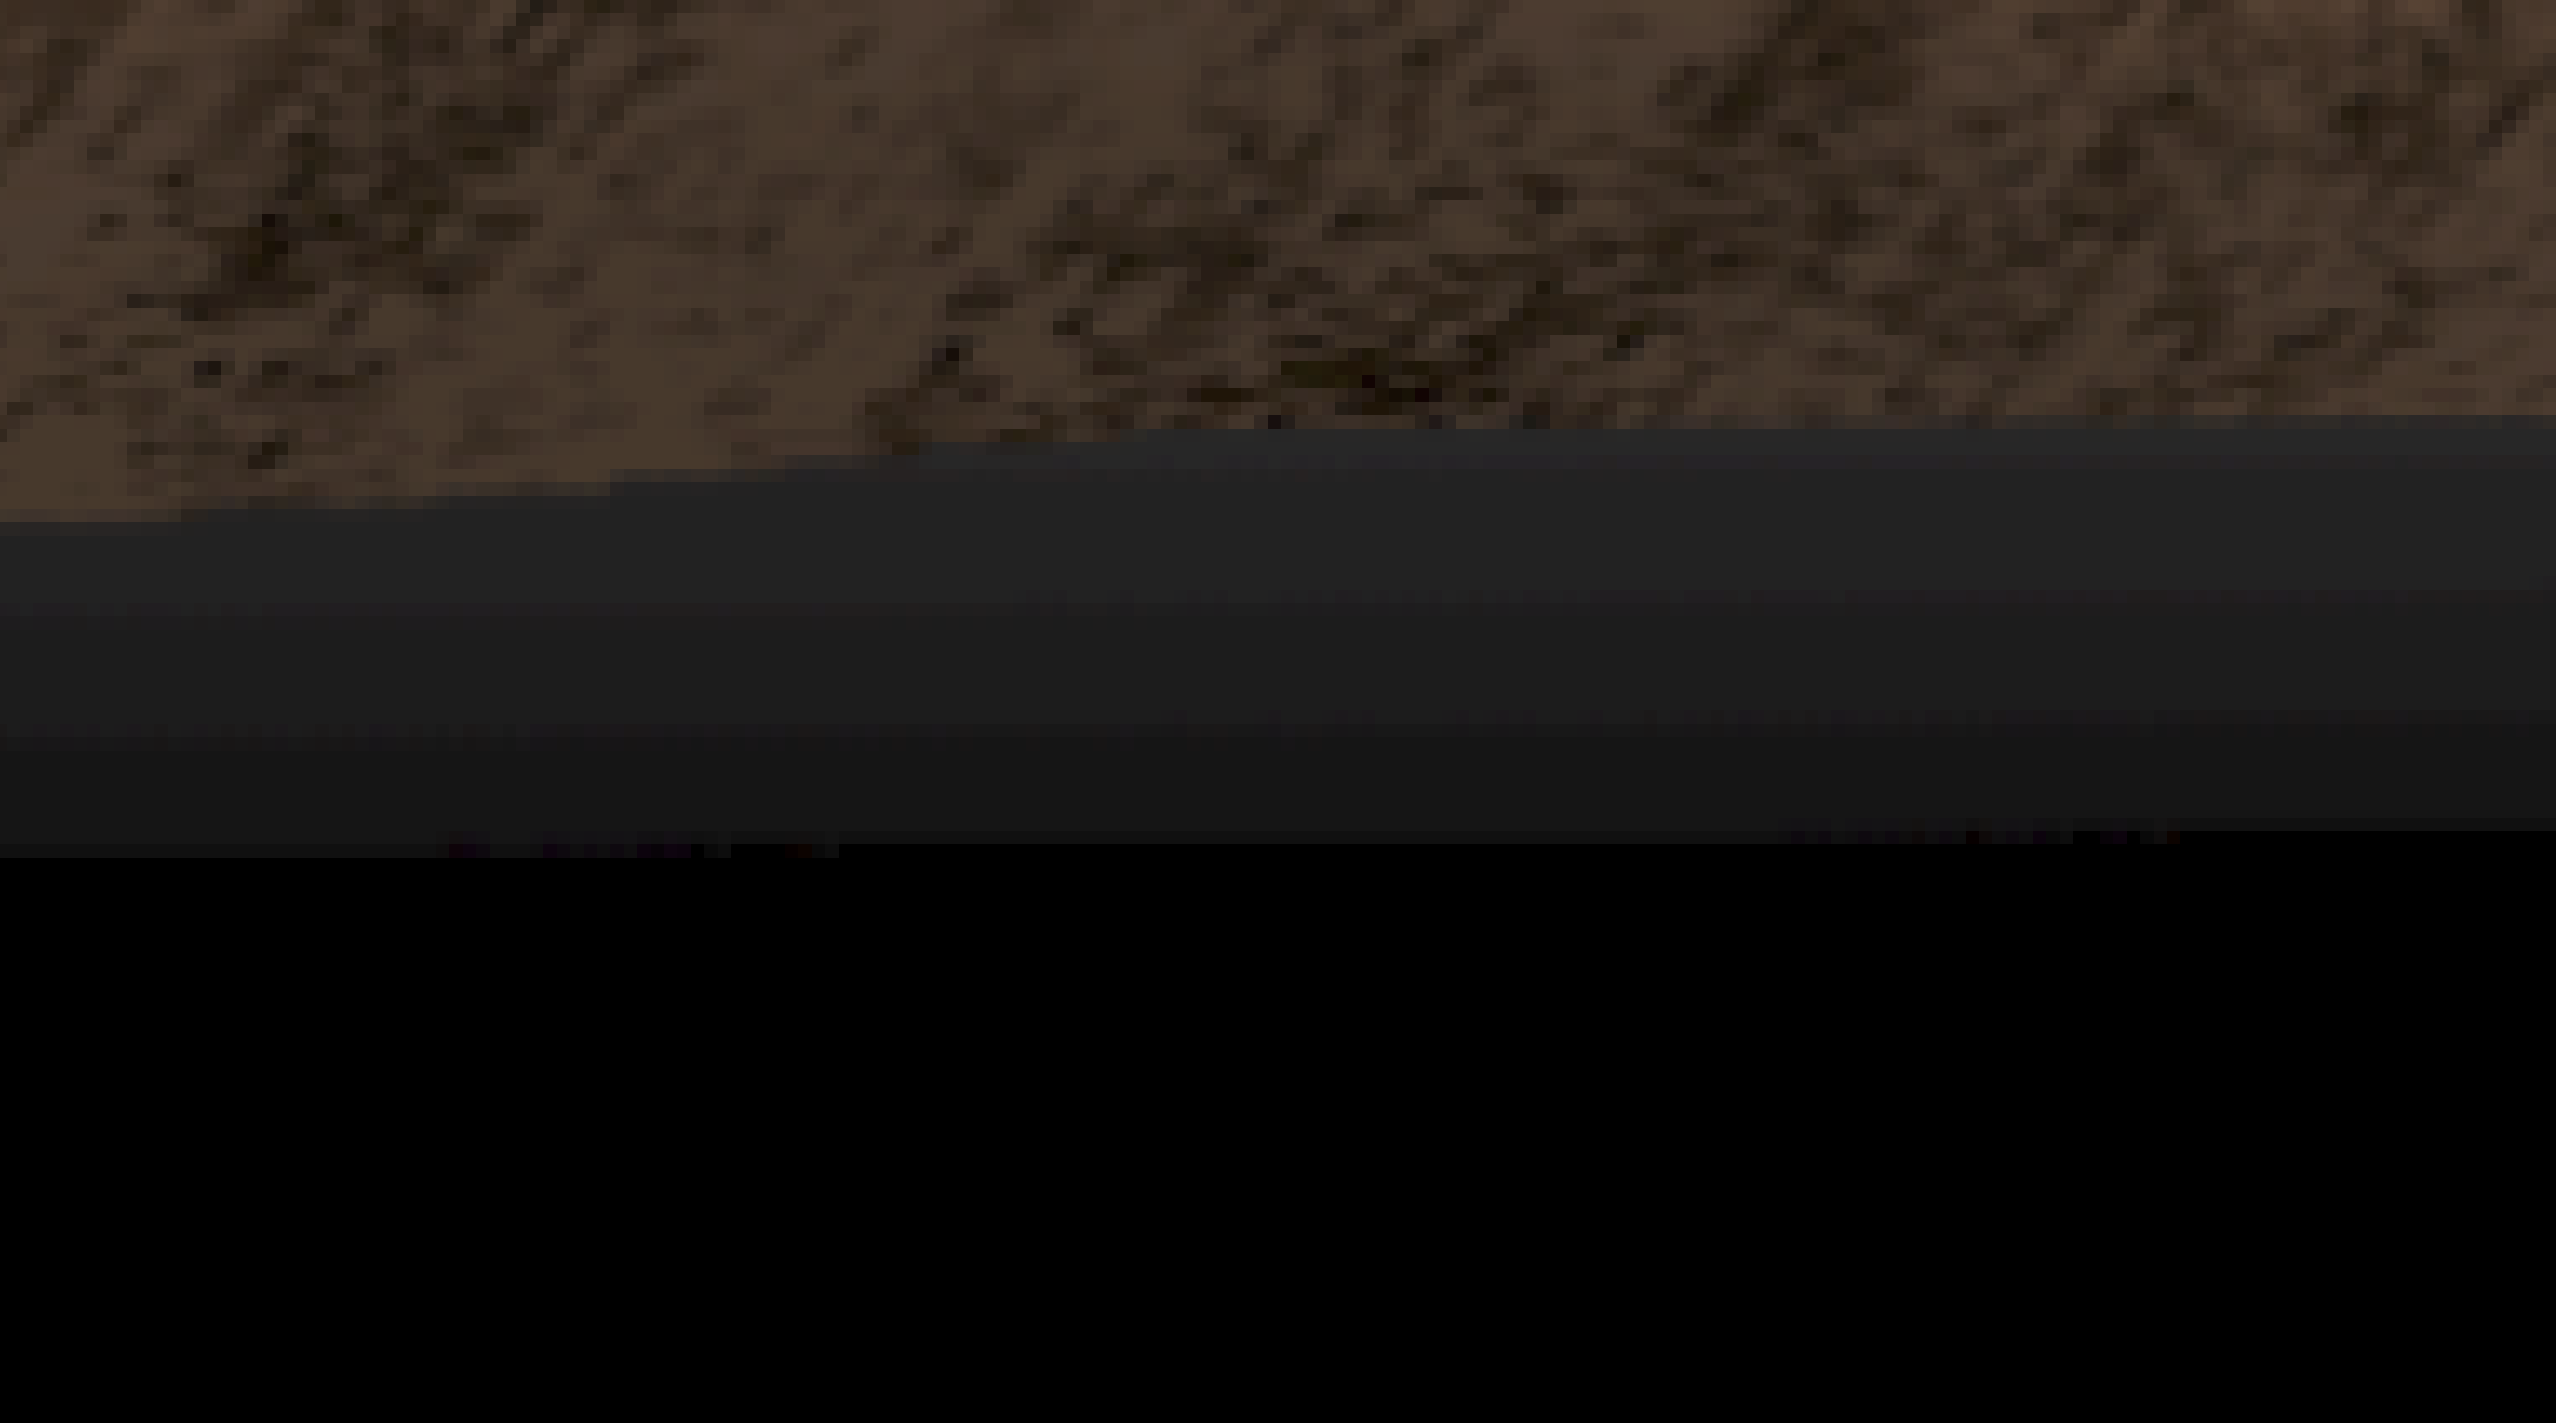

This is something I've done before, but I think it bears mentioning again - you can see side-by-side here, the difference that dithering makes, if you apply it to break up banding when converting to LDR modes. You can read a very nice little writeup on the method by Anisoptera games, here. I use a blue noise texture that has different values for each channel, but the concept is the same. This is particularly useful on these long, slow gradients like you see through the low density, uniform volume. This is a more subtle, functional use of dithering than I have employed in the past, which has really been primarily for aesthetic purposes.
Aquaria
The name Aquaria comes from a very interconnected simulation structure that I have mapped out in my notes, where forward pathtracing lights would inform the growth of plants inside of this little fish tank type of reigon, these plants would in turn be food for some little creatures. I have some ideas related to making these little creatures’ movements controlled by neural networks, along the lines of the racecars that I played with, last time I did NNs but with a little more involved input, allowing them to “see”, in the form of RGB + Depth via a set of DDA traversals made from the front of the creature. I actually had considered a digestive process for these, where they would eat plants of different colors, adding to a 1d list, where progressive 1d blur would muddy it a little bit, and inform the color of particles that it would drop.
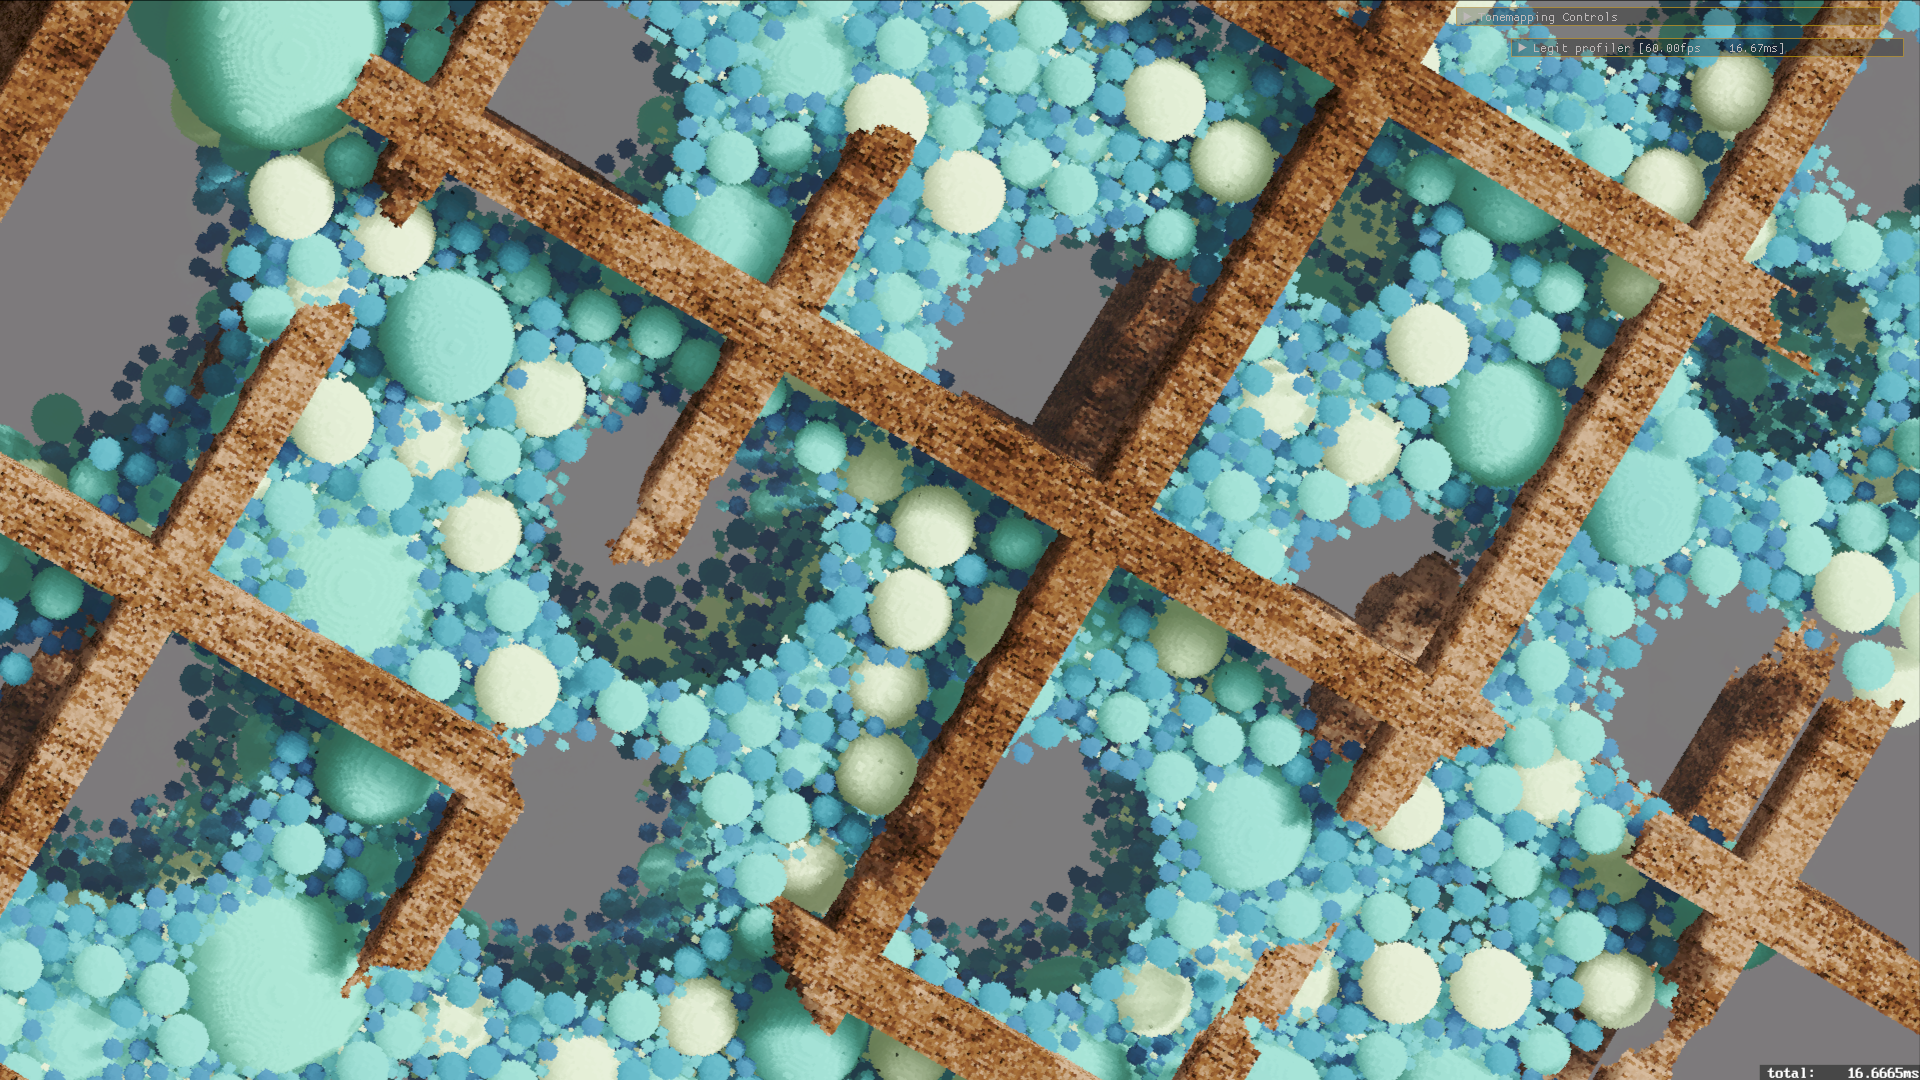
Something else cool with that plan, is to keep all the simulation state for the character NN weights and activations, as well as digestive contents, as color data in a texture. This would build up a soil layer which would somehow interact with the plant sim. Plant roots would be able to grow into “rock” voxels, and erode/digest them, by some mechanism – not sure yet exactly what that looks like. Some kind of tendril, that decrements a durability factor of some kind, working its way through. Playing with the sphere packing arrangements, I had the thought that these could be used to create coral reef type structures. So this is kind of the miasma of concepts that are circling around this project right now. We'll see how much of that comes to fruition.
Little Quality of Life Stuff

One thing I added, that I think is nice - these little progress bar objects. Basically you just have a ratio of done / total, and this provides some utilities for formatted output. Perfect application for my on screen text renderer - you may not realize it but it is always running, fullscreen, any time you see the frametime total. I've been thinking about ways to use it, because it already sends a new data texture every frame, adding more adds almost zero cost. That 100-ish kilobytes are being sent either way. The renderer splits up the screen into 6x8 pixel bins, and uses a single RGBA8 texel to represent a colored font glyph for each bin. I can easily write into that texture with some CPU side utilities, you can read more about how the process works in the writeup about it. Here, I have one progress bar hooked up to a worker thread, reporting its progress generating the sphere packing arrangement, then a second one to show that the job to have every voxel process that buffer has run, and a third one that shows when the lighting update has run. You can see it in action on my youtube channel here.

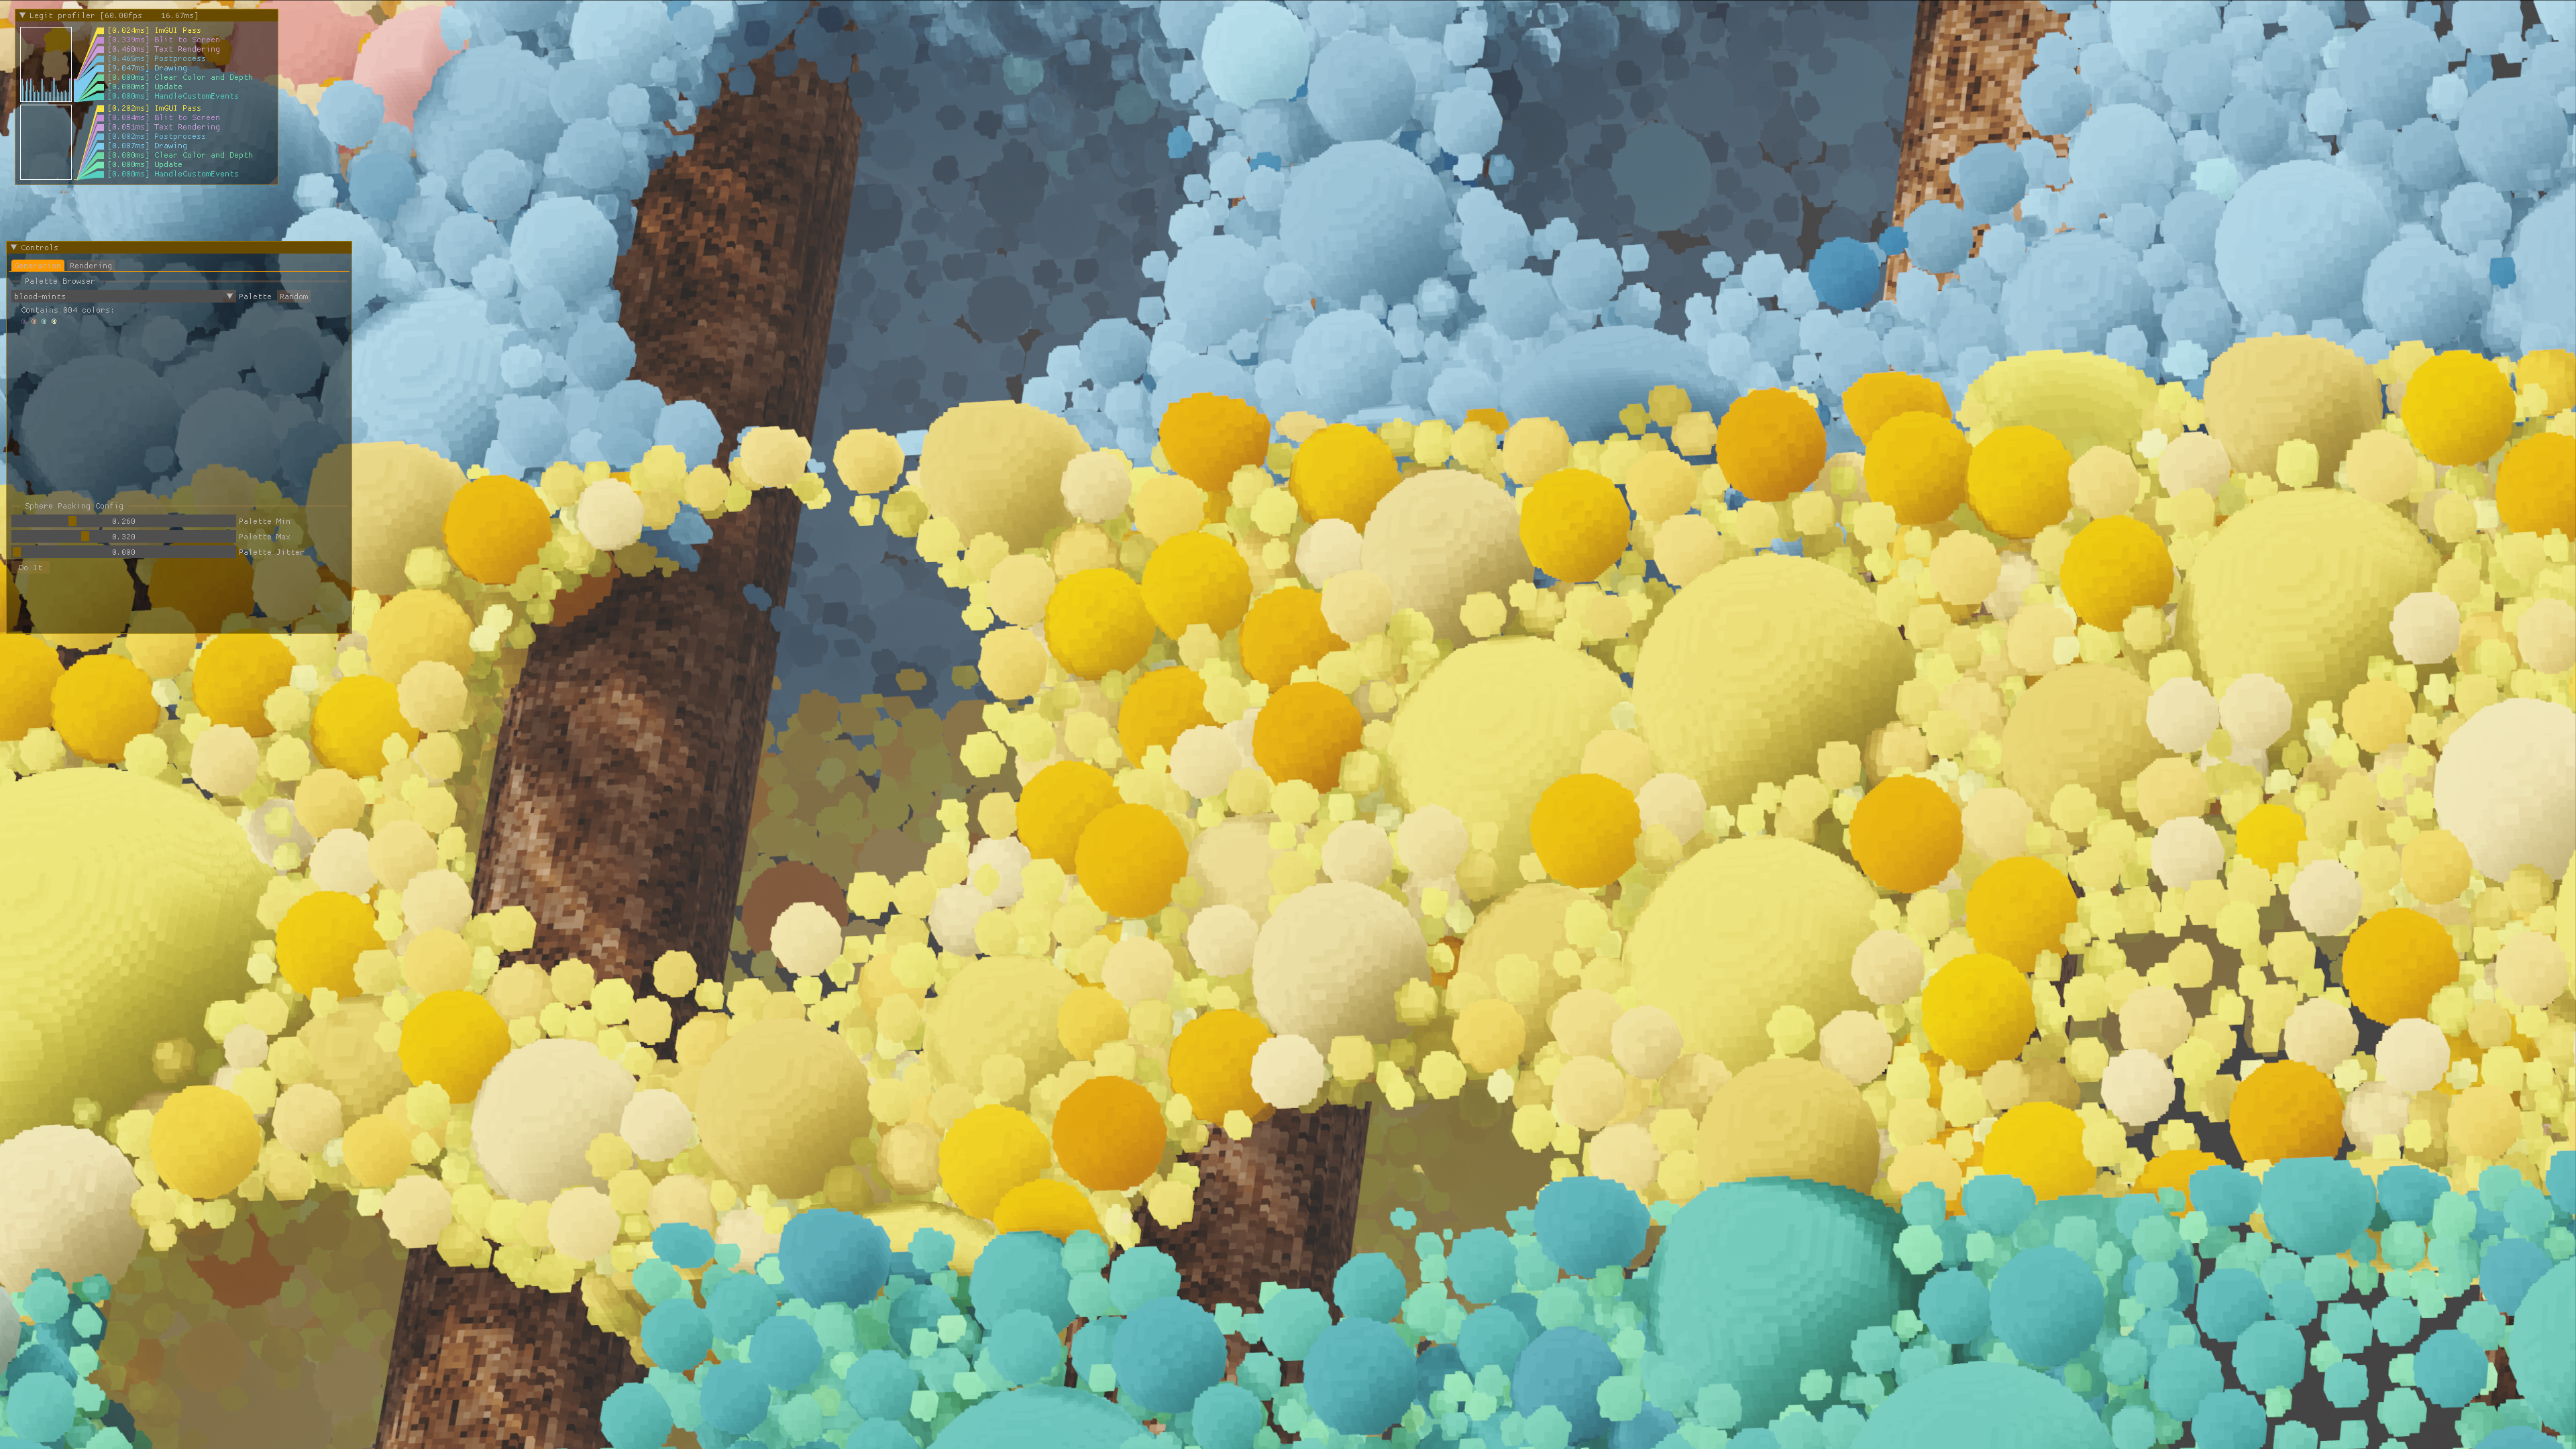
Another thing, which is a very nice-to-have - and I will have to generalize this a bit to make it just a general jbDE utility, but I put together a viewer for my list of palettes. I have over 2500 palettes in my collection, the encoding scheme of which I will have to write about at some point in the future. An interesting exersize in steganography - but that's a story for another time. The viewer window shows the list, and for this application, I have it highlight a range of values from some minimum to some maximum. That highlighting is done using the alpha field in ImGui::TextColored(). This range of values informs how the generated palette reference values are used, when sampling colors for each individual sphere. Tighter ranges make use of fewer colors - I find that using a small number of colors, interpolating between them, gives a nice, thematically consistent range of colors across the arrangement.
Future Directions
I have forked the initial voxel renderer/sphere packing + lighting demo off as Aquaria_SpherePack, and am continuing on with what I think is a very interesting diversion, which will be quite significant in future projects. The core concept is that I can do a precomputation step, for every voxel, iterate through a list of spheres, keeping the closest N ( N probably equals 4, for 4x 16-bit values in a RG32UI texture ) sphere indices, or zero, and the three closest if we find that this voxel is not within the radius of any spheres. This zero value will tell us that this is “empty space” when we traverse, checking a single 16-bit value.
But that’s not even the cool part yet. Those sphere ID values, on the grid, they refer back to the specific index in the buffer, where I can find index, radius, and material data for that sphere. I can traverse this texture, sampling texels till I find a voxel which contains one or more candidate spheres, at which point I can do an explicit ray-sphere intersection test against those spheres, determining the closest positive hit. Because this is being done in a forward way, I think that this will get a positive hit pretty rapidly, unless it’s traversing a lot of empty space. More details upcoming, this is the next direction that I am exploring with this project. I think this will work well for the forward pathtracing aspects of this project, when I get there, to intersect rays with the spheres in the scene in an efficient way, and one that can get me exact normals, etc, as you would expect from an explicit intersection ( which, after all, it is ).