Perspective Projection and Temporal Methods in Voraldo
I have known for some time that it would only take a trivial change to my ray generation logic to implement perspective projection, I just haven't tried it. In the back of my mind, I thought that the orthographic projection looked better, or for some reason made more sense for this application. At the suggestion of someone from the Graphics Programming Discord, I have now remedied that misconception and added a slight perspective projection as the default config on Voraldo.
  vec3 org = rot * vec3(   -x_start,   -y_start,  2.); // add the offsets in x and y
//vec3 dir = rot * vec3(          0,          0, -2.); // orthographic projection
  vec3 dir = rot * vec3( -p*x_start, -p*y_start, -2.); // perspective projection (p scales the effect)
In addition to this, I have added some temporal accumulation, as well as both ray origin and sample position jitter, which improve performance and give the renderer a bit more unique character. There is a little too much blur applied to some of these images, currently, but I have a line on implementing a slider to fix that.
Perspective Projection Implementation
The difference is subtle, but immediately identifiable. Where many renders from Voraldo in the past have looked somewhat strange, due to the orthographic projection, these take on a much more natural appearance, by modelling the ray divergence that is inherent in the physical reality of light. When you consider the pinhole camera model, you can think of the way that the light in the scene funnels down to the view plane. These light rays get 'farther apart' the farther you get from the viewer. This manifests in objects farther away appearing smaller, a phenomenon known as foreshortening.
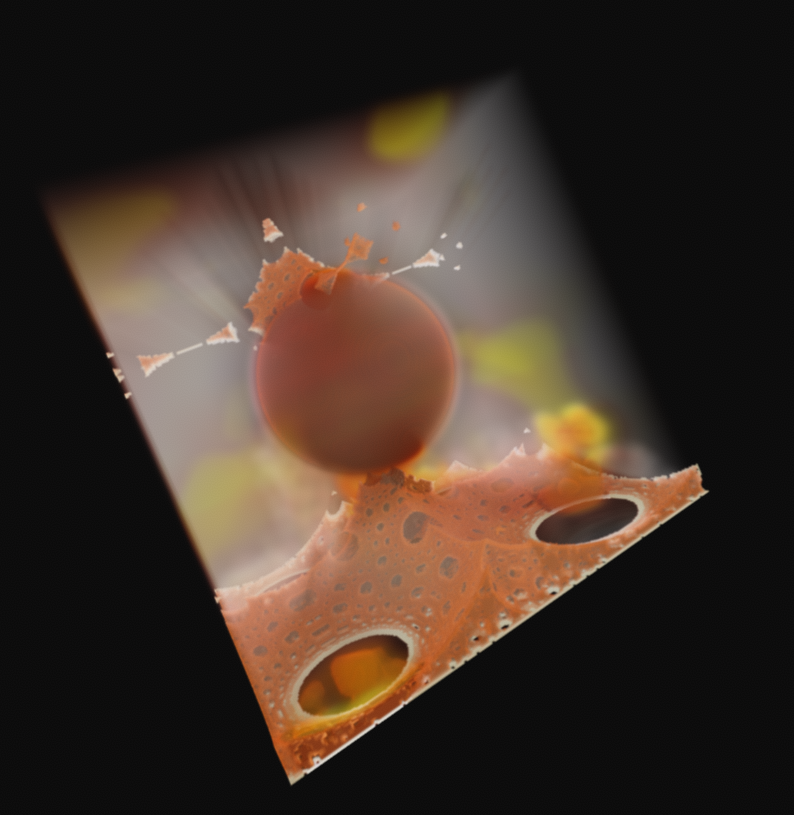

This foreshortening effect gives subtle cues to the human visual system to interpret some things as closer, and some as farther away. Due to the way I'm doing the ray origin jitter, many of these images have a blurred appearance, which comes from that pixel 'covering more space' - that is, there is more data behind that pixel, more voxels would be contained if you were to project a frustum shape out into the scene. I believe that this can be combatted by adding a scale factor to the jitter logic, so you get more or less complete coverage of the pixel (narrowing the frustum).
Temporal Accumulation
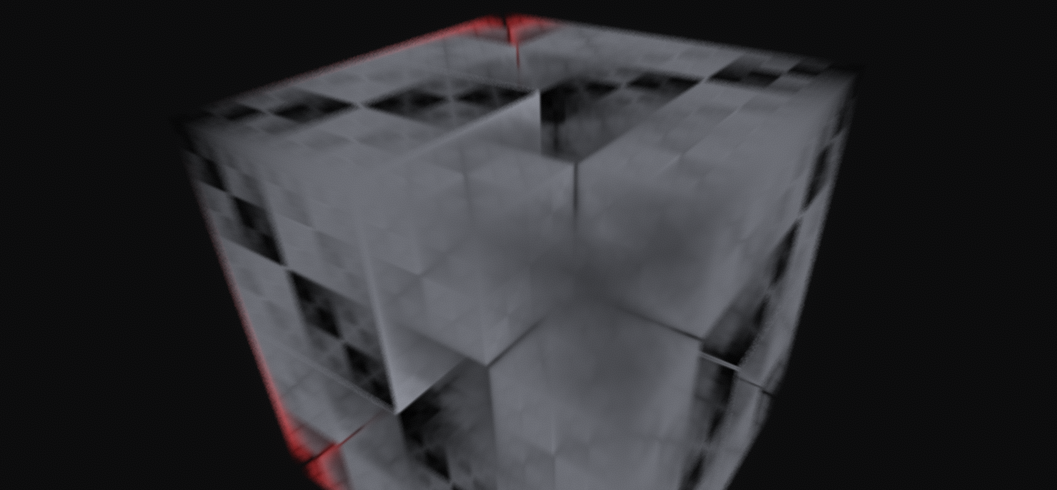
The simplest notion here would be to blend some amount of the new color data with the existing color data in the render texture. By doing this trivially, with no other changes, you end up with the same result applied to the render texture, each time, so it is blending with the same data. When you turn the block, under these circumstances, you will notice significant smearing of color, which is especially pronounced around the silhouette of shapes.
By introducing some stochastic behavior, there becomes actual data to accumulate frame over frame. I will describe in more specific detail when I get into the blue noise jitter section, but the basic idea is that we are getting samples which are generated from camera parameters that vary slightly, each time the renderer's compute shader is invoked to generate new color data. This small amount of variation gets better coverage than a single sample. I will get into some secondary benefits in the performance improvements section.
There has also been a significant change to the redraw flag optimization. Where previously, it would never redraw more than once with static data, now, it has to 'fill' the history of frames. The bool simply becomes an int, and is decremented each time the draw shader is invoked and it is >0. Each time something would have reset the redraw flag, now it resets the counter. By doing this, you run the shader to generate as many samples as specified by the history, for any given static voxel data.
Blue Noise Jittering
Blue noise jitter is used in two different ways in the renderer, not including the blue noise dither on the output. First, I will describe the general scheme for usage of the blue noise texture. I found a 512x512 8-bit RGBA blue noise texture here, and implemented some simple wraparound logic with the modulo operator in a shader, so I could use integer texel reference in a way that would do a tiled repeat. Because you will need more than a single noise read per shader invocation, I have some simple logic for how to get the next sample: the x is offset by the frame number, modulo 512, and the y is offset by the sample count in the shader, again modulo 512. Essentially treating it as a set of 1D blue noise textures, that each bear some kind of blue noise type correlation with their neighbors. This blue noise correlation between the 1D texture neighbors manifests as blue noise 'through time' as they're used in order, frame by frame.
The first jitter is applied to the ray origin. This is a small bump on the x and y, in the range [0-1], which is added to integer pixel indices. By applying this offset to the ray origin, accumulated samples will get better sampling coverage. This helps to essentially accumulate MSAA over several frames, which can help with aliasing artifacts from voxels covering some portion of the pixel, but not constituting the entire contribution to the pixel color. This ray origin jitter needs to have a scalar to address the issues with blurred output.
The second place jitter is applied is where more blue noise samples are required. As the ray traverses the volume in the renderer, it does so in constant sized steps. This can cause issues where a ray misses voxels that should have contributed to the alpha compositing for the pixel. I have experimented with this before, to tune it to a good value for 2563 size blocks. This is another place where you could see some improvements. By taking fewer samples, which, thanks to blue noise, will get you good coverage of the space and avoid clustering, you end up having fewer texture reads to perform in each shader invocation.
Performance Improvments
This is where I can see some real justification for these methods. While the data does need to be accumulated over several frames, it reduces the amount of machine time required to produce a single color sample. This starts to get into the same type of logic that you have when you are operating in a pathtracing environment, and are accumulating samples. There are, of course, some differences that need to be taken into account, we are dealing with a situation where trivial handling of dynamic motion means severe ghosting.
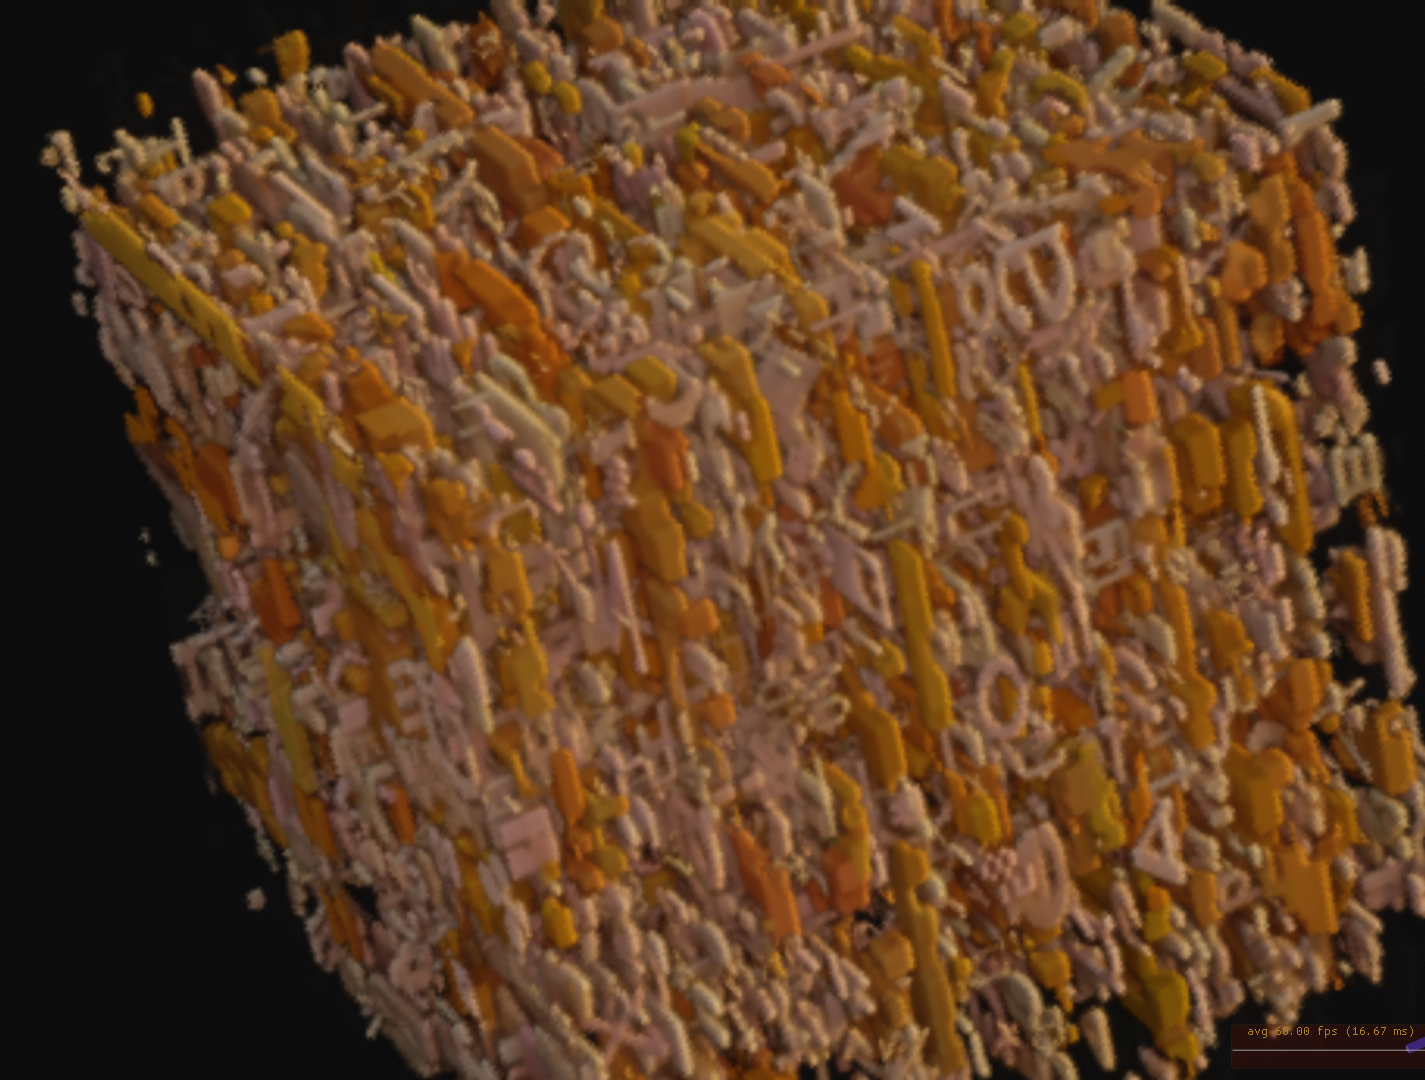
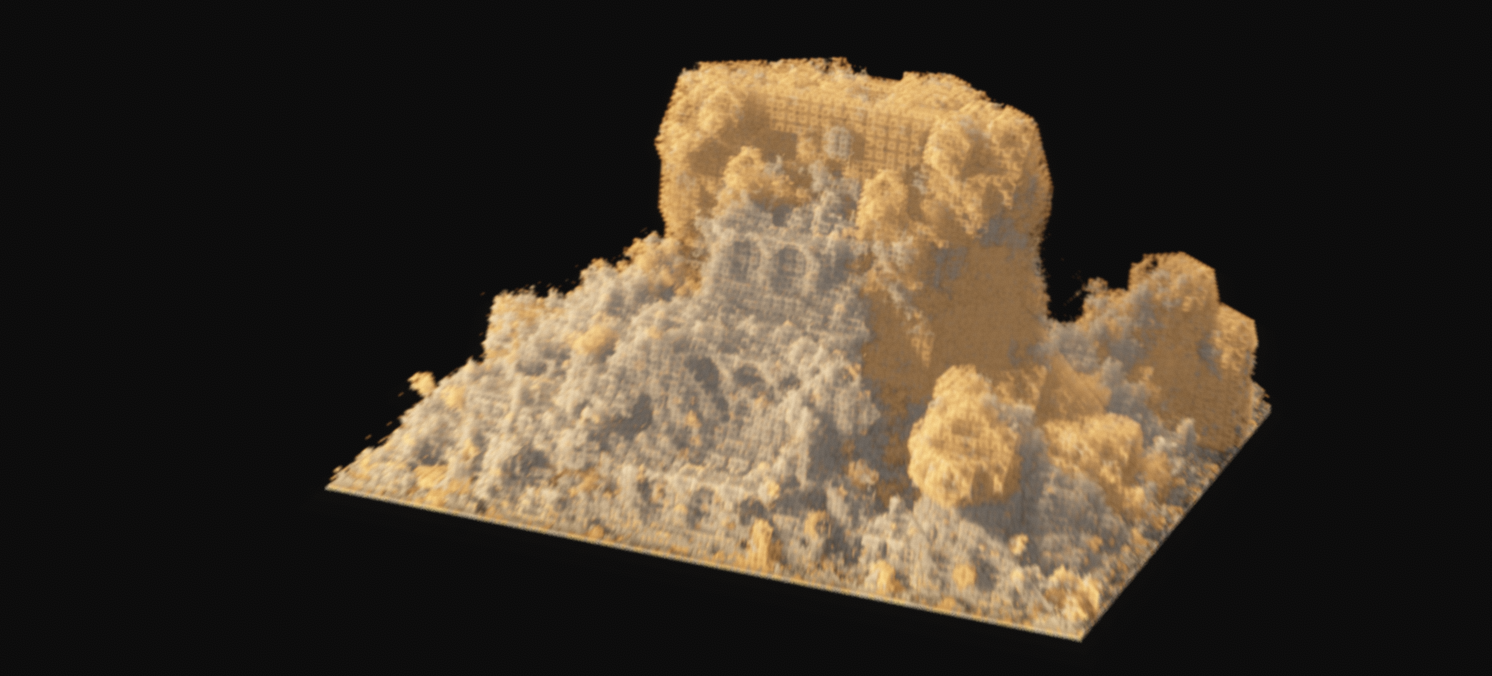
The number I previously alluded to was 780 - the maximum number of texture samples taken through the volume. This is a significant load on pretty much any machine, and on slower systems it will cause noticable hang. Now, with just the ray origin jitter, I was able to scale to very low settings and still get an acceptable image. In the image above, and the video below, we have a 640x360 render texture, which is running the compute shader at 8spp, and then upscaling the result to 1080p for output. Note that this is with only the xy ray origin jitter implemented. It uses only 256 maximum steps through the volume.
At 8spp, it has time to converge a little bit, and you don't see the ghosting nearly as badly as you would with a single sample.
The next improvement came with the sample jitter. This method seemed to work very well, and between the two optimizations, I can sometimes get away with as few as 100 samples through the volume, accumulated over about 14 frames. There is a slider under the render settings tab in order to ajust it. This operates as a speed/quality tradeoff that is adjustable at runtime. I have tried values as low as 10 max ray samples, but the artifacts become very bizarre and the output is unusable.
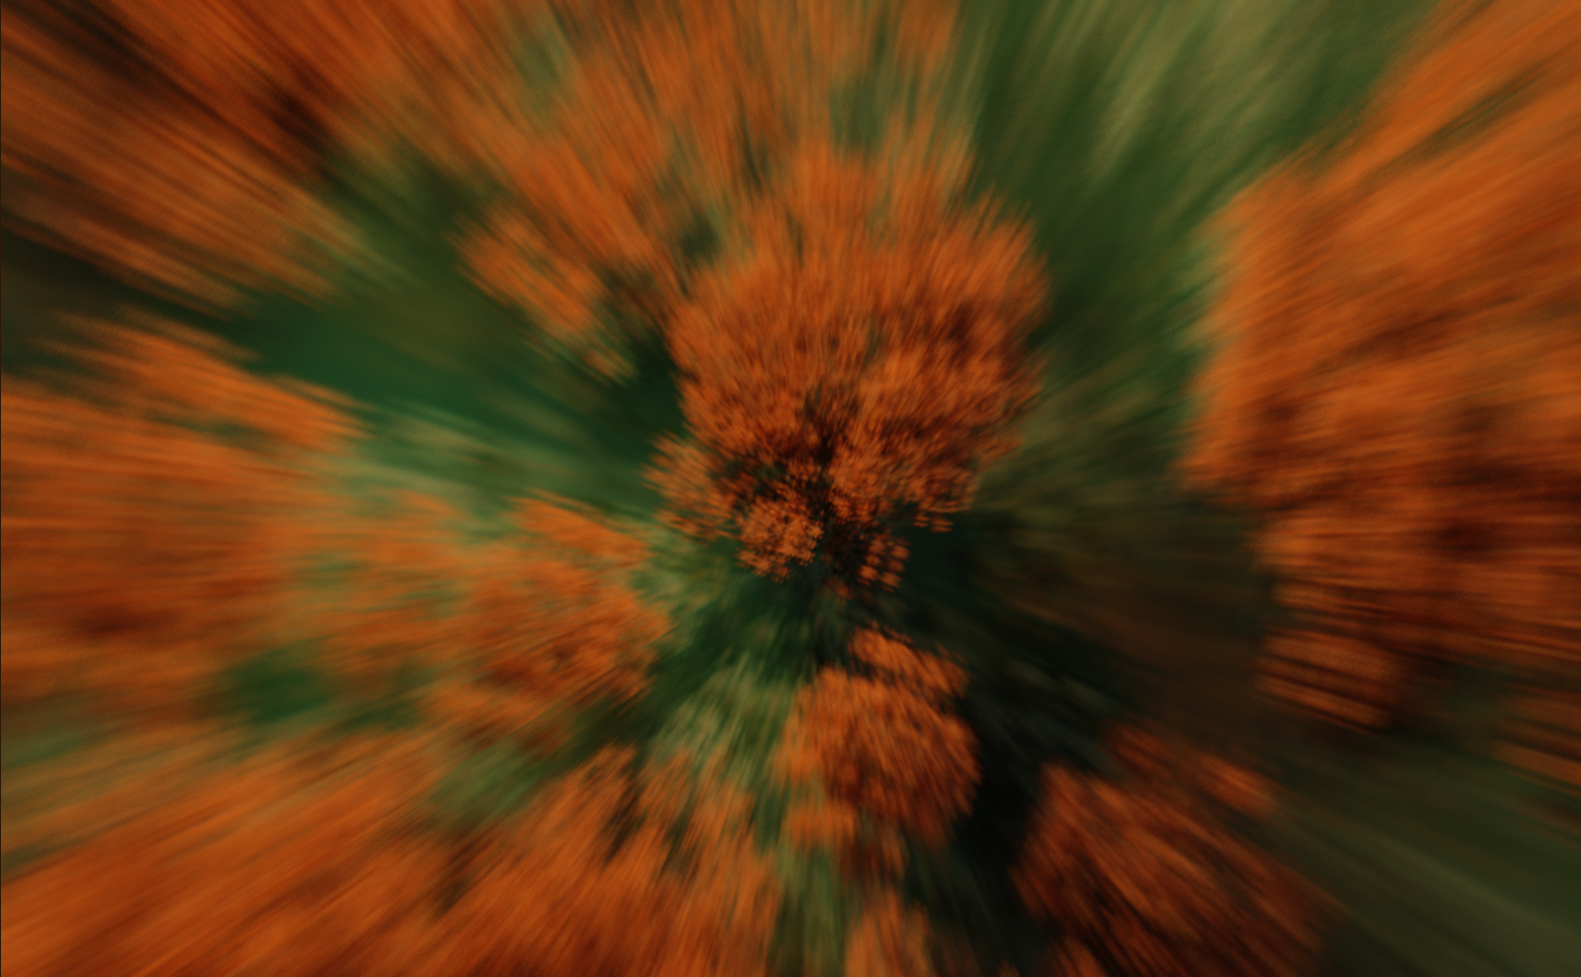
Hyperbolic/Inverse Perspective (Opposite Foreshortening)
This was an interesting consequence of messing around with the parameters on the perspective projection. The value of p, when set negative, indicates a negative ray divergence. This means that as rays go farther away from the viewer, they are getting closer together, creating a very strange, curved space. I have found this referred to variously as hyperbolic projection, inverse perspective, reverse perspective, and Byzantine perspective. In this implementation, there is a distinct sense of being able to see around corners, due to the warping the the space.
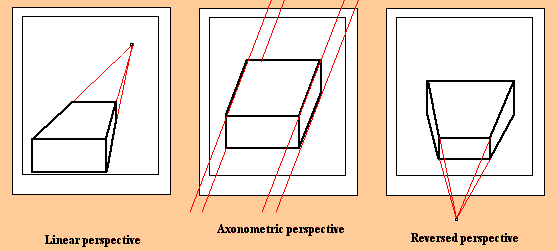
In this little graphic about foreshortening in art, you can see the two more standard types of projection visualized on the left. Perspective projection shows a situation where objects appear smaller as they get farther away, to some asymptotic vanishing point. Orthographic has no such foreshortening, distant and close objects are viewed with the same scaling. What we see in the hyperbolic projection, here reversed perspective, is that this version of foreshortening occurs, but the scaling is opposite to what you expect. Distant objects appear larger than nearby ones.
This type of light behavior could probably be physically realized with some kind of immersion lens setup, but as a variant of the perspective projection, it has a very surreal quality to it. You can see in the pair of videos here, it can add varying amounts of distortion, depending on the scale factor p. The first shows standard perspective projection applied to the model, while the second applies an extreme negative factor to the perspective scaling.
Perspective
Hyperbolic
Future Directions
This project has gotten me excited about Voraldo again, after some time away from it. It is again producing very unique images, in my eyes, and it seems to have taken an evolutionary step forwards. I am in the process of learning Vulkan, and eventually it will make a lot of sense to port Voraldo over to Vulkan. I think it will make a lot more sense as a Vulkan application than it will as an OpenGL application. I am often having to jump through hoops to get OpenGL to do what I am looking for, and I am very happy with the design of the Vulkan API, so far. I have gone through and done up to triangle-on-the-screen in vulkan-tutorial, and am planning on going through that whole set of tutorials to get an overview of the API, vertex and uniform buffers, textures, etc. This has been greatly assisted by my contact at LunarG, Charles Giessen, who has very graciously helped to explain some of the finer points and provided errata for vulkan-tutorial.
In closing, I'll share this little reel of what I thought was some good outputs. I may have had a little too much fun with the hyperbolic projection.