New Equipment: Photo / Film Scanner
Santa got me a photo/film scanner. She's a hell of a unit, looking at up to right about 9600 dpi, 16-bit color on an 8.5"x11" bed. This enables a lot of different things, I have several projects for which this particular one made a lot sense. For scanning objects, I tried using some different clear films, before landing on just getting a sheet of clear polycarbonate to lay down, protect the surface from scratches. It's a $6 consumable - no big deal if it gets scratched. Slight reduction in image quality, I got a piece of acrylic, to try, as well - so probably see if that's any better, at some point.
You say "scanner", you think, alright - you're doing documents, photos maybe. Sure - it does that, and extremely well. But, really, what this thing is, is more like a slit-scan imager, when you use it with the bed open - and it's nearly orthographic. Very interesting - scanning your face with the bed open, you can sort of see both sides of your head. Depth of field is such that it will allow you to capture even several inches off the bed, at lower DPI settings - image quality quickly reduces beyond that.
A ( Non-Exhaustive ) List of Projects Using the Scanner
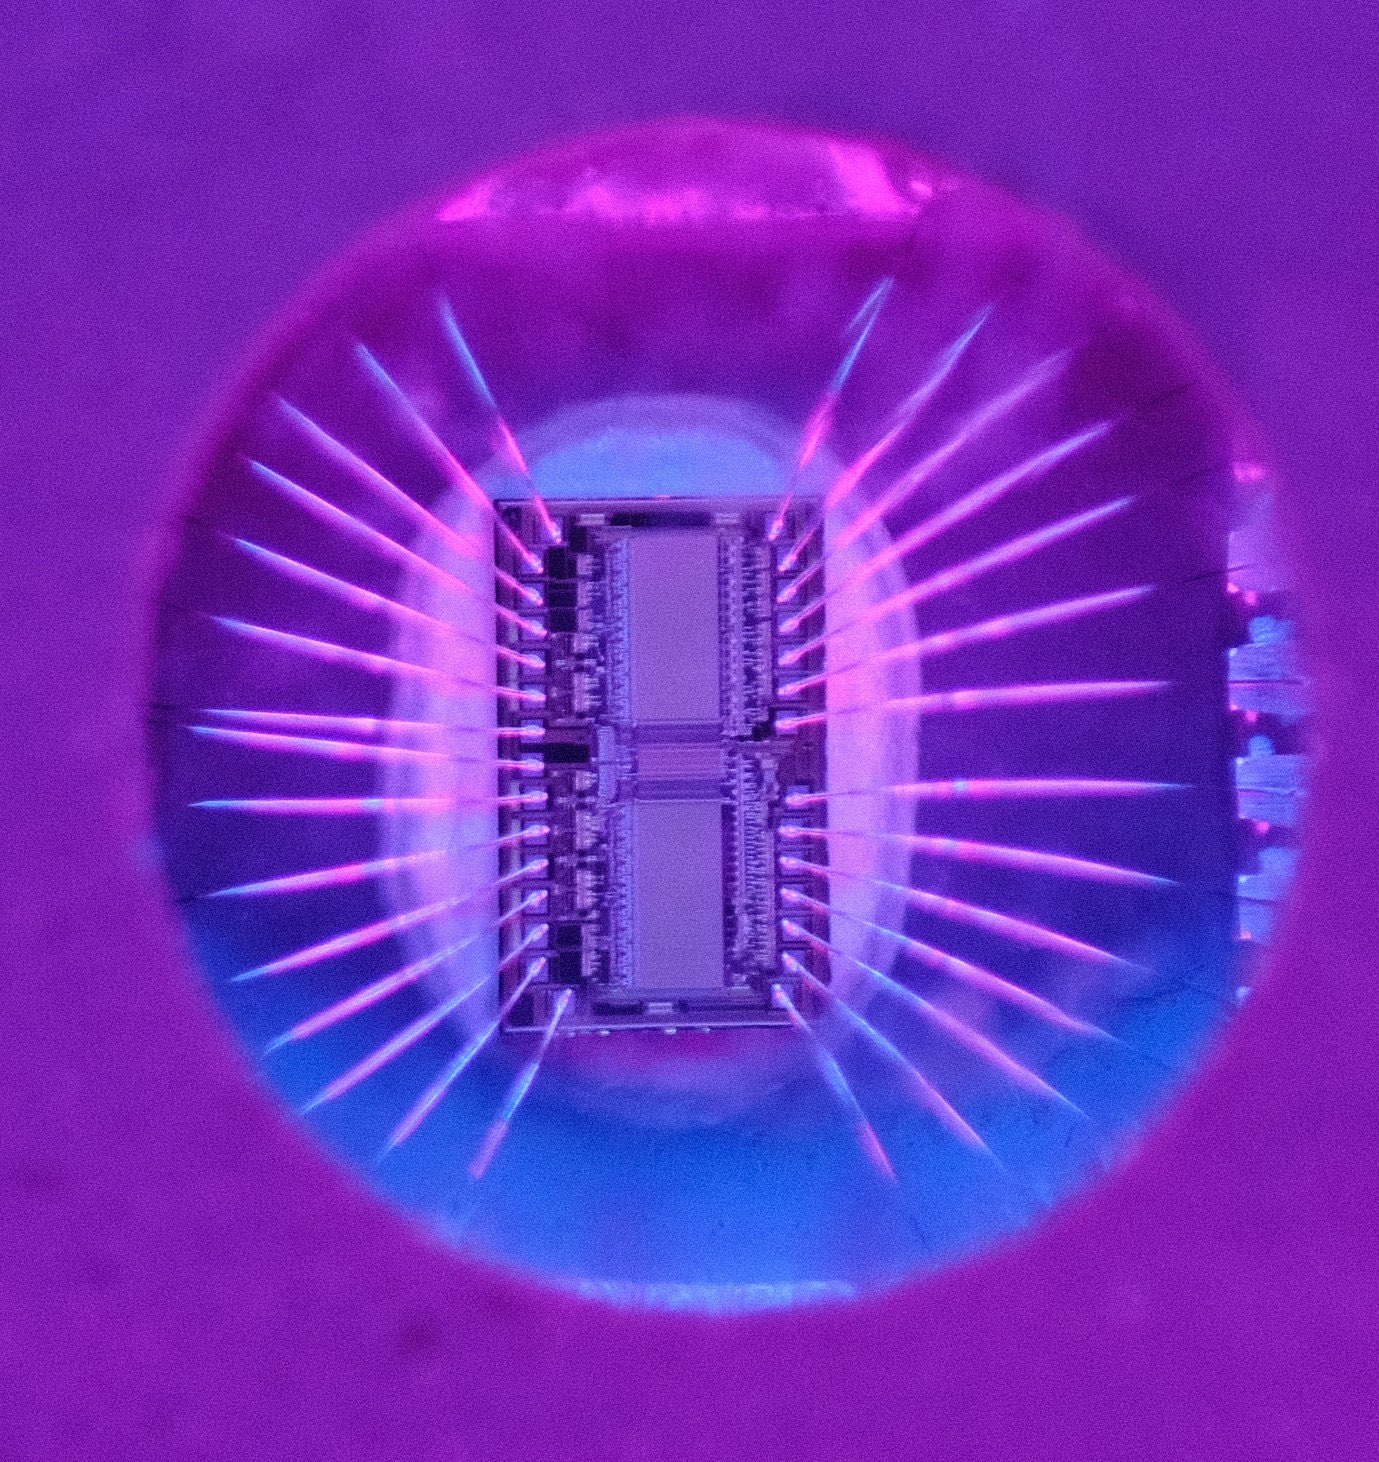
- EEPROM Chips - Batch Mode
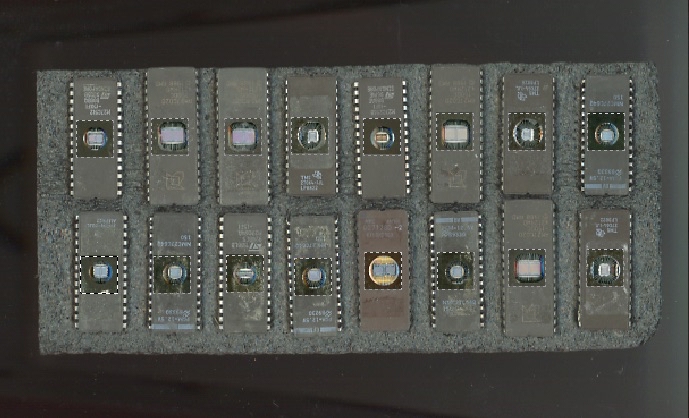
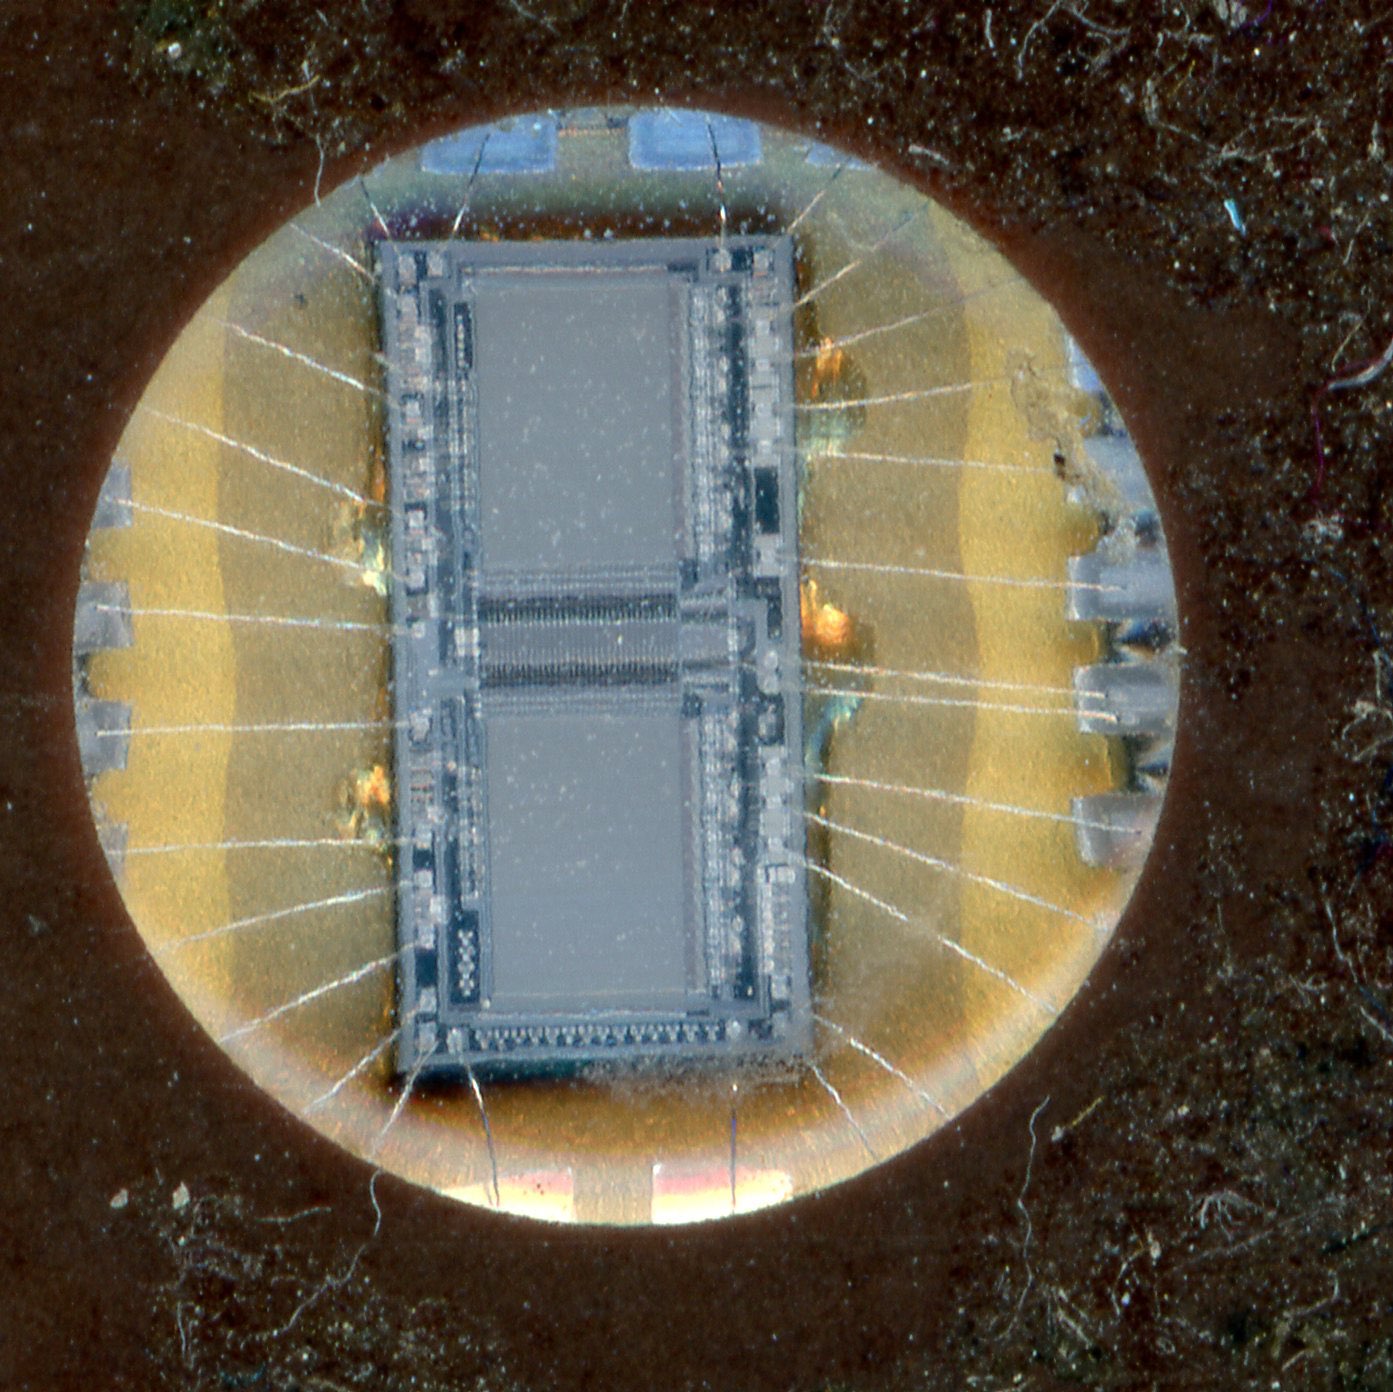
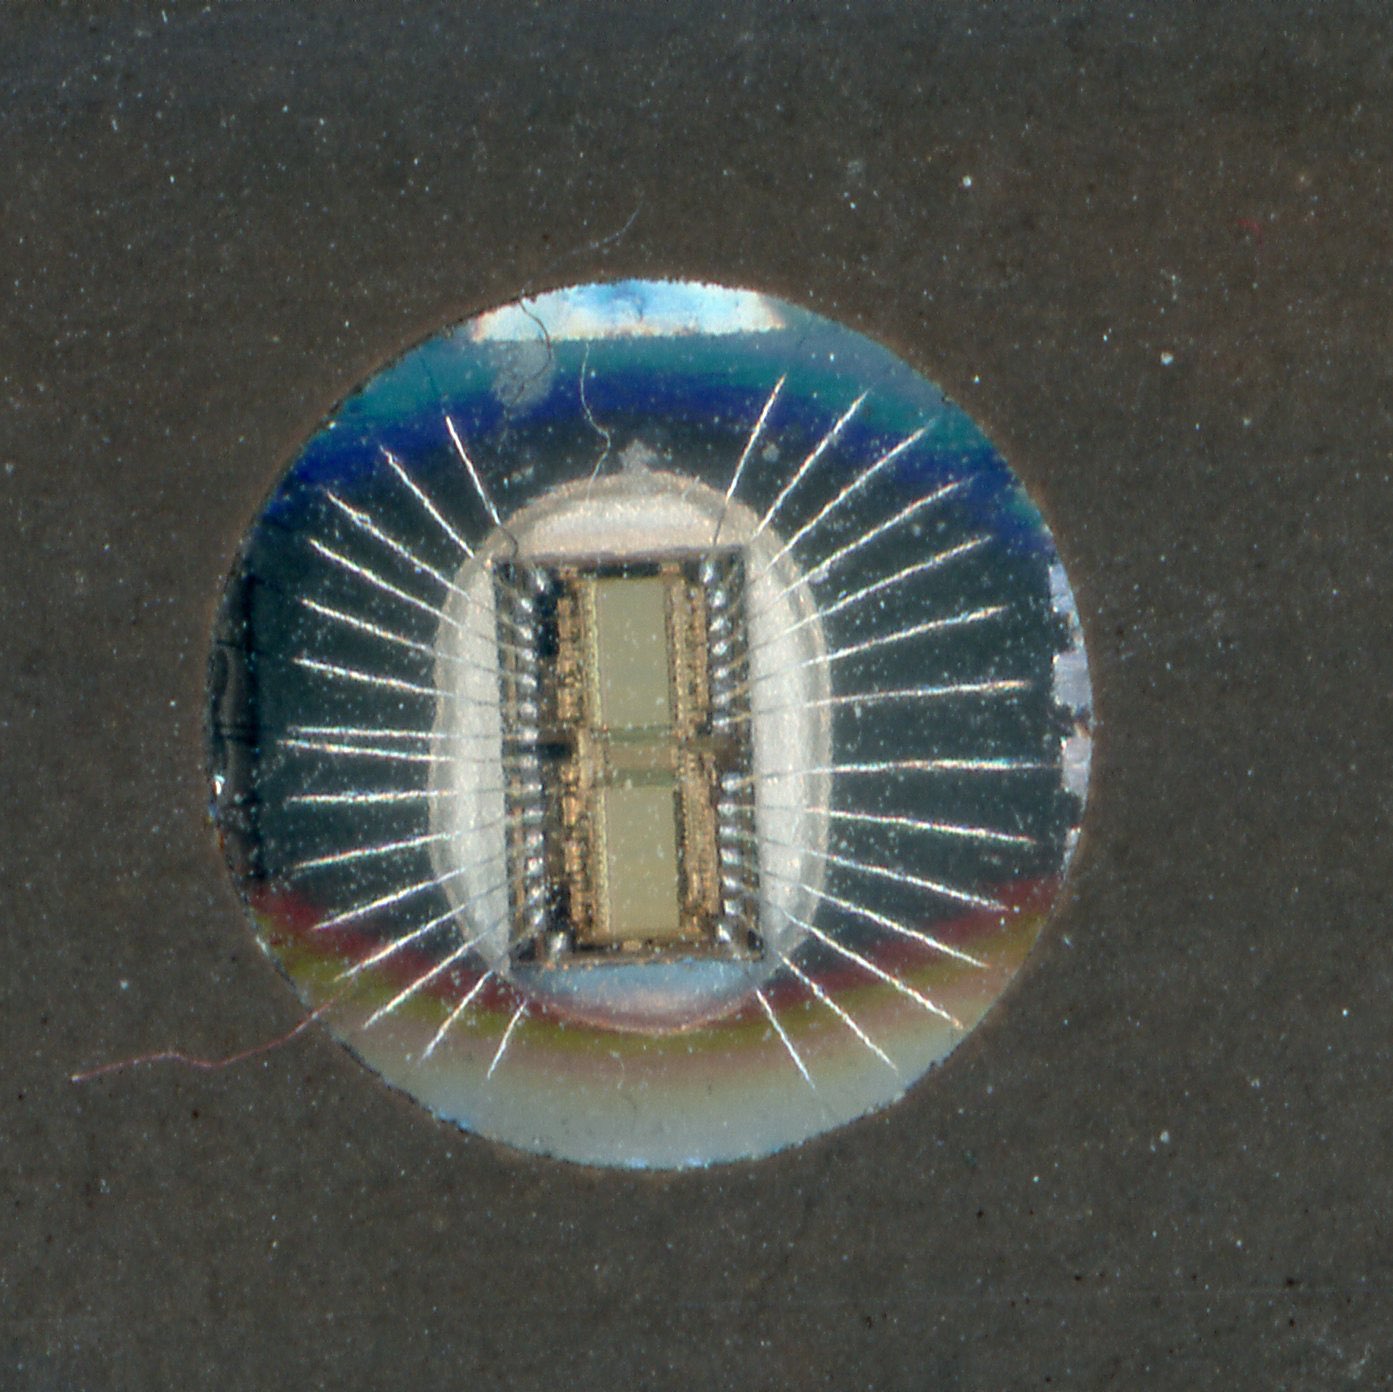
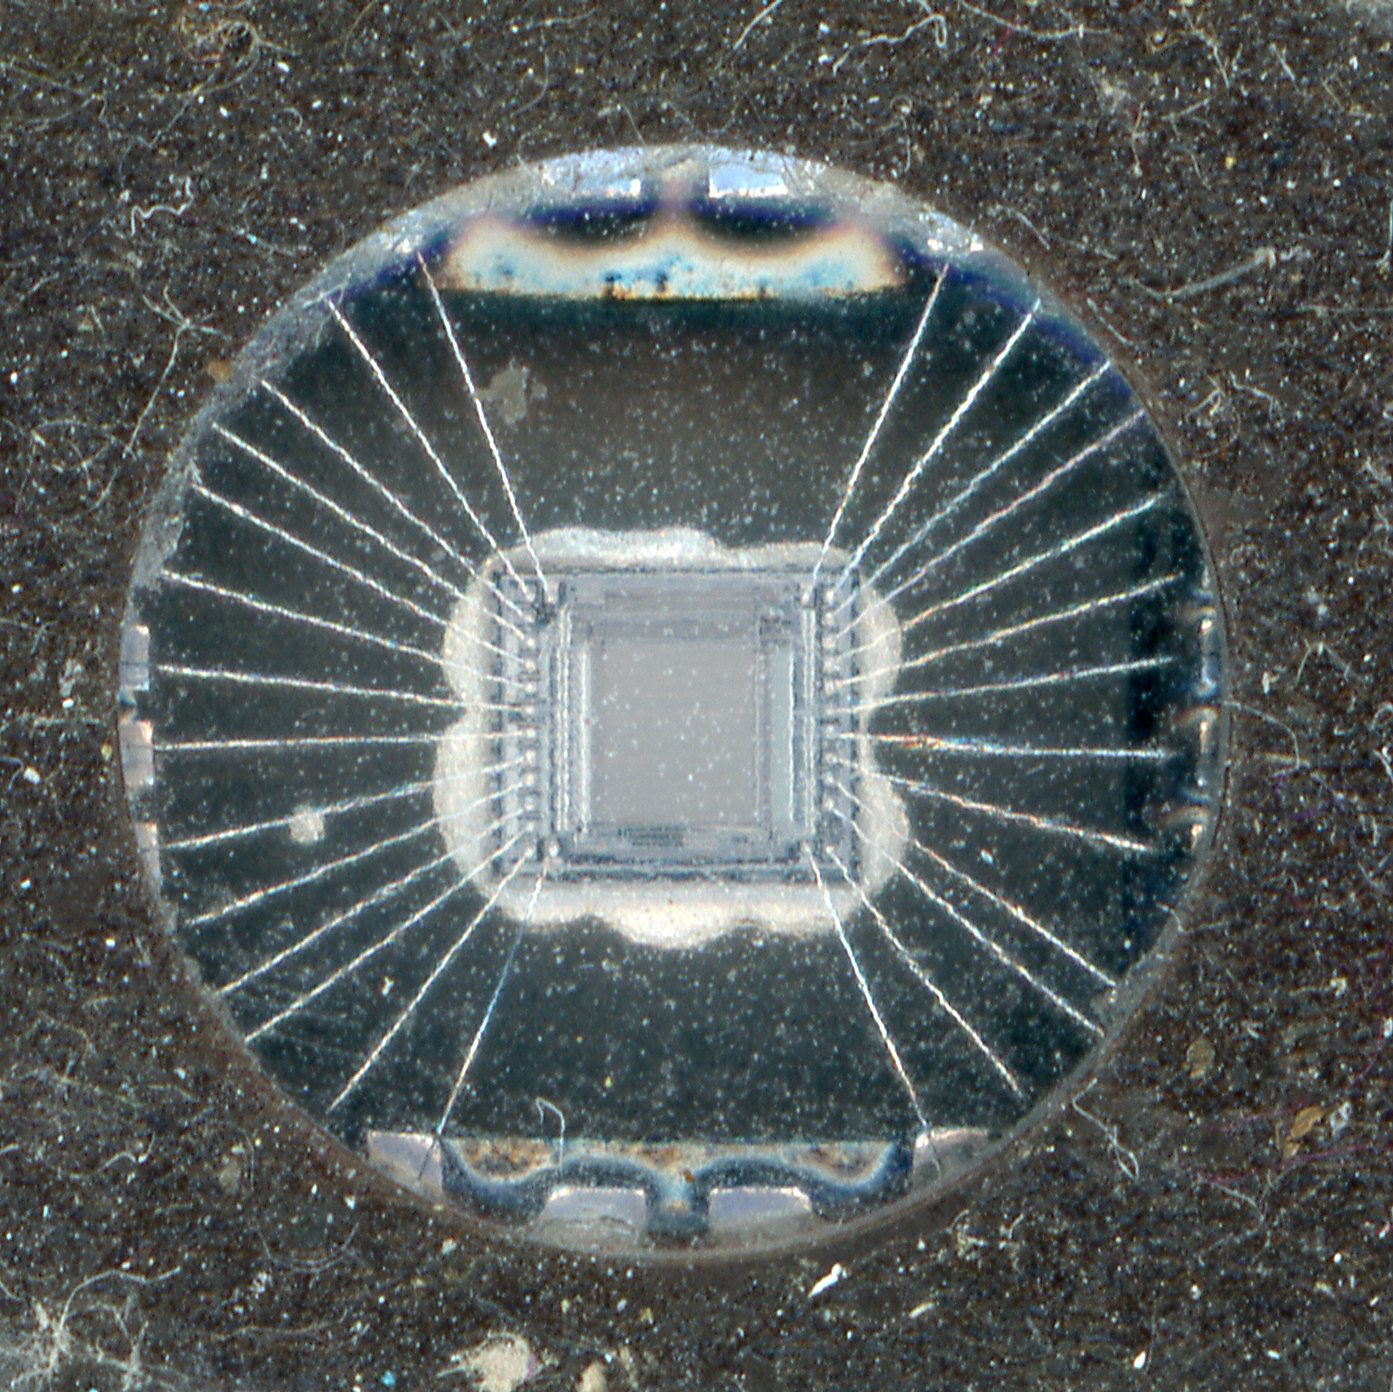
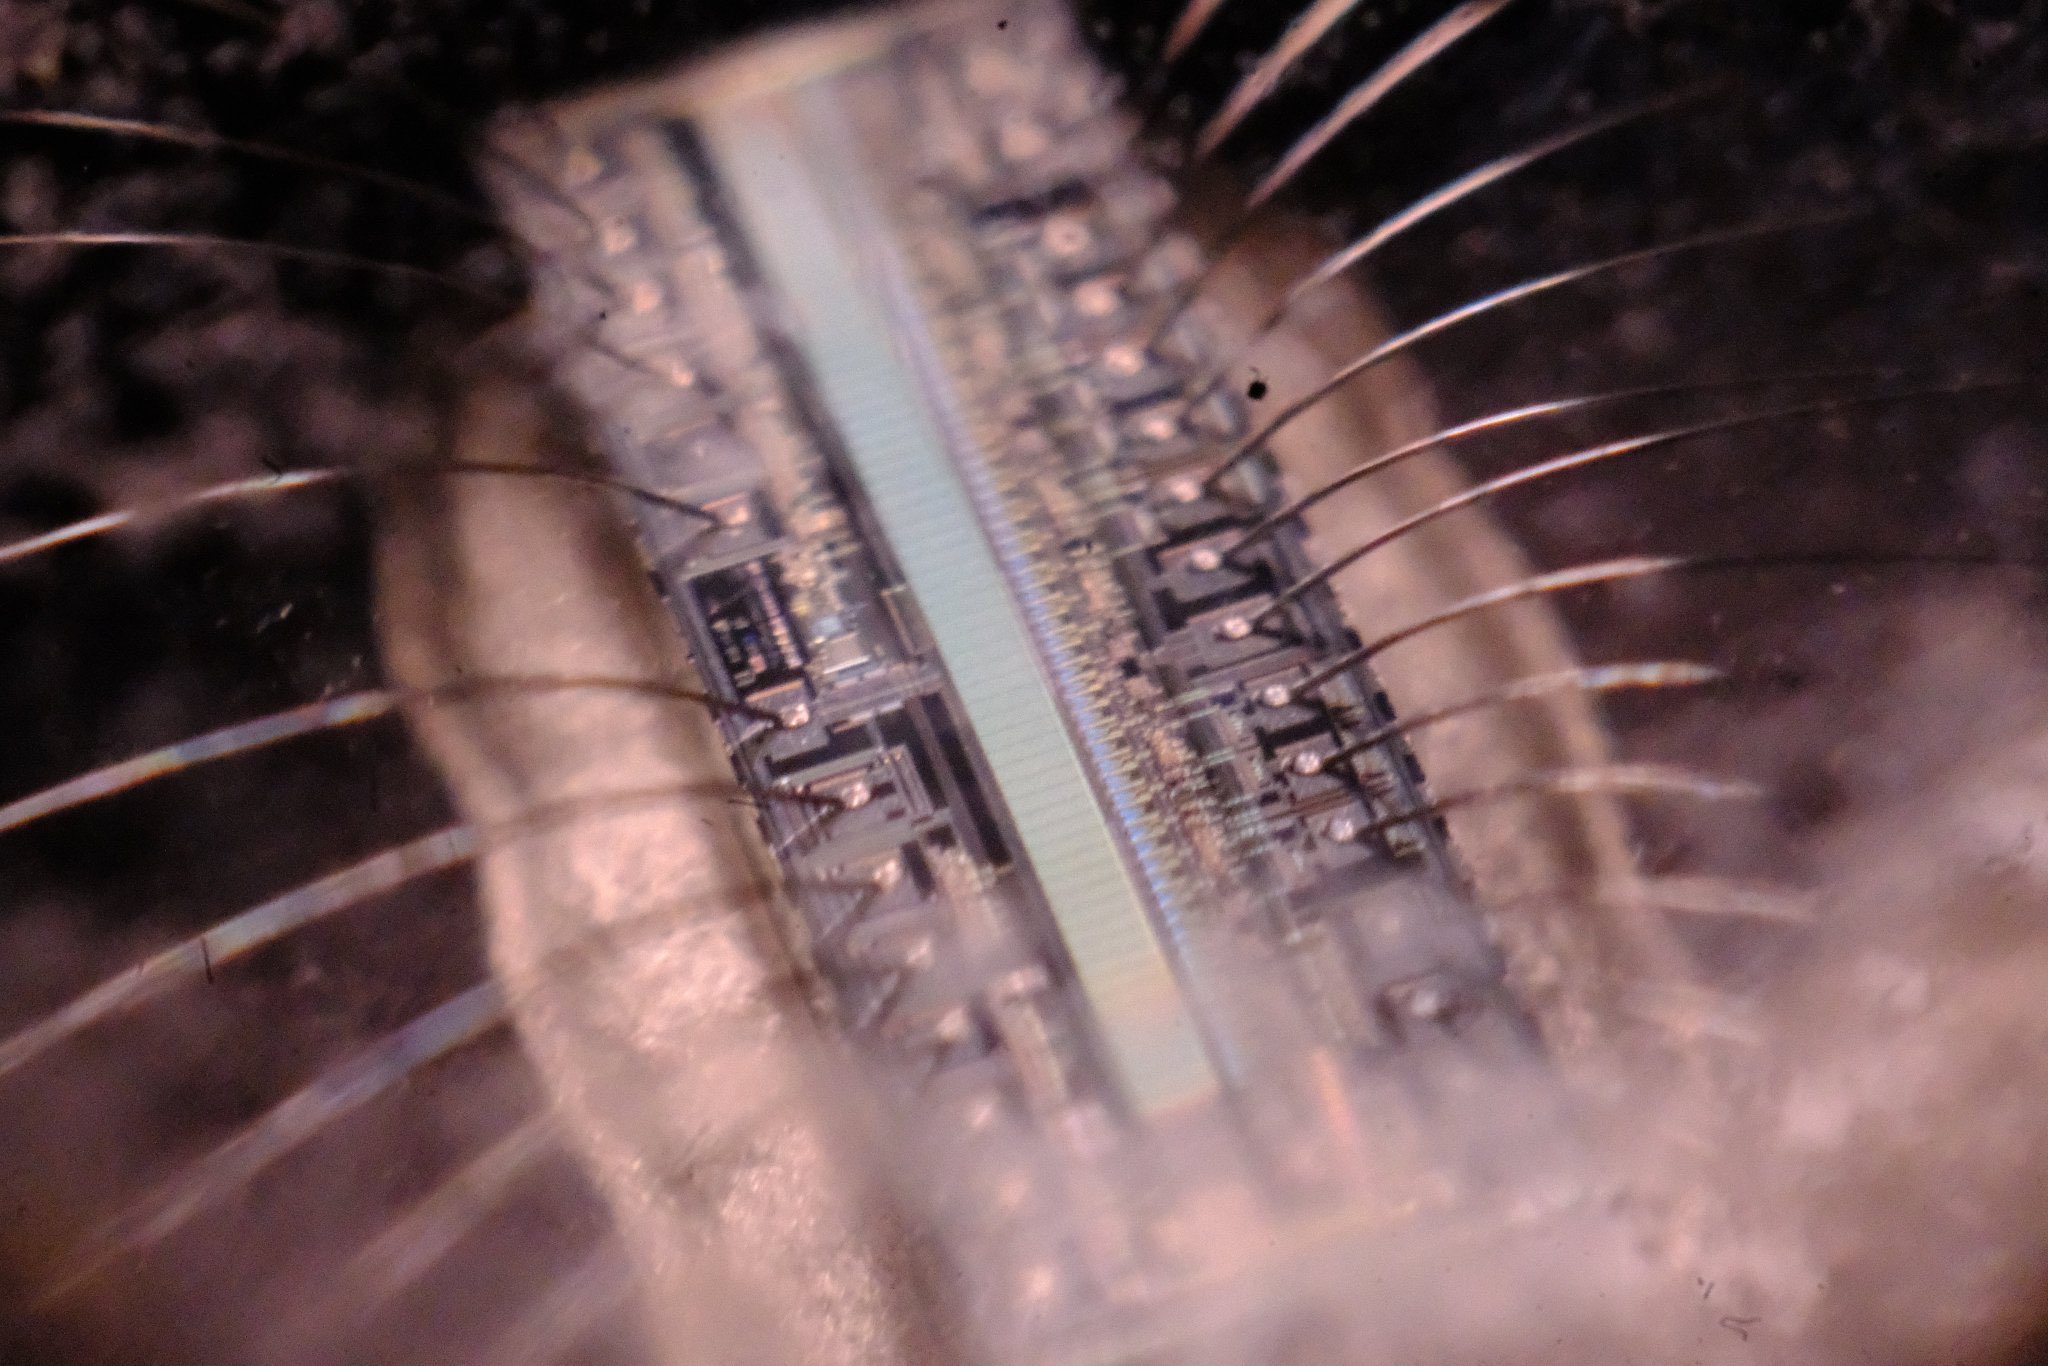
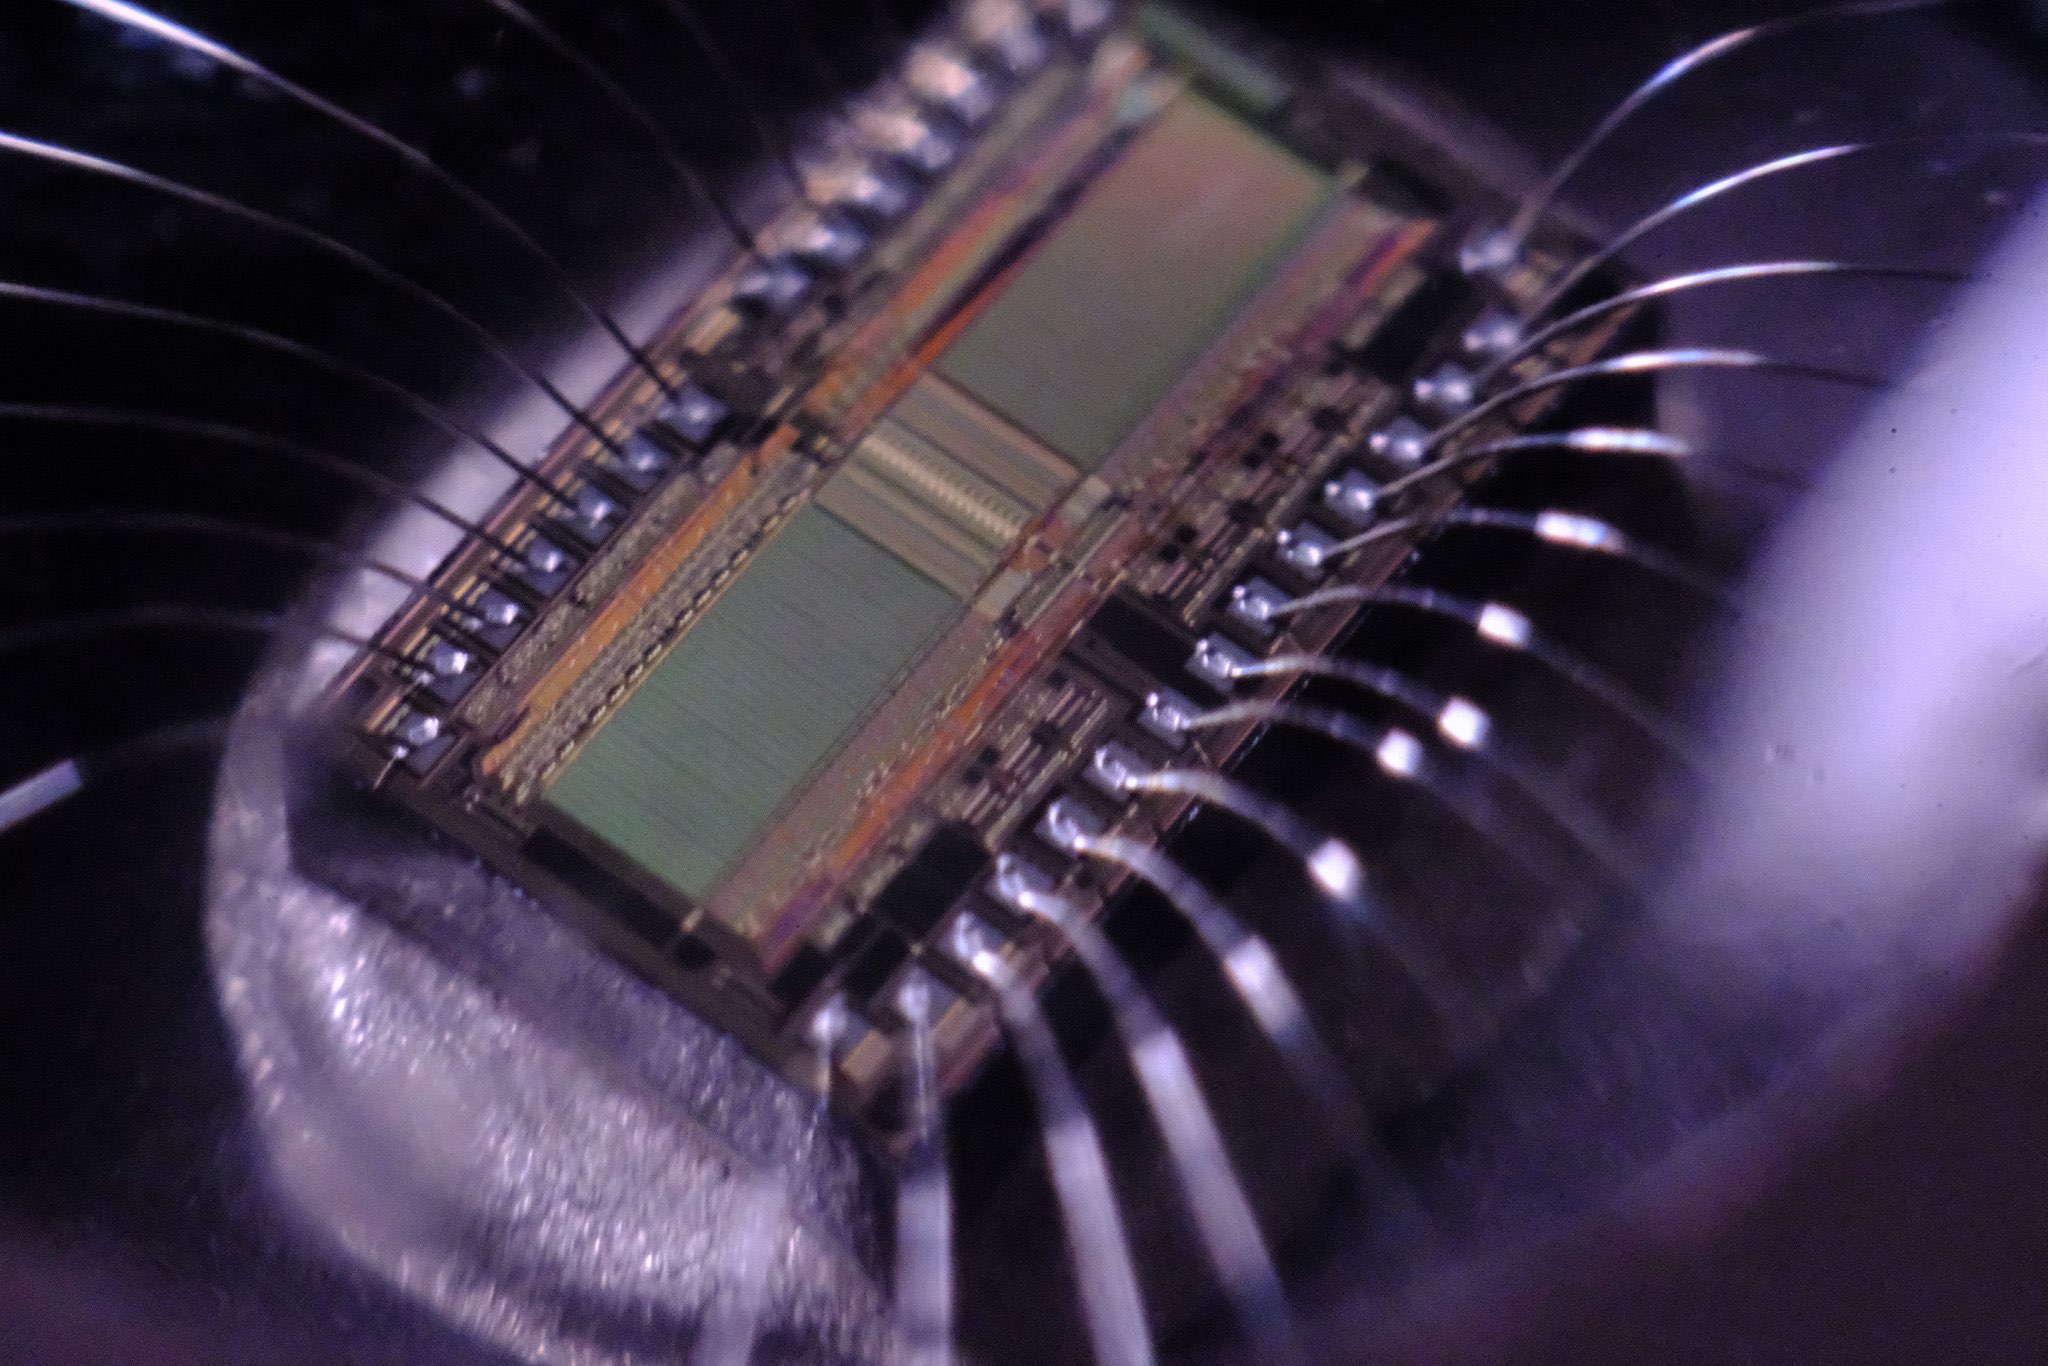
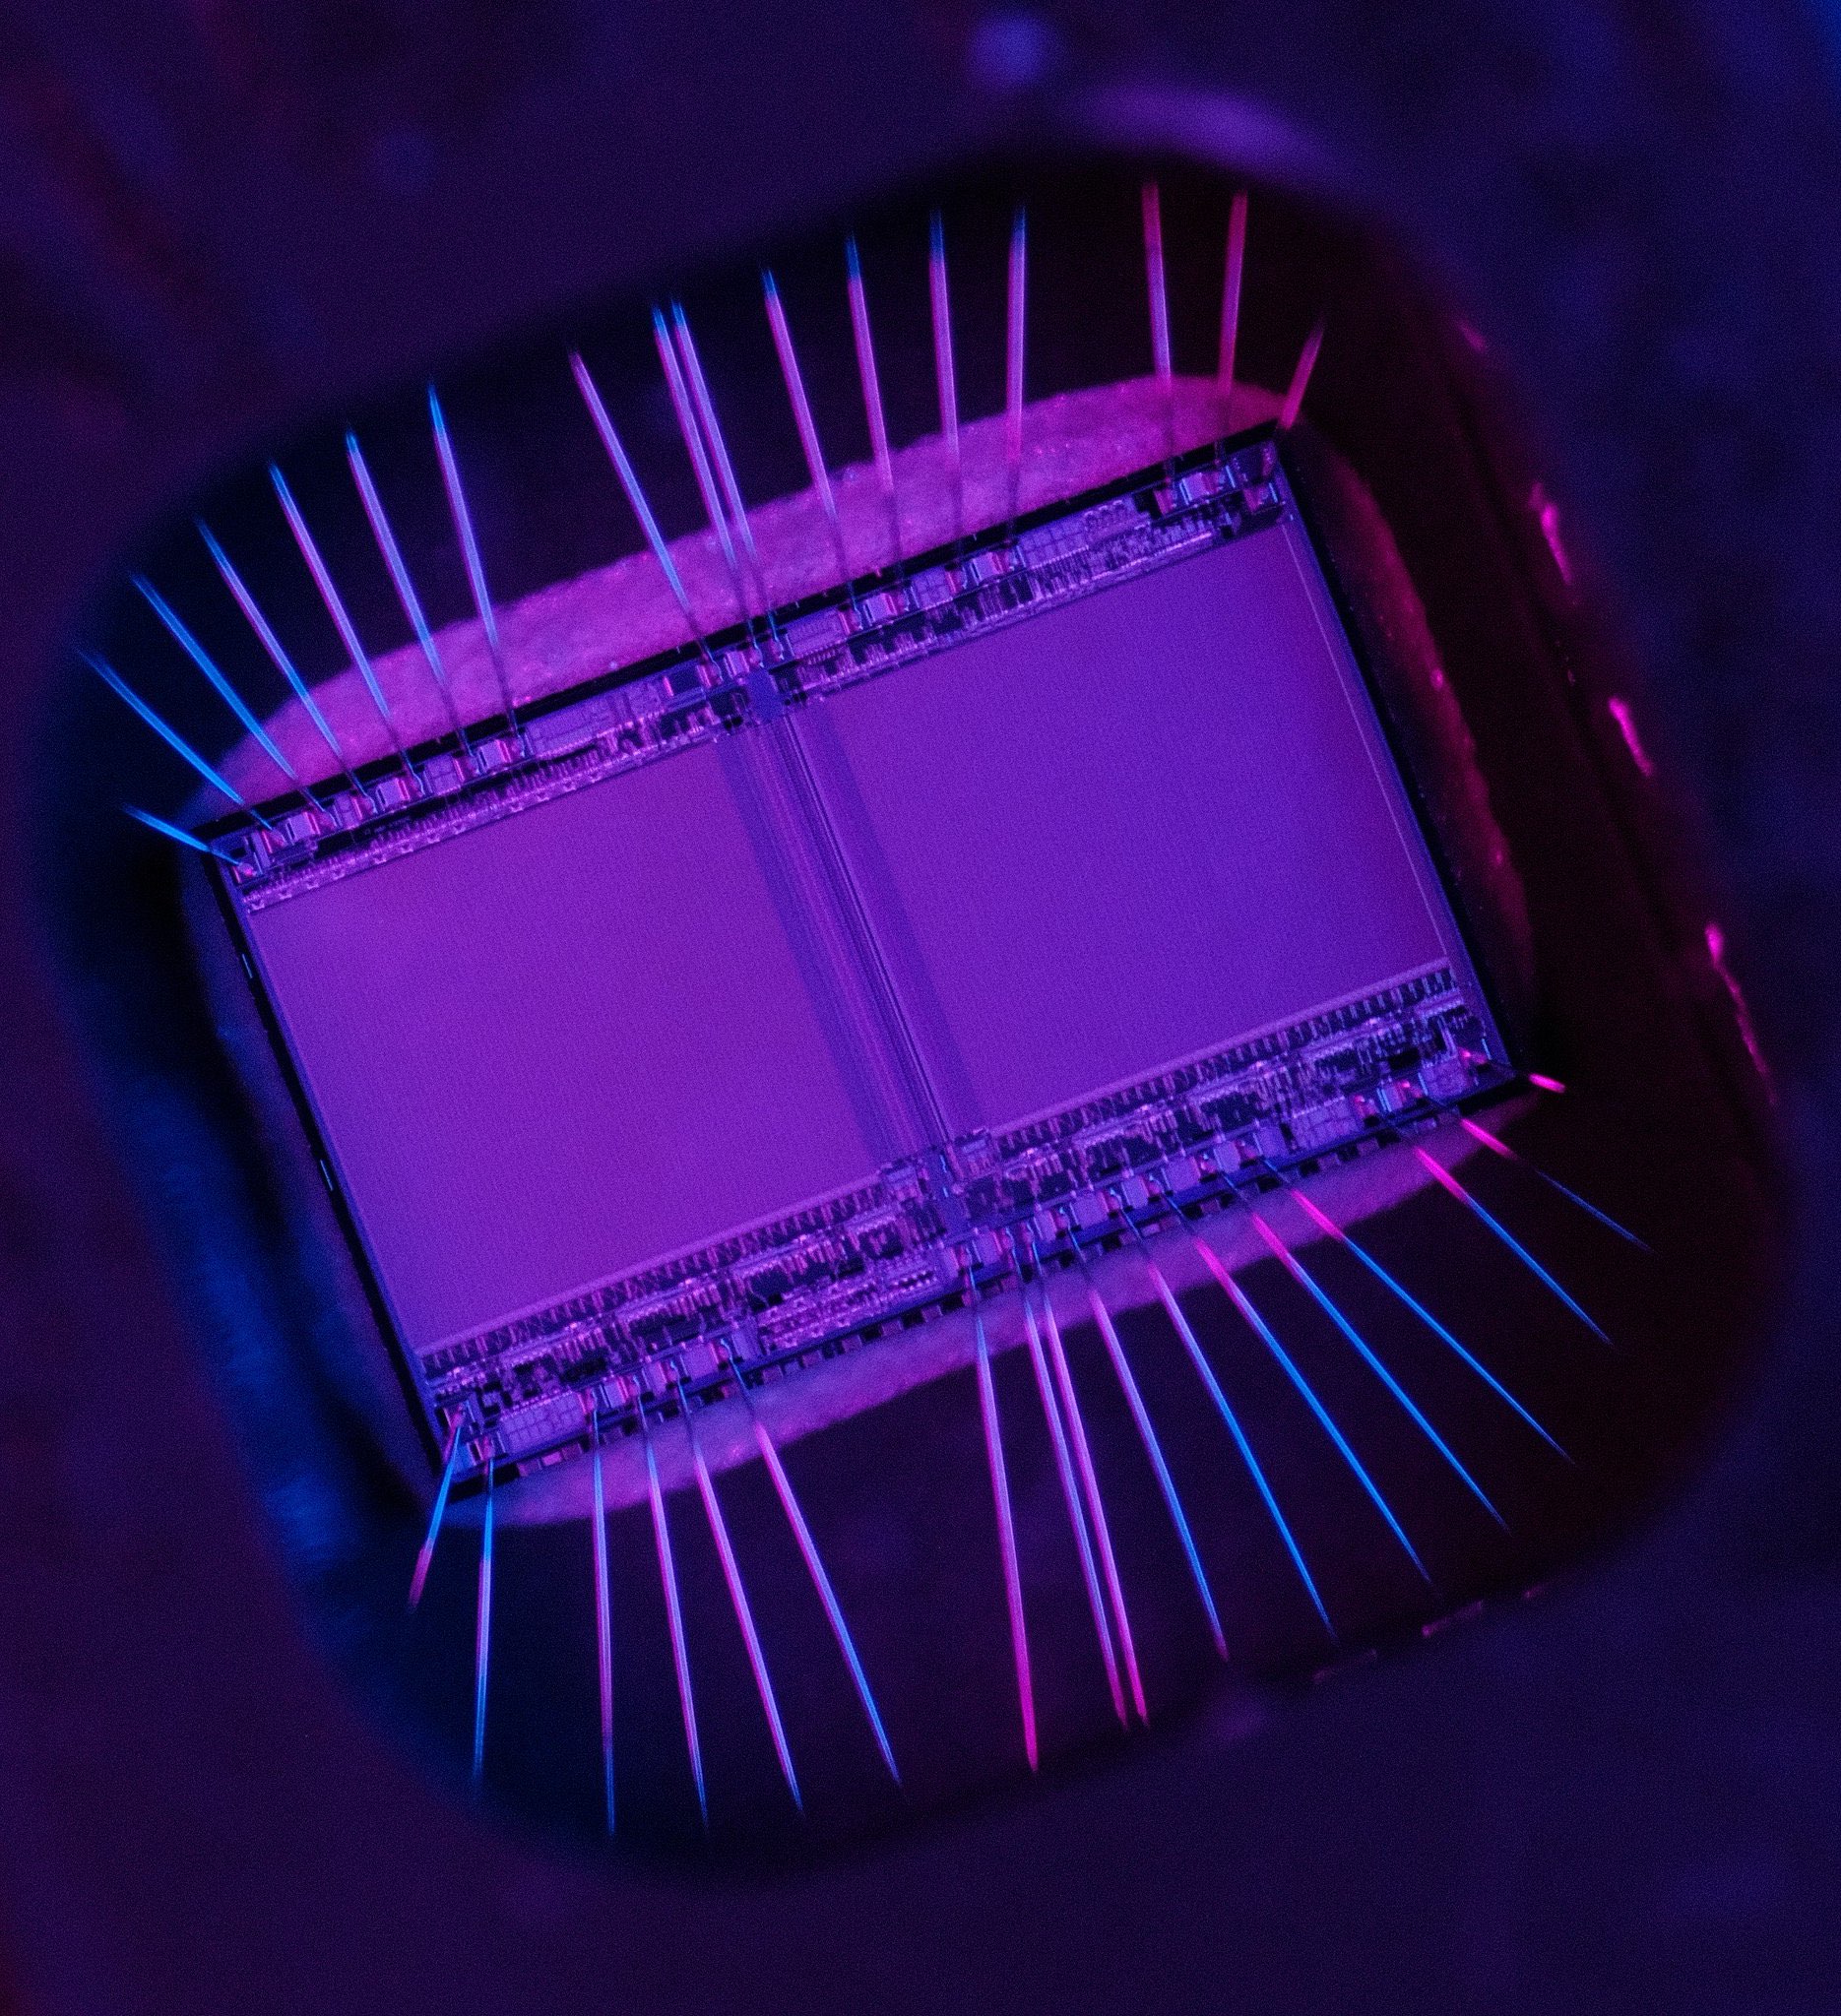
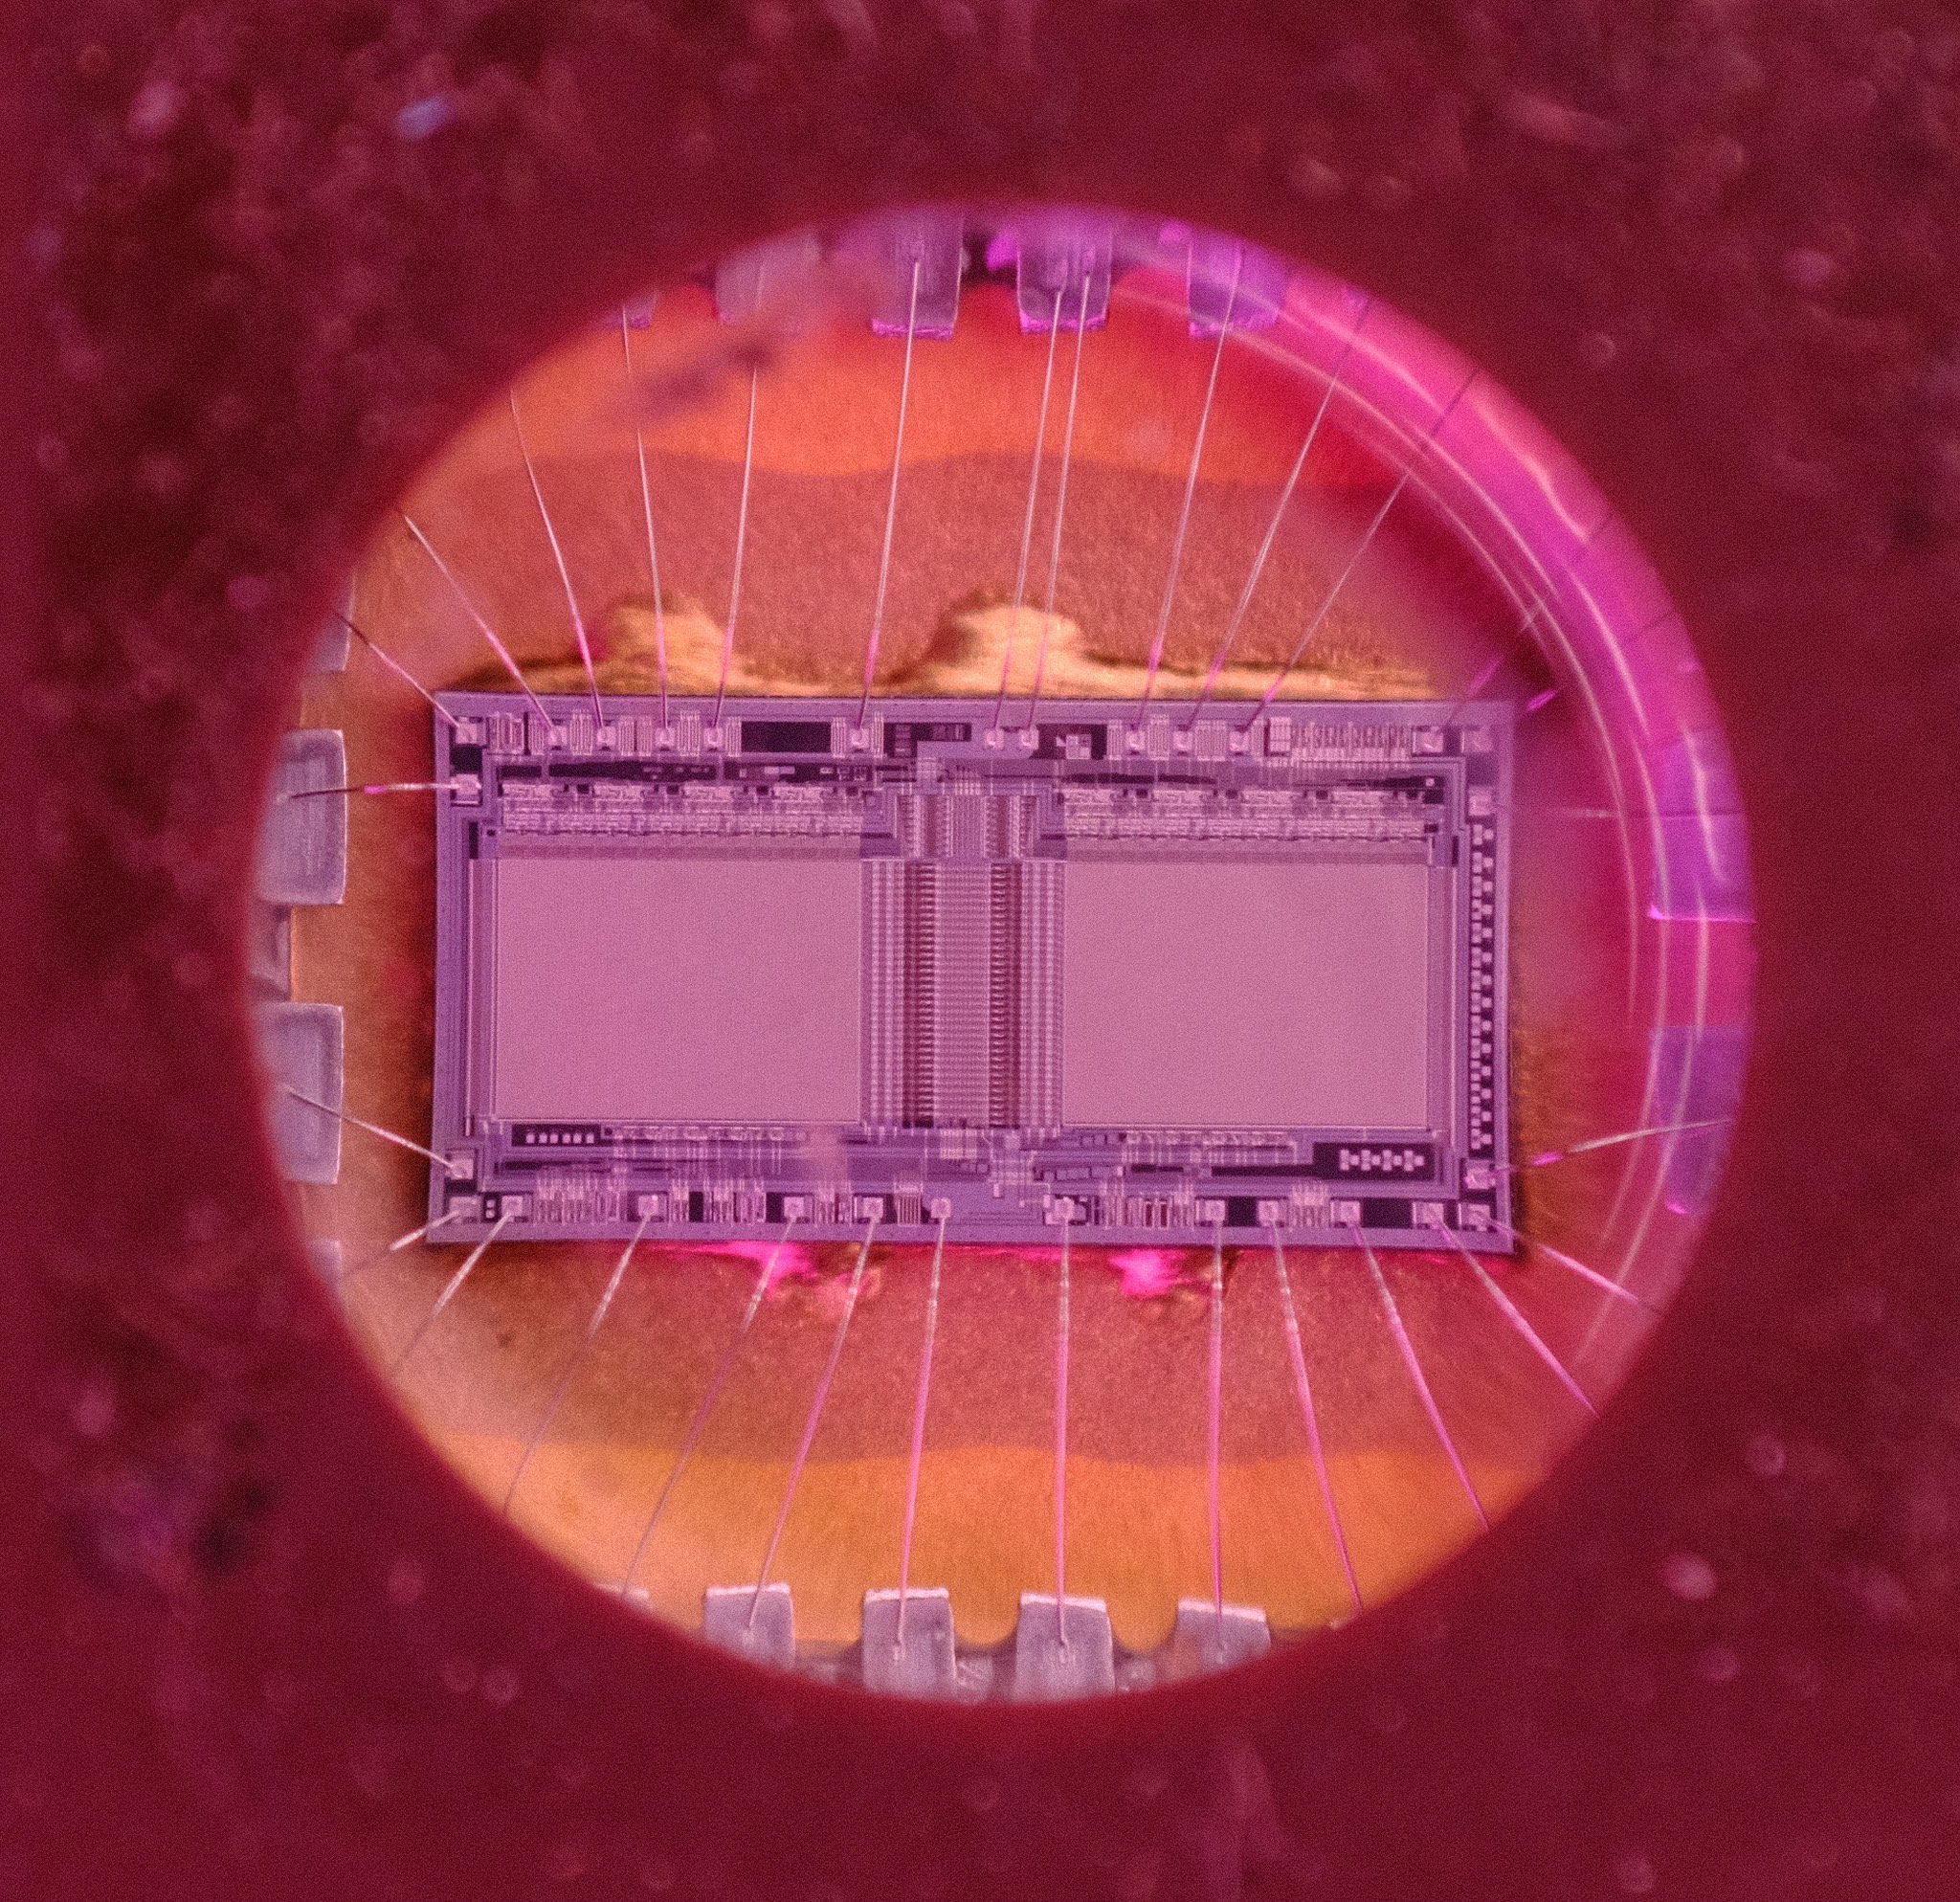
At my university job, I got access to a lot of the old, discarded lab equipment. Always loved tearing that kind of thing down, seeing all the interesting hardware inside. Ended up with a couple of these UV-erasable EEPROM chips, which were usually used in sort of a "firmware" kind of capacity. Socketed chips, with a sticker over the window to avoid wiping the memory unintentionally. Was very interesting to see the batch mode capability on the canner - you take a quick low fidelity preview, then you can draw some small boxes for one or more high DPI scans. It then runs through, and saves out the images for each. It does cap total resolution per individual scan ( I suppose, for potential memory issues - this should be configurable, if for example your host machine has 128 gigs of RAM, but I digress ). This way, you can tile several to cover a larger object without any user intervention. This was my first experiment with this usage - a little disappointed with the optical performance through the polycarbonate and the little quartz window. I have been able to do better on these chips specifically, with a macro setup on my camera.
- Digtizing My Journals
I have been very active on projects the past four or so years. I guess this is the 73rd article going up on the site. In this time period, I have also filled 12 journals, with notes, ideas, drawings, some painting, etc. I would like to digitize them at some point, maybe make them available - not sure about that. I did have a lot of luck digitizing some pages of notes from my 7th grade honors english class, Parsons, from a program he used, called Word Within the Word. I think the wear and tear gives it a lot of character. This was extremely formative for my language skills. I still use the concepts I learned there, to this day. I downsampled this from 750+ mb version taken at 600dpi - learned GIMP supports batch rescale and pdf export, layers as pages - full res was totally overkill, but I think it would be very good for things like fine pen drawings.
- Scanning Film Negatives
The software comes with some options to convert negatives of developed film to correctly colored images. This is pretty cool - but it does require that you develop the film first, or the light from the scanner will instantly destroy the image on the film. Overexpose the light sensitive emulsion. My sister is getting into some photography at school right now, using 120 film in a Mamiya RB67 medium format camera. Extremely cool stuff - I'm going to help with digitizing the developed negatives. Got her some infrared sensitive b/w stuff for her birthday - excited to see how that turns out.
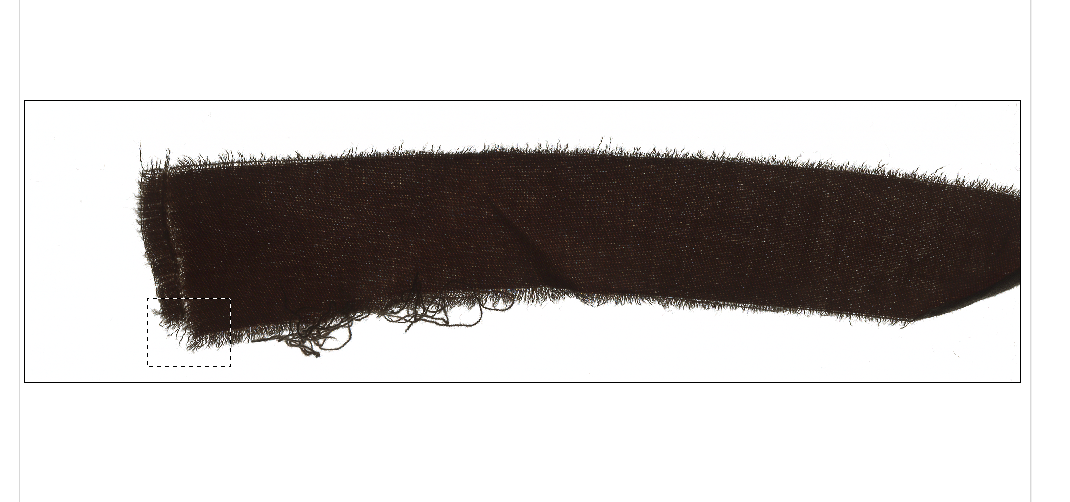
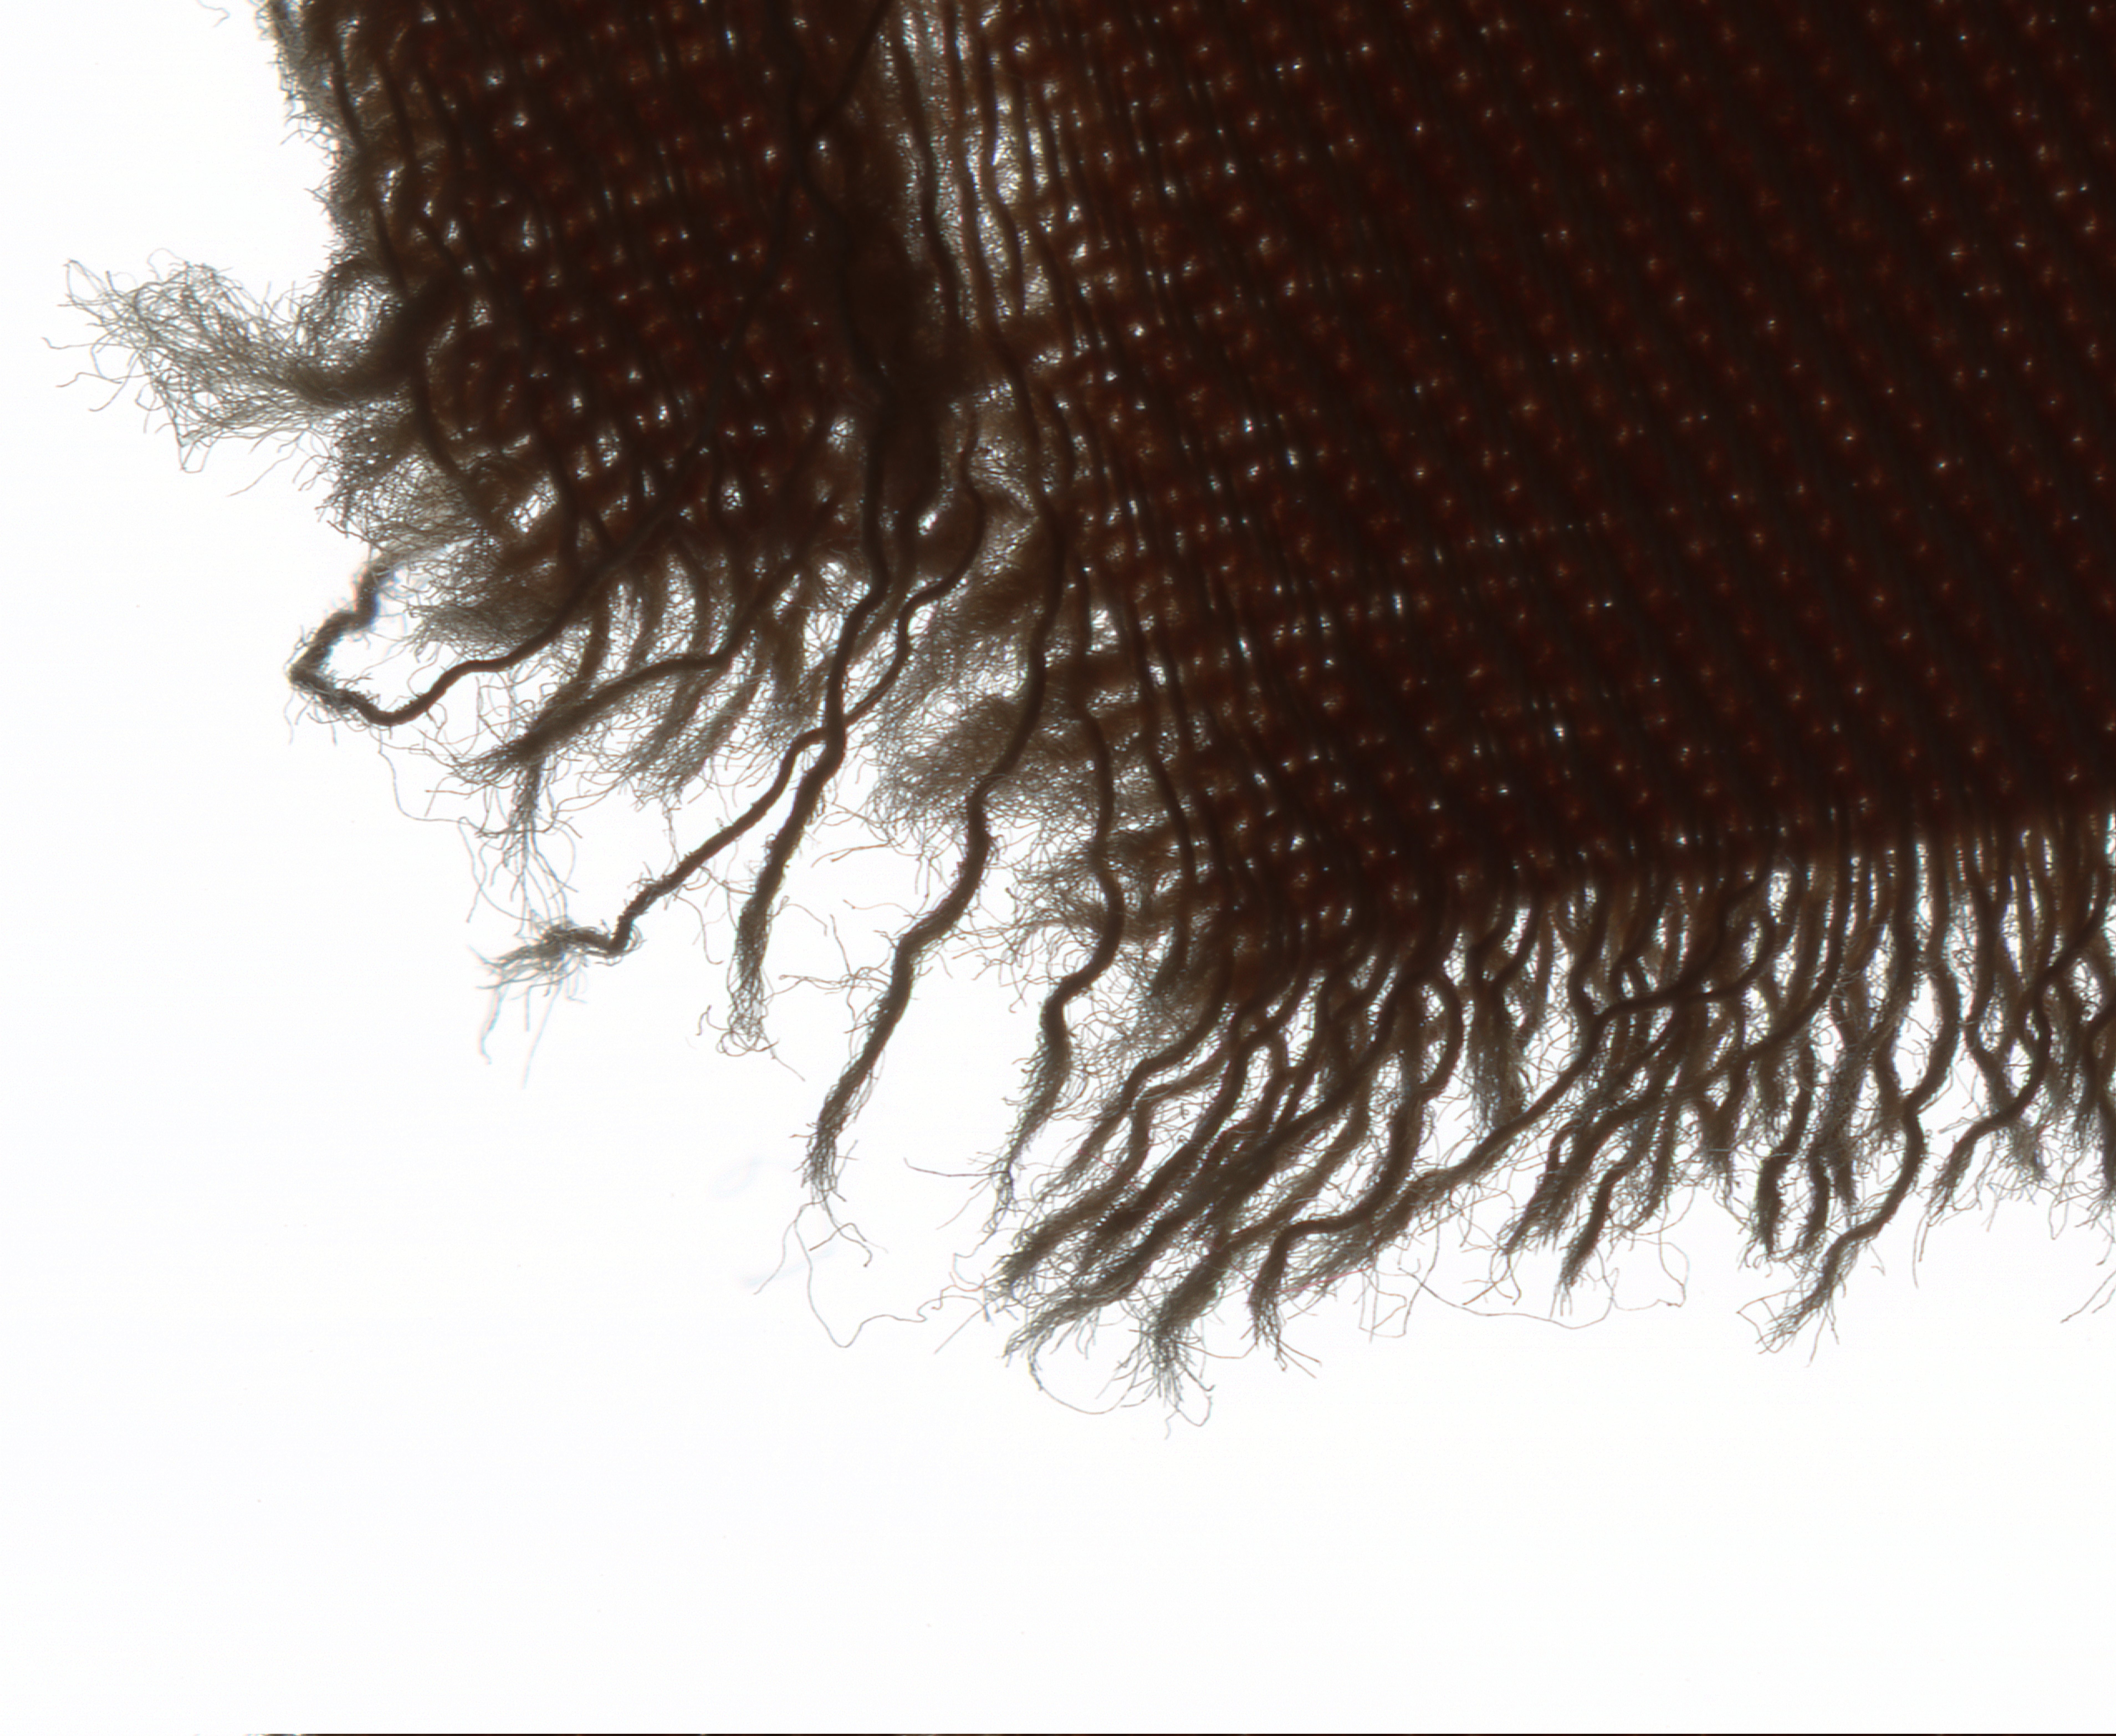
The film mode is illuminated in a different way than the photo mode ( "reflective mode" ). The photo mode uses an illumination source on the image sensor side - it shines up, and reflects back, off the object. The film mode, however, uses a sweeping light source that tracks with the image sensor - it shines through the film, into the sensor. I do not have film negatives to try it on, but I did try it on a piece of torn rag - the outer box in the preview is about the size of 4 exposures of 120 film - it captures a very compelling amount of detail. There is something I've learned about, for this application, called "fluid mount". It's an approach where the polyester in the film stock is adhered to the scanning surface with a thick liquid, in order to achieve uniform focus distance across the entire glass panel. This gives better results, but its a messy operation that involves special equipment. You can see the reason for this, if you look closely at the frayed edge here, z axis variation does reduce fidelity at these kinds of resolutions.
- Leaf Texture Maps

I want to explore using this for rendering of foliage. This is maybe a little bit of a silly idea, but I think it could be really interesting. Once we see some green leaves back on the trees, I want to try doing both modes of illumination on the maybe an oak or a maple leaf - reflected ( photo mode ) and transmitted light ( film mode ). Doing it without opening the lid, I could easily correlate the images. Being able to combine the two, maybe has some interesting potential for subsurface maps, something. Something tells me that seeing the vein structure inside the leaves in the film mode is going to be extremely cool. This is a bay leaf I was messing around with in reflective mode.
- Detailed Macro Imaging of Small Objects
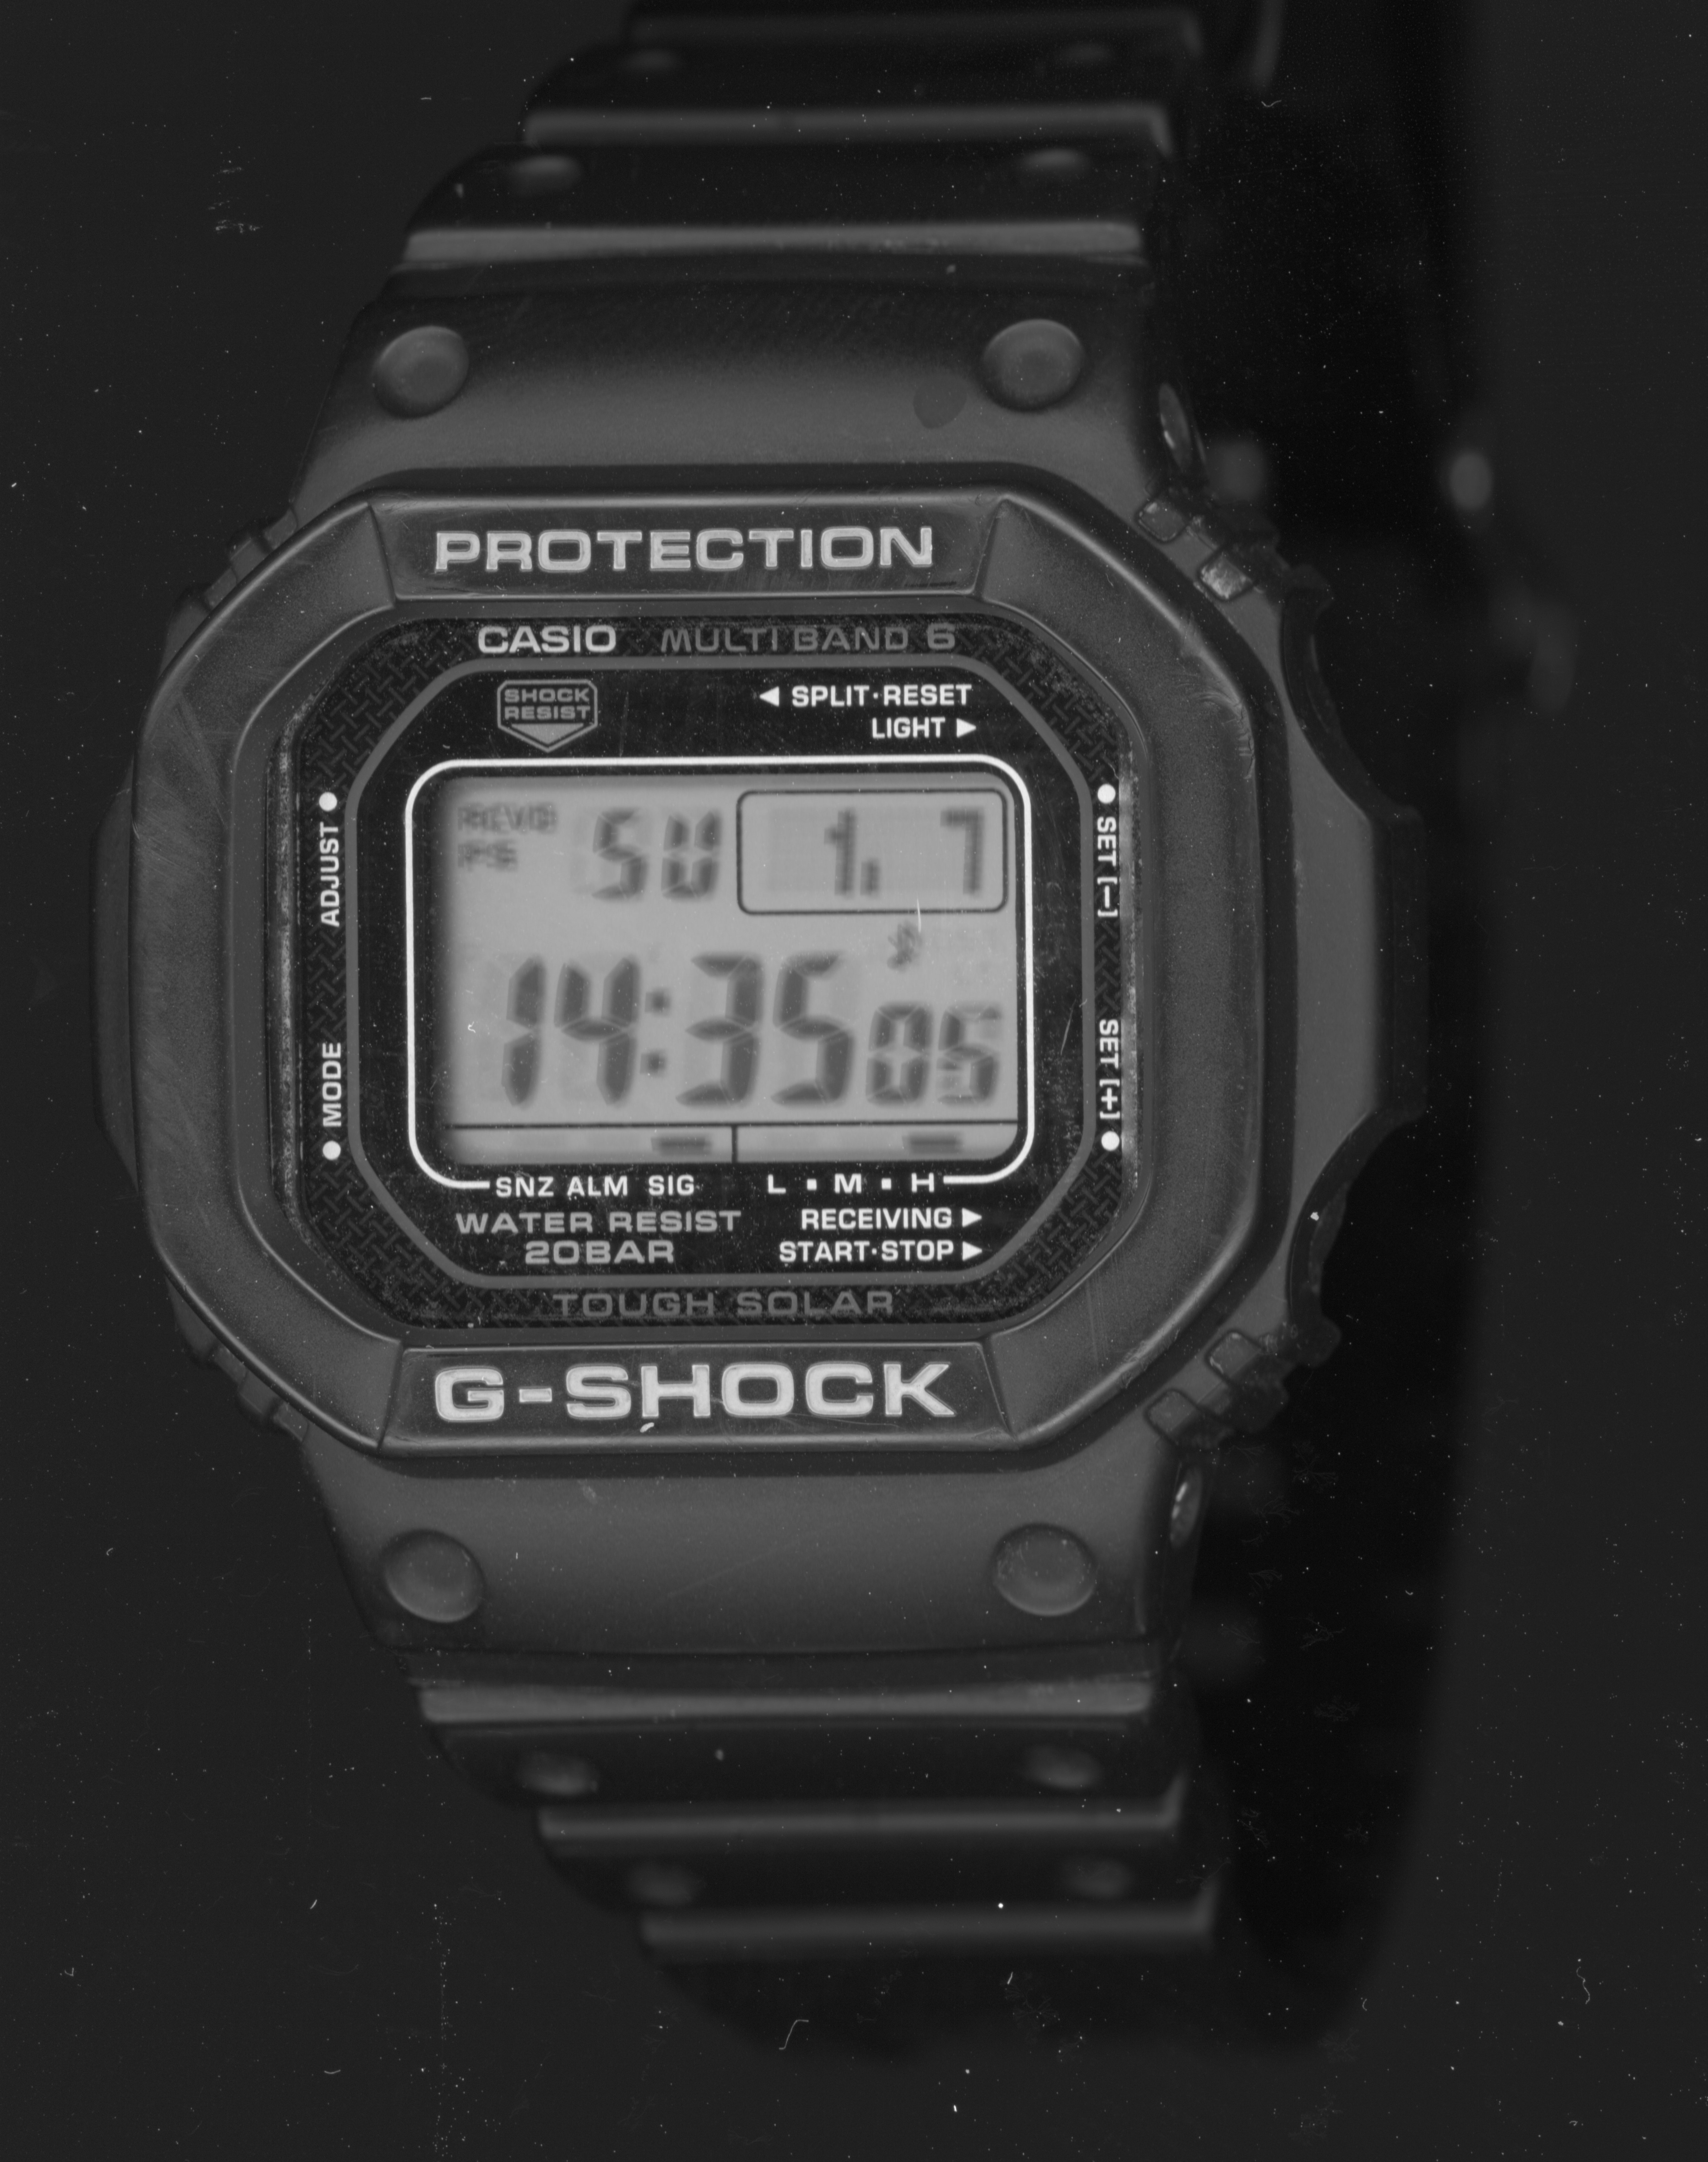
This is not really what the device is intended for, but I do think it has at least some limited potential for orthophotography. Because the image sensor sweeps across, and reconstructs a row of pixels at each point along the travel, you end up with something kind of like synthetic aperture radar. It's very interesting, structurally. Inspiring. You can see all the little dings and scratches on my watch - stuff that's not really outwardly visible to the naked eye. Very cool.
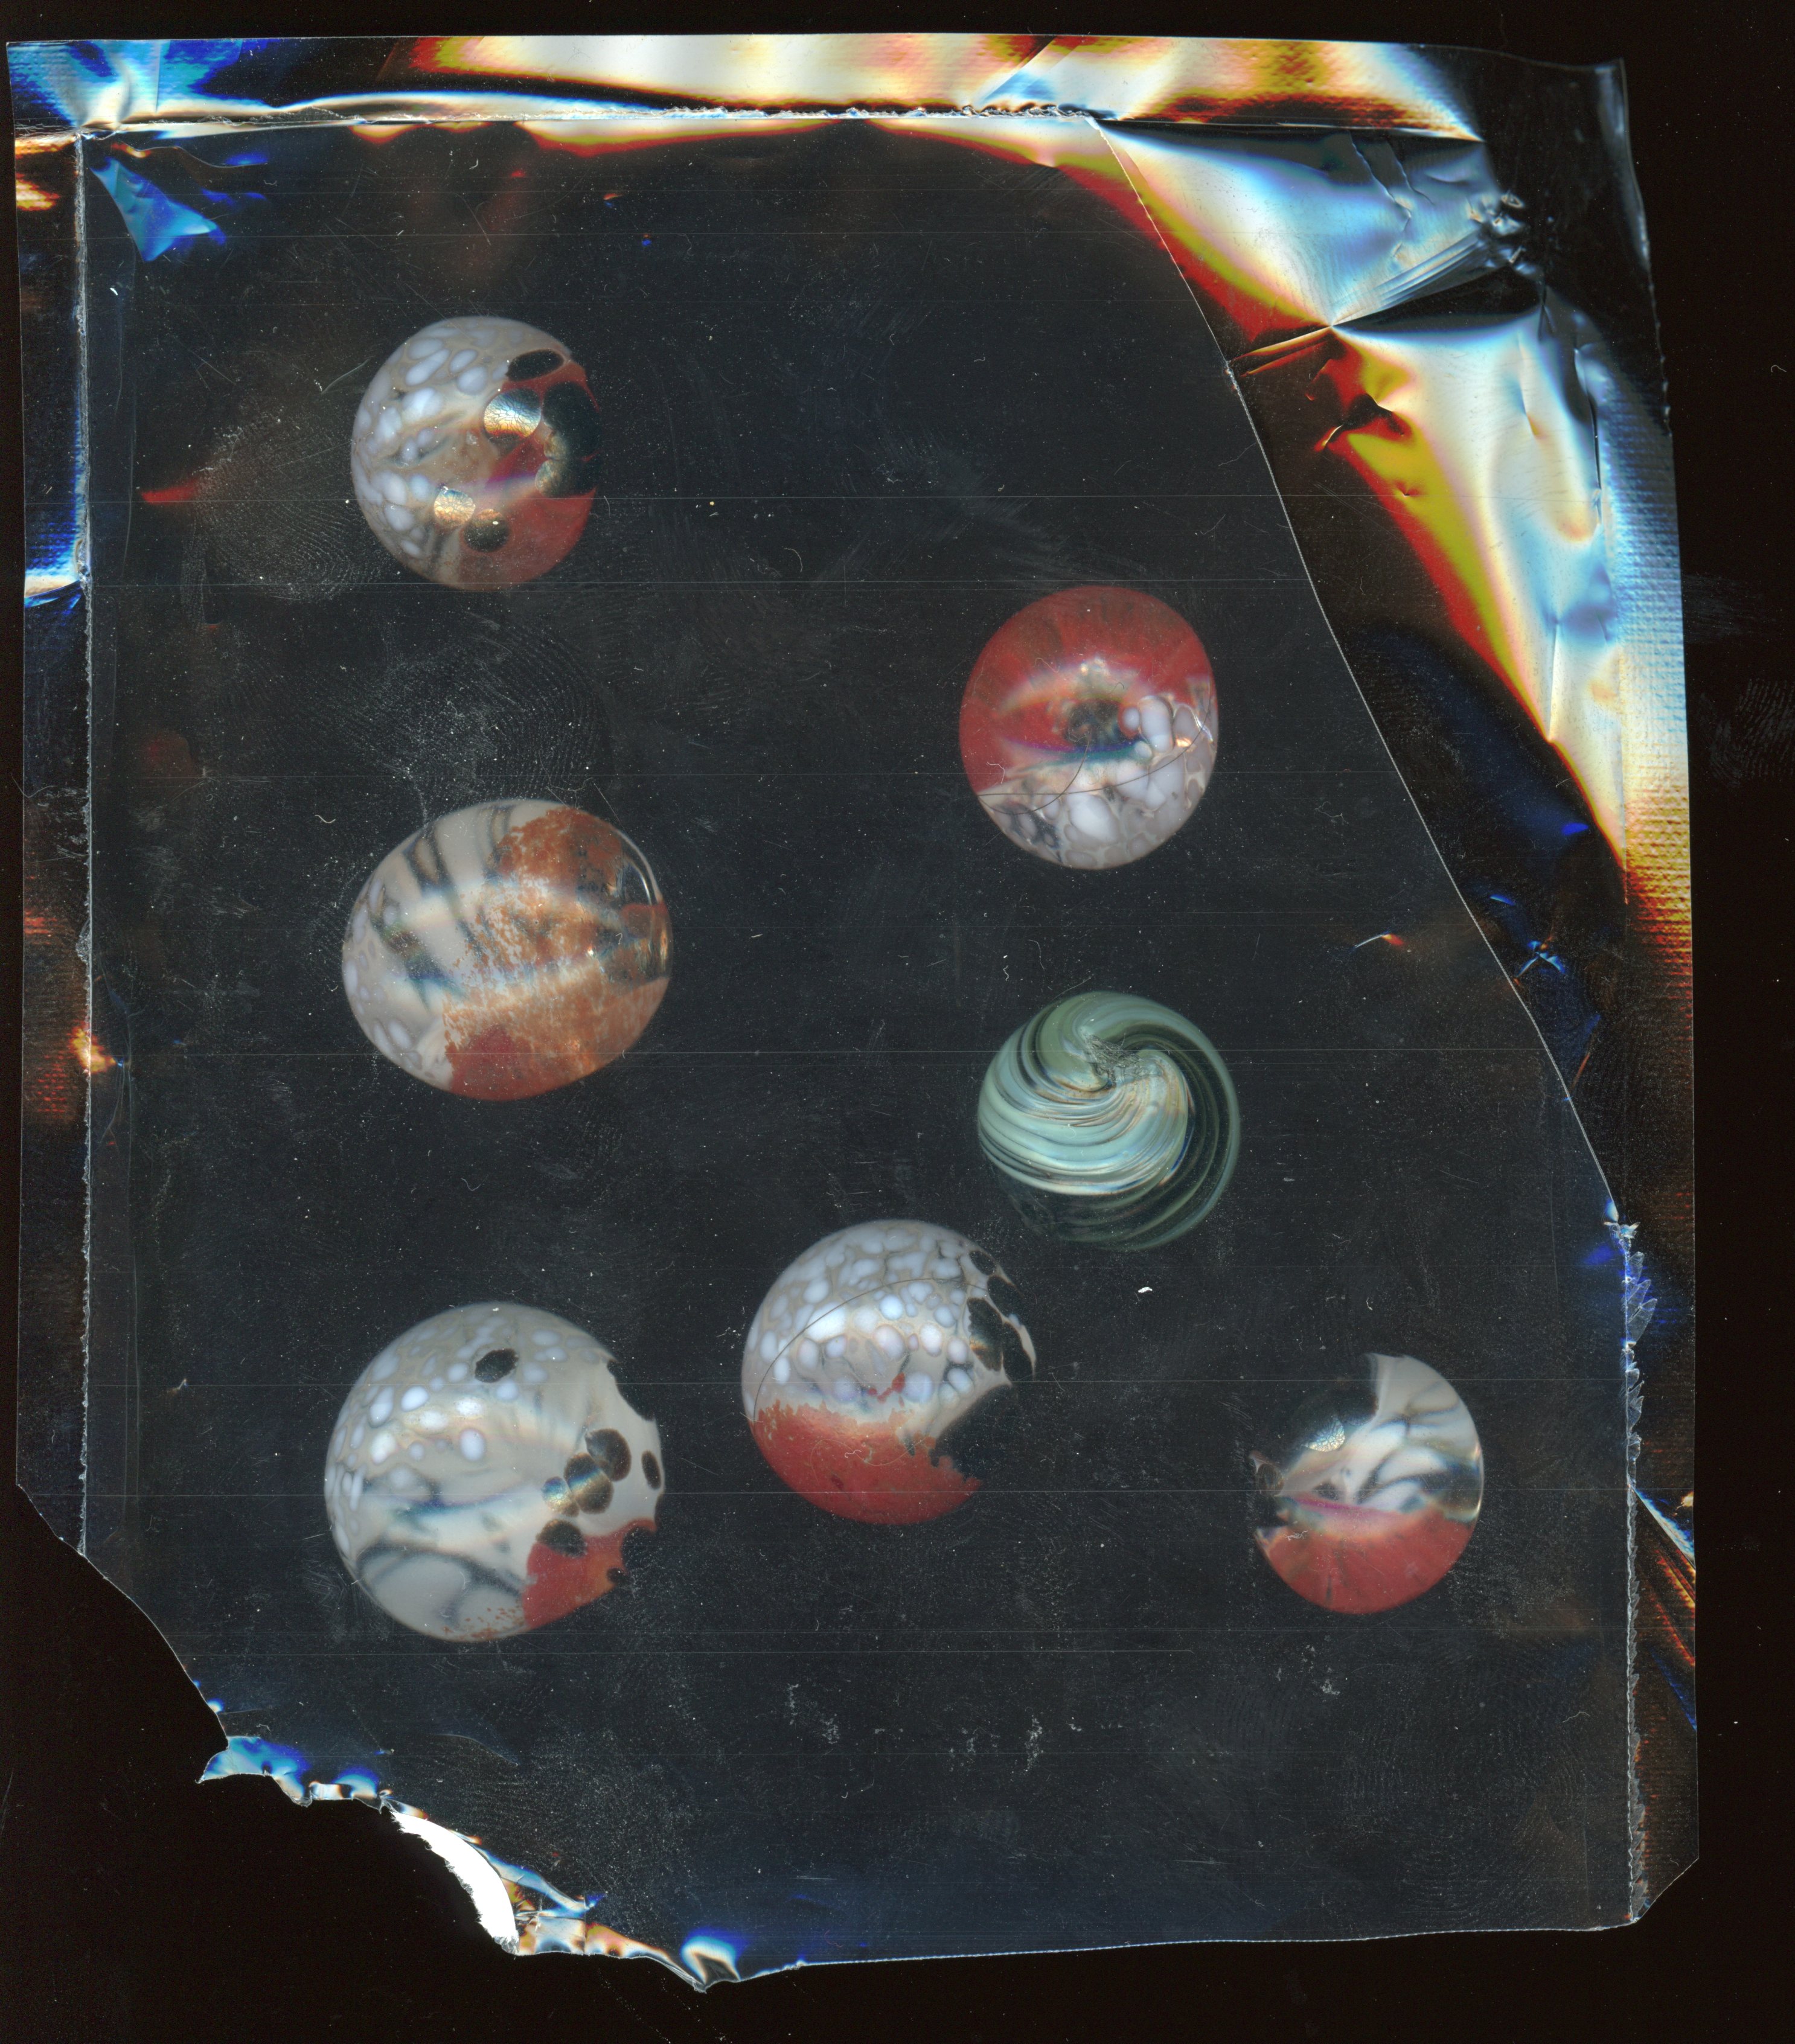
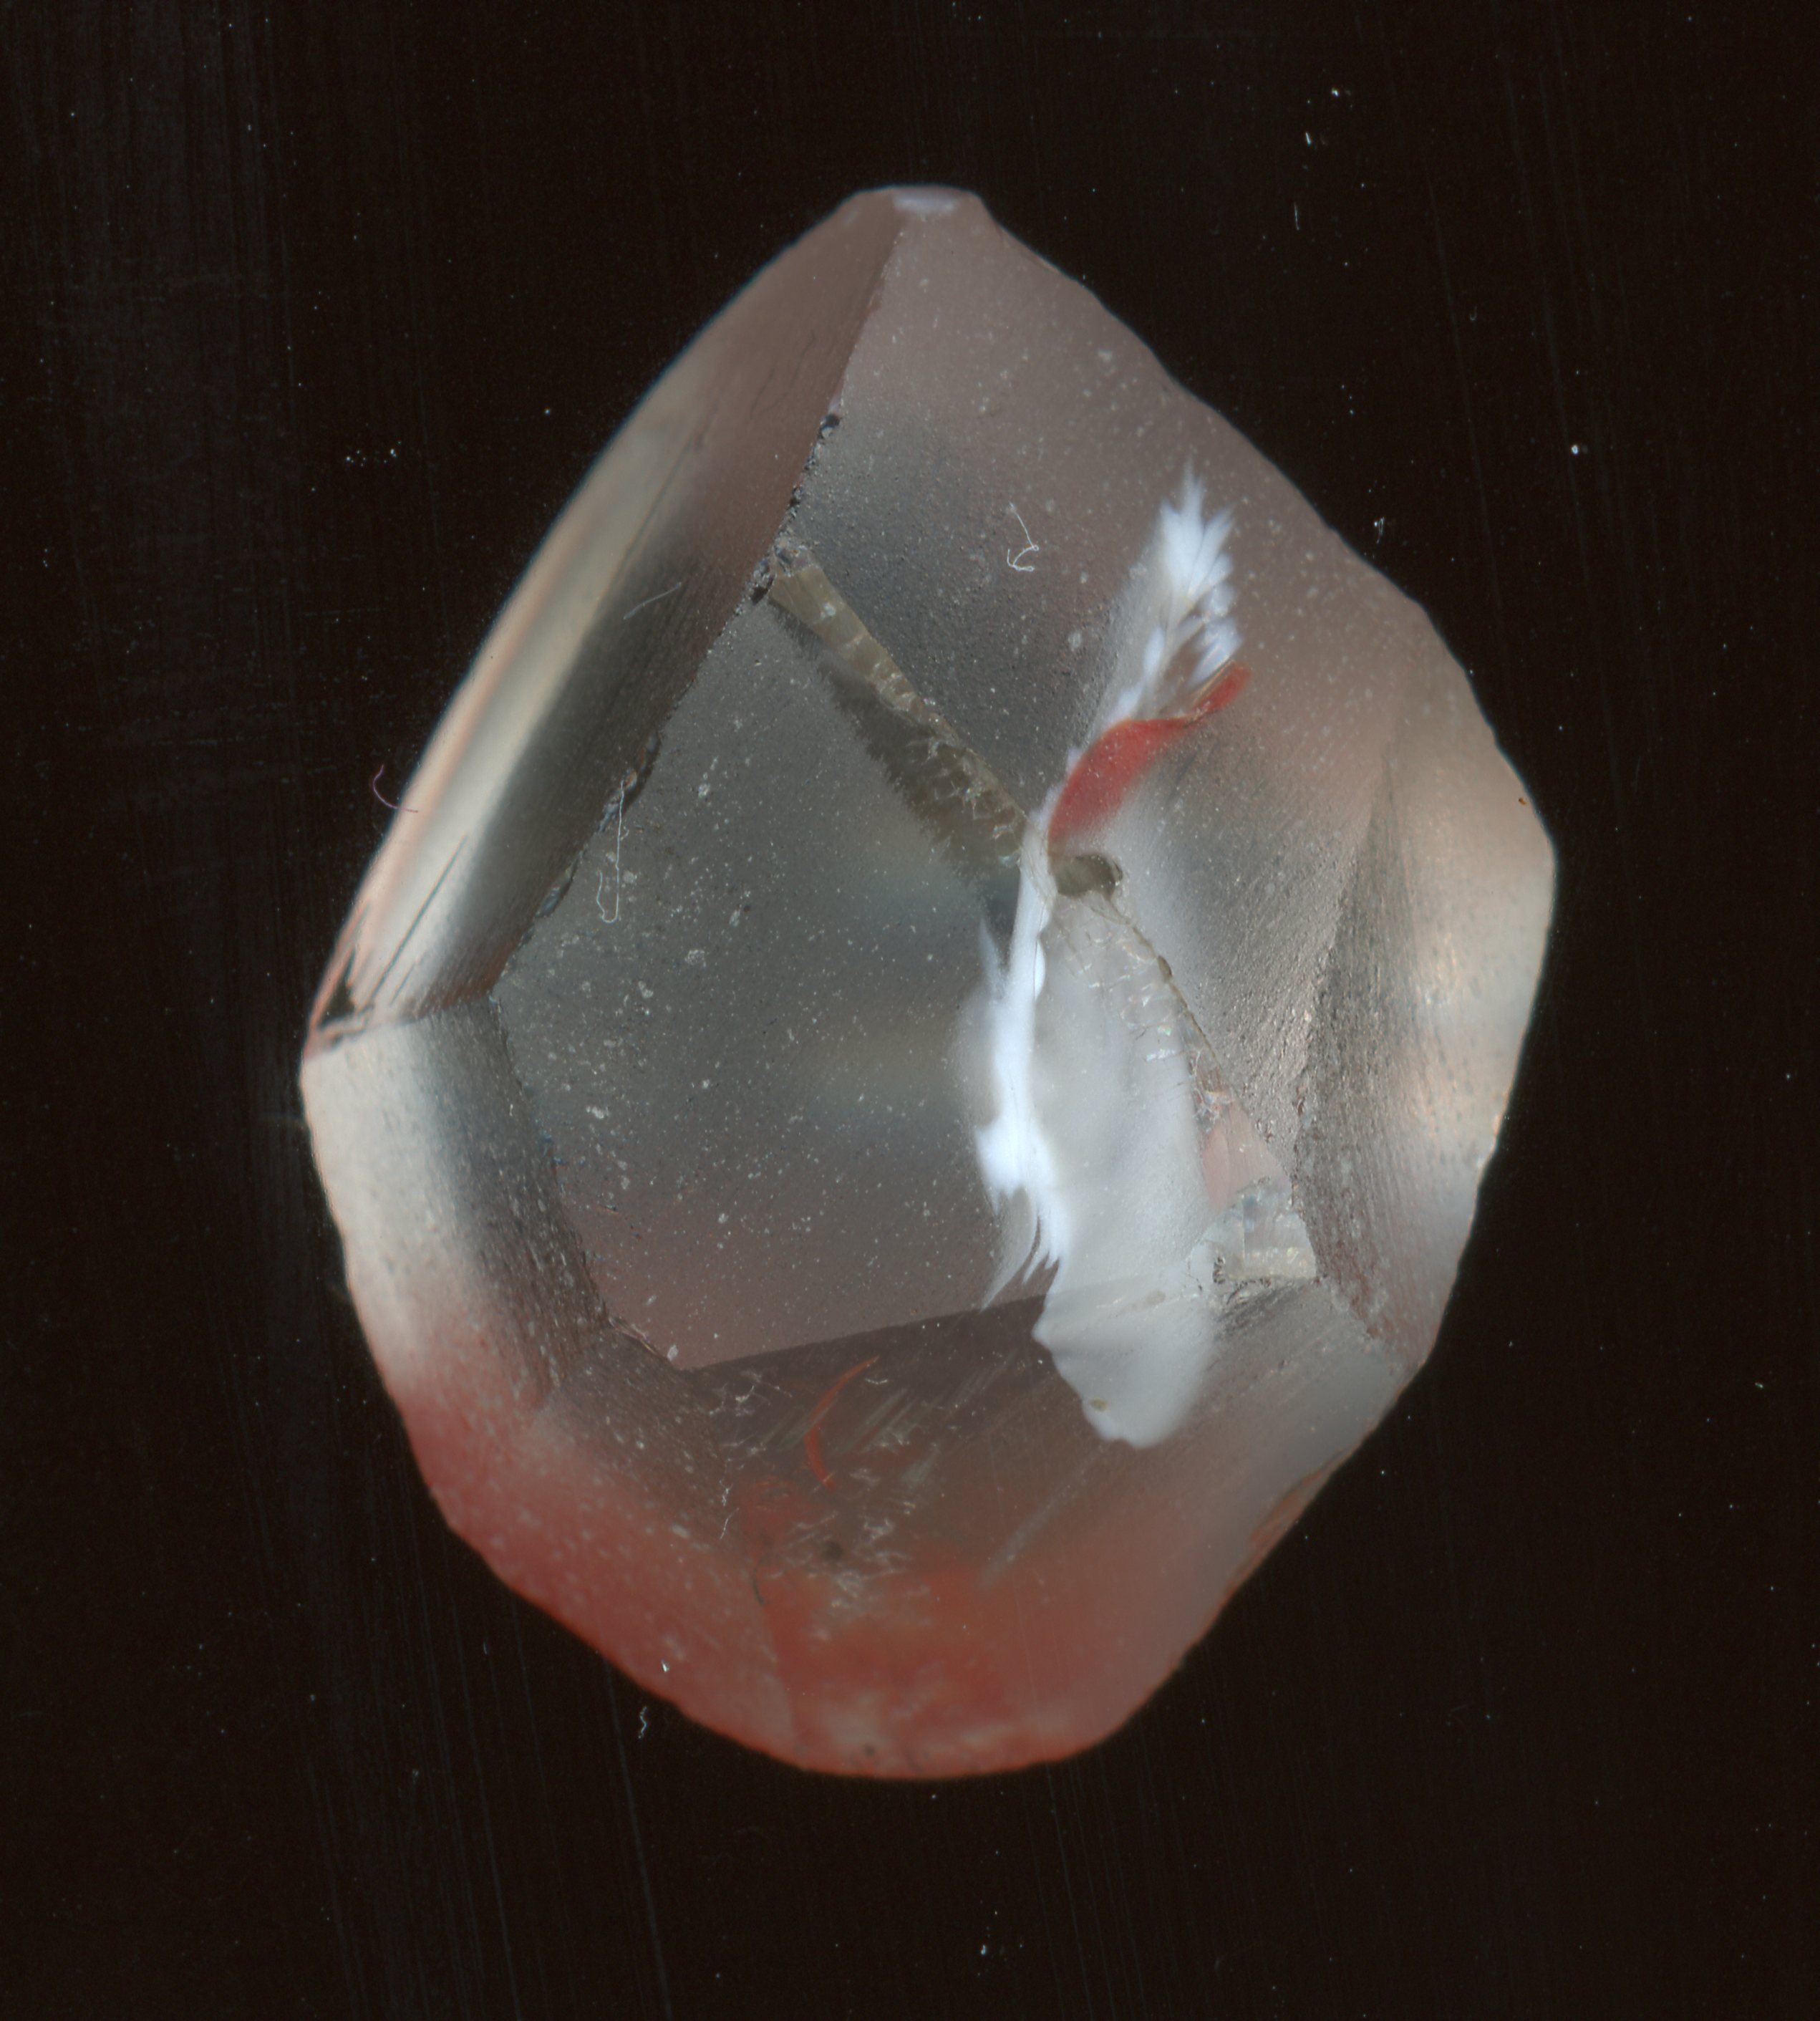
Something I have recently become aware of, a little more than 6 months ago via Hedron Rockworks on youtube, is a coldwork glass process called faceting. It's a structured grinding process, for cutting gemstone shapes. I have not figured out all of the infrastructure, yet, to do the canonical cuts. I have been experimenting with cutting up some scrap glass marbles my sister made for me in the hot shop, on a flat lap in a more freeform way. You can see before and after cutting, here. I'm experimenting with it, figuring out what's neccesary for safety equipment. Got a respirator, water drip feed for the lap is still wip. Two purposes there, cooling, and dust collection - the glass dust becomes like a muddy slurry. Don't want to breathe the stuff in, so whatever you can do to mitigate it becoming airborne in the first place is a good thing.
- Electronics Manufacture
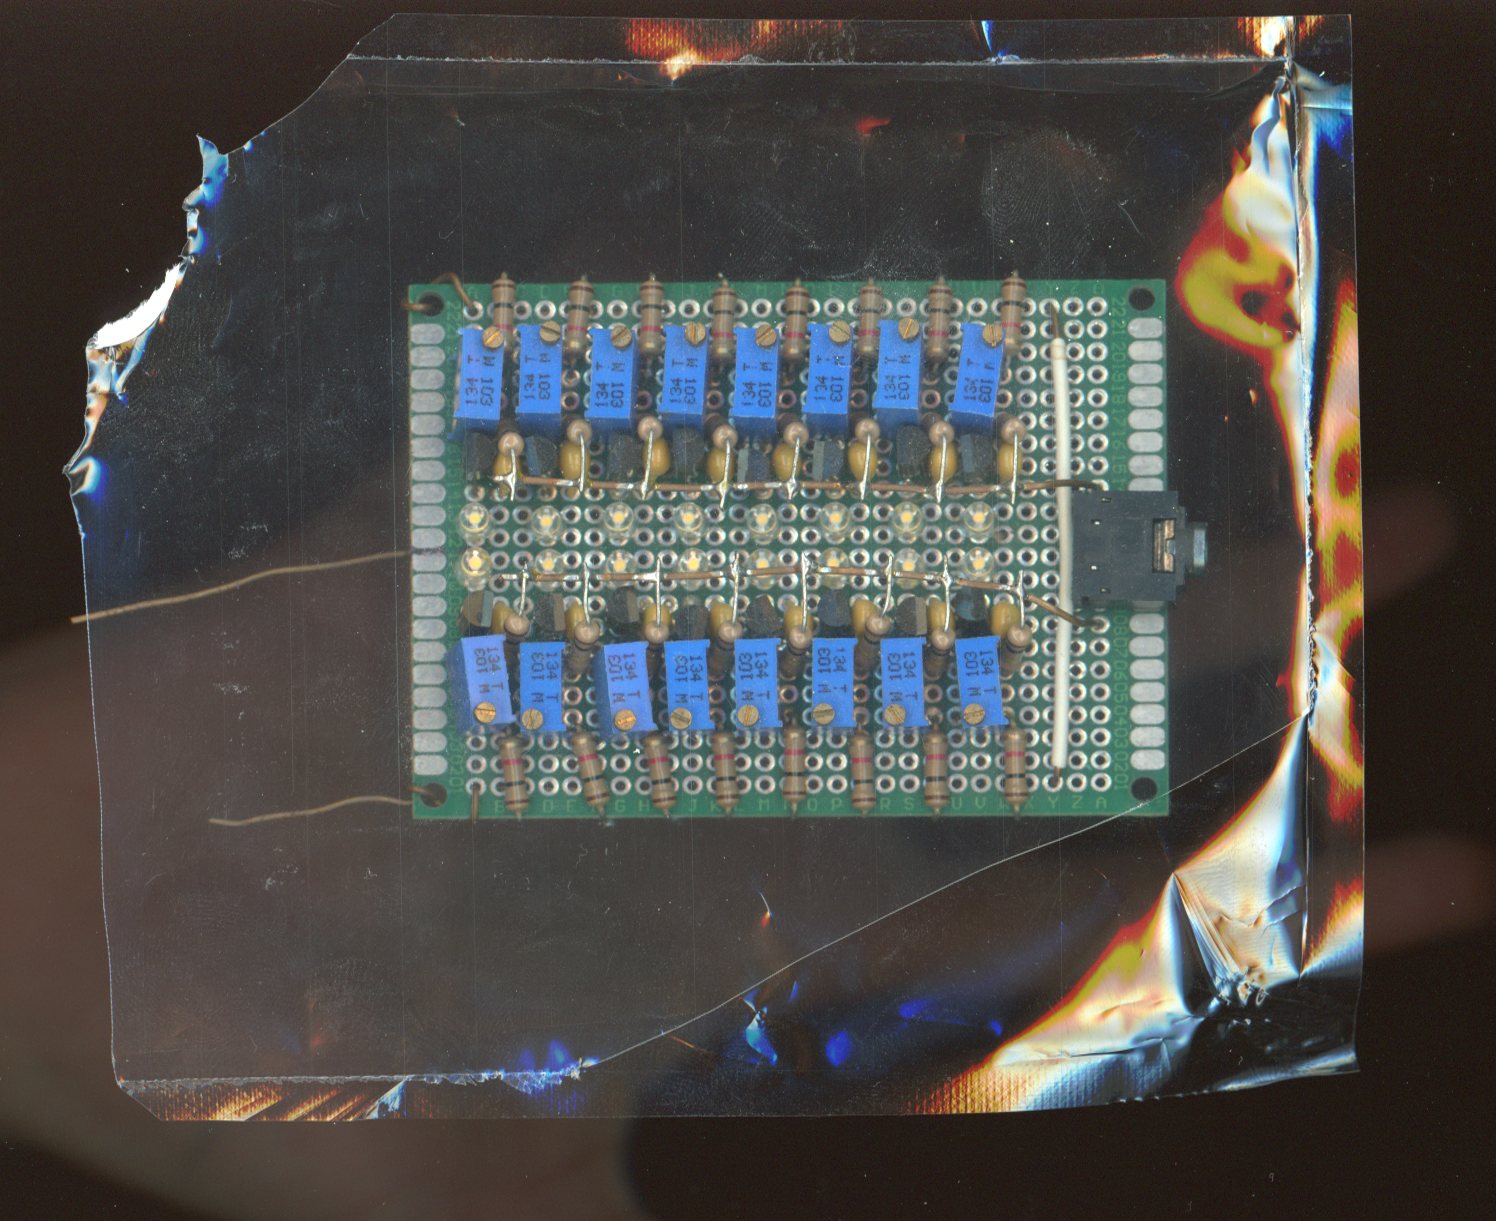
At the makerspace I met a fellow who worked at the CDC, while Seymour Cray worked there. Extremely interesting guy, older fellow, has some great stories. He runs the Raspberry Pi Usergroup there, and teaches classes, as well. Went to a class he taught this past couple weeks, also got talking to this fellow Dale. Learned that getting a board made, and also doing the assembly for small passives, is extremely cheap. Board costs a little bit of money, maybe ~15USD, but the BOM+assembly for one of the circuits I want to do is in the ballpark of 7 cents per. This is an analog sawtooth oscillator based on lookmumnocomputer's super simple oscillator circuit - I would like to miniaturize it, further, using surface mount components. I have done a couple different implementations of this - one with 8 ganged, with a much nicer set of potentiometers - I'm not sure where it ended up - and this one here, which is 16 ganged together ( this was before the polycarbonate sheet, using a fragment of an antistatic bag to protect the glass - not the best image in the world ). These little blue trim pots are not particularly useful for this application, for tuning the oscillators. Digipots + some microcontroller stuff may be something to explore.
Overall, I think lately, I'm trying to branch out from such a heavy software focus. I have a lot of fun with the graphics projects, and still intend to do that - but I need to also do some more stuff that gets me off the computer, doing things with my hands. Doing software for work, then coming home to do what is quite frankly a second full-time job's worth of toy stuff in my free time to keep my interest, it's burning me out a bit. I go through phases with it, but overall have hit a pretty stable cadence of something every month. I enjoy my projects, and I like the change of pace that they give, versus having to deal with the arbitrary structure of a large, established codebase, users that are not me, and who do not know what they want well enough to give me comprehensive spec. I think I have several good avenues to explore on this. Recently became involved in a nice little makerspace, within walking distance. Like having access to dad's garage. I used to do a lot of chainmail, in high school. Picked it back up a couple months back to teach to some friends at the makerspace, and it was like riding a bike - can damn near do it in my sleep, after close to a decade since the last time I did any significant amount.